Sealey RE2280 User Manual
Page 2
WArnIng! Measure the outer diameter of the spring to be compressed and select the correct set of jaws.
ImpOrTAnT! Do not start by using the coil spring compressor fully extended, but adjusted to a length of
approx. 200mm. This will ensure adequate travel to fully expand and compress the spring regardless of the
initial spring tension.
Ensure that the coil spring to be compressed is free from dirt and grease where the jaws will be in contact with it.
4.1.
Jack up the vehicle to remove the coil spring. Ensure that the vehicle is safely and properly supported.
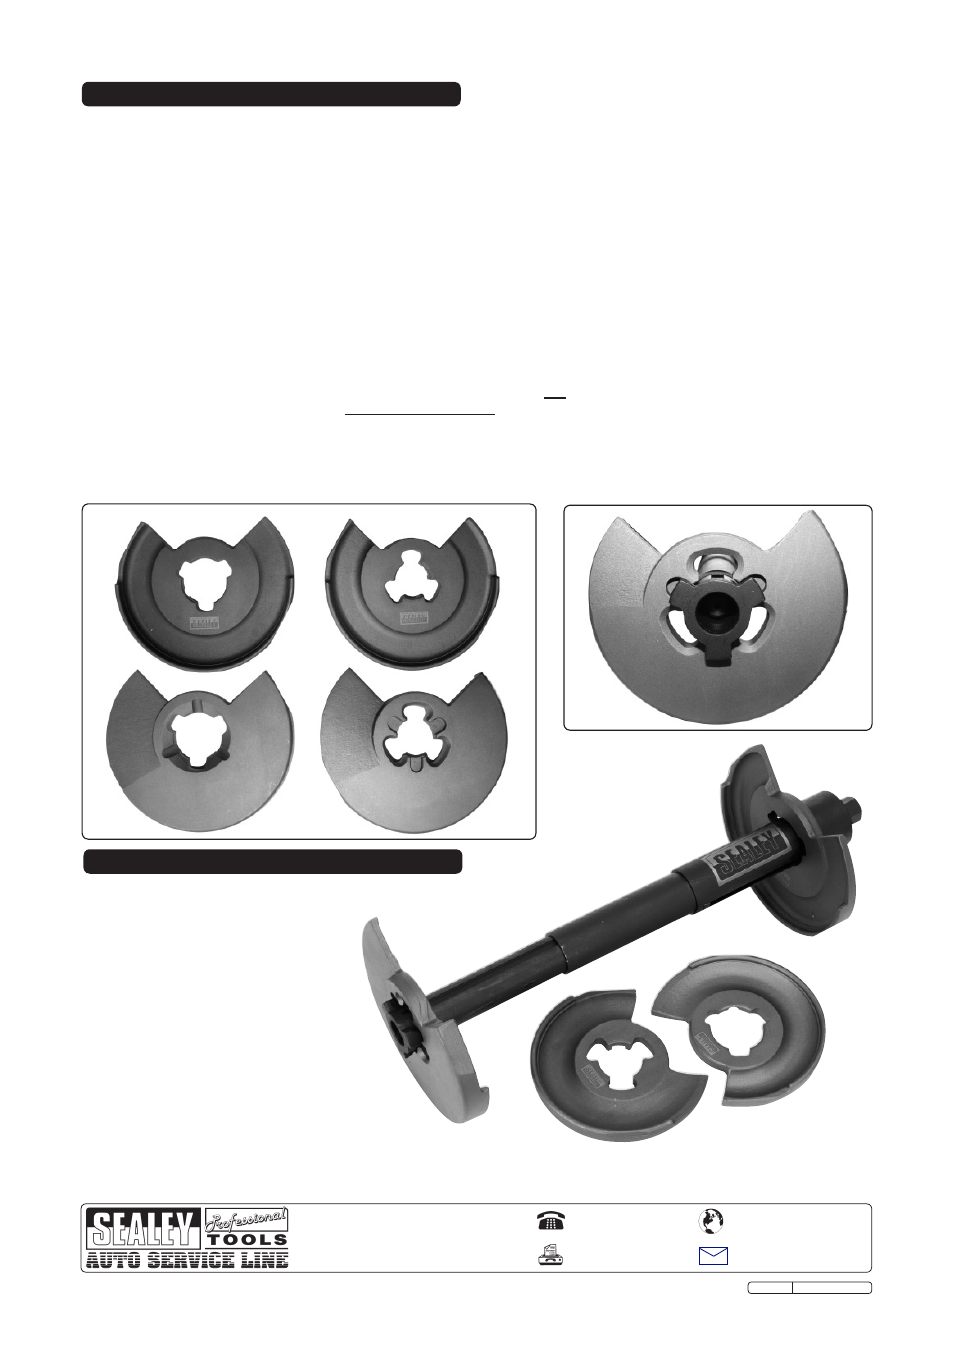
4.1.1. Insert the jaw (FIG.2-A) into the lower spring windings.
4.1.2. Insert jaw (FIG.2-B) into the upper spring windings. Ensure that the spring windings sit between the inner and outer rims
of the jaw.
4.1.3. Insert the main body of the spring compressor into the inside of the spring from below with the hexagonal drive nut
facing downwards. Guide compressor through the lower jaw and up into the upper jaw, when the compressor has
passed through the upper jaw turn the body through approx 50° so it locates in the locking grooves on the jaw FIG.3.
4.1.4. Using a 19mm Hex. socket, begin to turn the hexagonal drive nut until the jaws are firmly in contact with the spring.
Before proceeding ensure that the spring is correctly placed within both jaws and jaws are correctly aligned on the
compressor body.
4.1.5. Now continue compress the spring.
WArnIng! An air wrench must not be used. Use of air wrench will invalidate warranty.
WArnIng! Spring compression mUST CeASe BeFOre the windings touch. DO nOT allow the compressor
to reach the limit of its travel in either direction.
4.1.6. Remove the spring and compressor assembly from the vehicle as soon as you have attained sufficient compression.
4.1.7. With the spring adequately supported drive the compressor in the opposite direction and remove the compressor and
jaws from the spring.
4.1.8. To re-mount the spring back in the wishbone assembly, reverse the compress procedure.
4. InSTrUCTIOnS FOr USe
5.1.
General Maintenance.
5.1.1. Before each use check the
compressor to ensure it is not
damaged or worn.
If suspect, do not use the unit,
but contact your your local Sealey
Dealer who will be able to advise you
regarding repair kits and spare parts.
5.1.2. Grease the compressor spindle as
necessary, at least every six months
using graphite grease.
5.1.3. Keep the compressor clean, and when not
in use store in a safe, dry, childproof location.
NOTE: It is our policy to continually improve products and as such we reserve the right to alter data, specifications and component parts without prior notice.
ImpOrTAnT: No liability is accepted for incorrect use of this product.
WArrAnTY: Guarantee is 12 months from purchase date, proof of which will be required for any claim.
InFOrmATIOn: For a copy of our latest catalogue and promotions call us on 01284 757525 and leave your full name and address, including postcode.
01284 757500
01284 703534
Sole UK Distributor, Sealey group,
Kempson Way, Suffolk Business Park
,
Bury St. Edmunds, Suffolk,
IP32 7AR
www.sealey.co.uk
Web
Original Language Version
RE2280 Issue: 1 - 7/6/10
FIG.3
A
A
B
B
FIG.2
5. mAInTAInIng THe COmpreSSOr