Step 4: shooting images in auto mode – Sony VENICE 2 Digital Motion Picture Camera (8K) User Manual
Page 19
DSC-RX10M4
4-725-744-11(1)
GB
19
C:\Users\gotanda\Desktop\4725744111DSCRX10M4UC2\01GB-DSCRX10M4UC2\020PRE.indd
DTP data saved: 2017/07/19 10:29
PDF file created: 2017/07/28 13:21
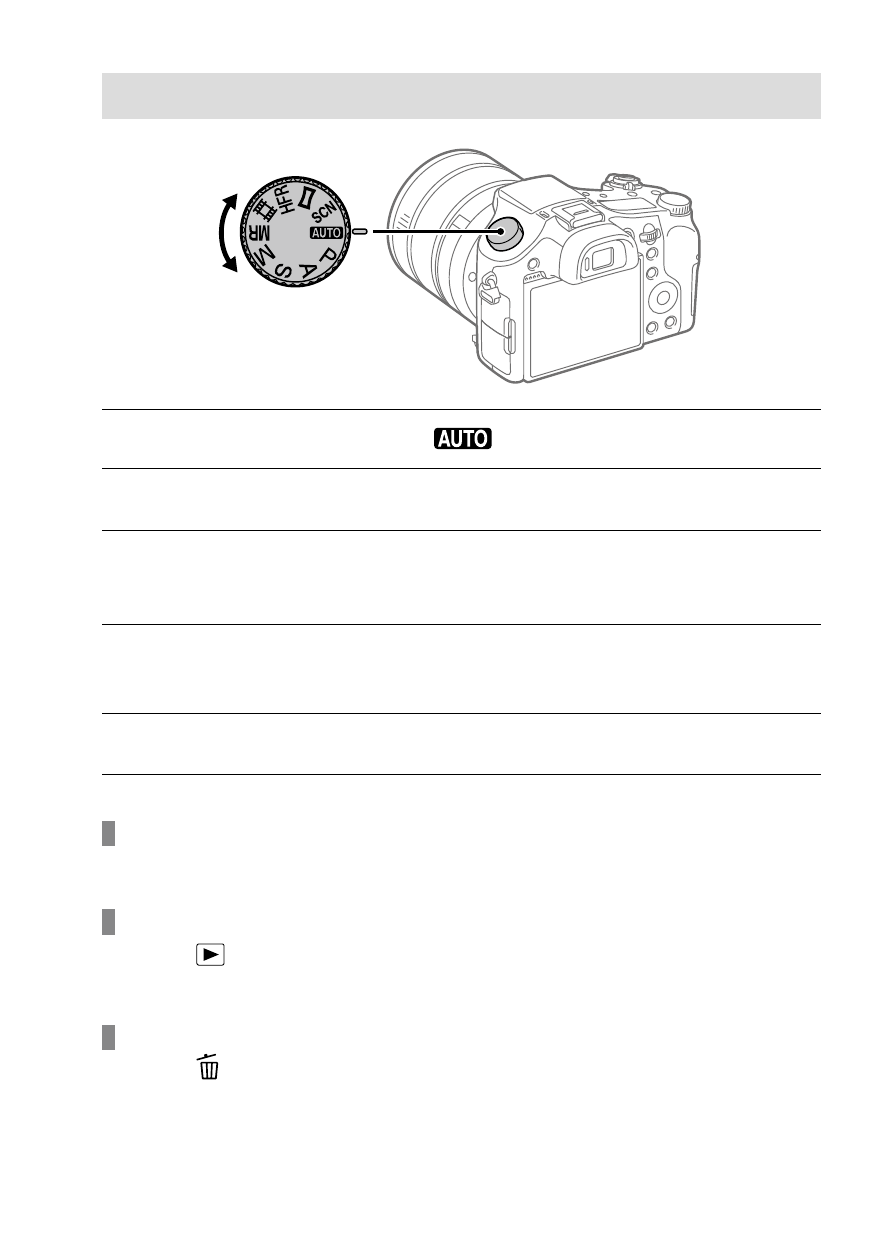
Step 4: Shooting images in auto mode
1
Turn the mode dial to set to
.
2
Look into the viewfinder or the monitor and hold the camera.
3
Use the W/T (zoom) lever to adjust the magnification of the
image.
4
Press the shutter button halfway down to focus.
• When the image is in focus, an indicator (such as
) will light up.
5
Press the shutter button all the way down.
To shoot movies
Press the MOVIE button to start/stop recording.
To play back images
Press the
(Playback) button to play back images. You can select the
desired image using the control wheel.
To delete displayed image
Press the (Delete) button while an image is displayed to delete it.
Select [Delete] using the control wheel on the confirmation screen, and
then press the center of the control wheel to delete the image.