Epson WorkForce Pro WF-C8690 A3 Color MFP with PCL/PostScript User Manual
Page 214
214
2.
Place your original on the product for scanning.
Note:
To scan a double-sided or multi-page document, place your originals in the ADF.
3.
Press the
home button, if necessary.
4.
Select
Scan
.
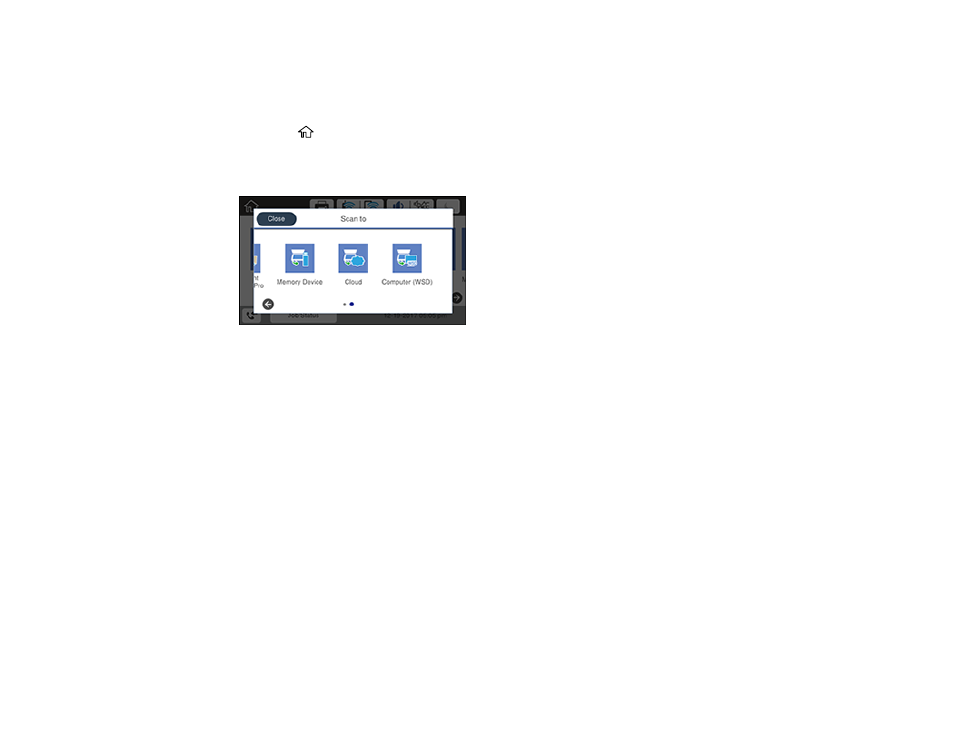
You see a screen like this:
5.
Select one of the following
Scan to
options:
•
Network Folder/FTP
saves your scan file to a specified folder on a network.
•
lets you send scanned files through a pre-configured email server.
•
Document Capture Pro
lets you scan over a network using your saved job settings in Document
Capture Pro or Document Capture.
Note:
You cannot use this option to scan an image to Document Capture or Document Capture
Pro when your product is connected to your computer's USB port.
•
Memory Device
saves your scan file on a USB device inserted in your product's external USB
port and lets you select the file format, quality, and other settings.
•
Cloud
sends your scanned files to a destination that you have registered with Epson Connect.
•
Computer (WSD)
lets you manage network scanning in Windows. To use this feature on
Windows 7 or Windows Vista, you must first set up WSD (Web Services for Devices) on the
computer.
6.
Follow the instructions in the links below to complete your scan.