Mounting the monitor head, Removing the monitor stand – HP OMEN 32q 31.5" QHD HDR 165 Hz Gaming Monitor User Manual
Page 13
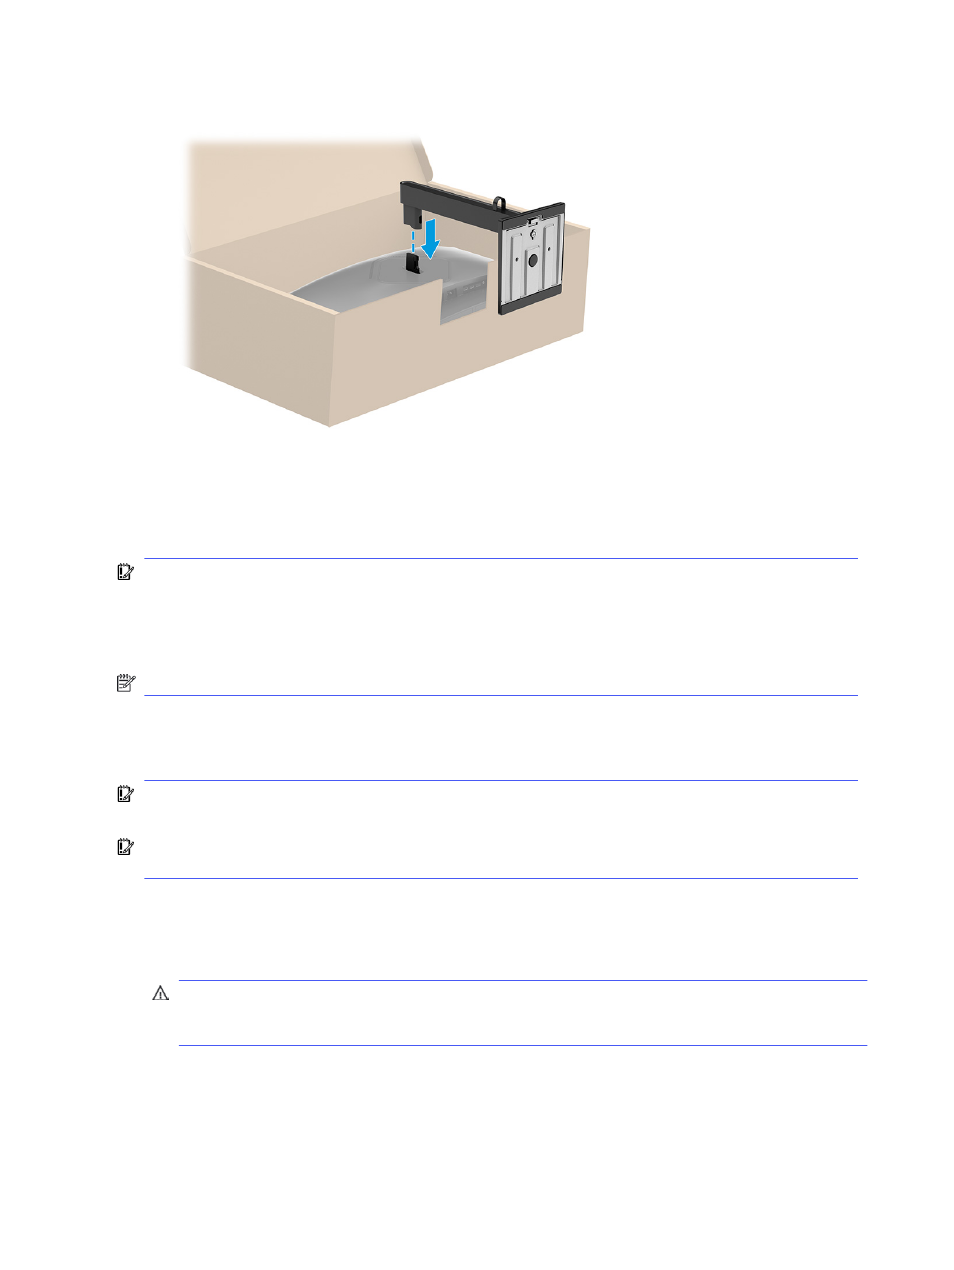
3.
Attach the stand to the back of the monitor.
Mounting the monitor head
To attach your monitor to a wall using a swing arm or other mounting fixture, follow the steps in this
section to safely and securely connect your monitor.
IMPORTANT:
This monitor supports the VESA industry-standard 100 mm mounting holes. To attach a
third-party mounting solution to the monitor head, use four 4 mm, 0.7 pitch, and 10 mm long screws.
Longer screws might damage the monitor. Be sure that the manufacturer’s mounting solution is
compliant with the VESA standard and is rated to support the weight of the monitor head. For best
performance, use the power and video cables provided with the monitor.
NOTE:
This apparatus is intended to be supported by a UL-listed or CSA-listed wall-mount bracket.
Removing the monitor stand
If you decide to use a wall mount instead of the monitor stand that you attached, first remove the stand.
IMPORTANT:
Before you disassemble the monitor, be sure that the monitor is turned off, and all
cables are disconnected.
IMPORTANT:
To position and stabilize the monitor, HP recommends that two people perform these
procedures.
1.
Disconnect and remove all cables from the monitor.
2.
Position the monitor facedown on a flat surface covered by protective sheet made of foam or a
clean, dry cloth.
CAUTION:
If you are removing the stand from a curved monitor, position the monitor facedown in
the original packing box. Then remove the stand. Positioning a curved monitor facedown on a flat
surface might damage the monitor.
3.
Push up the latch near the bottom center of the stand’s mounting plate (1).
8
Chapter 1 Getting started