LEICA SBP PRO 1 Lithium-Ion Battery for S Typ 007 (7.3V, 2300mAh) User Manual
Page 31
EN
27
Recor
ding mode
Live View mode
Whereas the conventional photography mode presupposes use of the
camera viewfinder, Live View mode permits continuous viewing of the
subject on the monitor, i.e. both before and during recording.
Live View mode is switched on and off, and video mode is switched on
(without starting recording) with the
LV
button. Pressing the button
displays the functions in turn (in an endless loop)
Live View photo / video mode / conventional photography mode
• When switched on, the functions of the adjacent buttons are displayed
for 3 seconds in the four corners of the monitor picture.
• Video mode is always performed using the monitor picture.
Notes:
• Additional autofocus and exposure metering function variants can be
used during Live View mode, see the corresponding sections.
• Live View mode is based on the image captured by the sensor. To use
it, the shutter must be open and it is closed and re-cocked when the
function is canceled. Of course, this is audible and may result in a
delay in the shutter release.
• Frequent use of the Live View mode results in increased power con-
sumption.
Exposure simulation
In the factory setting, the Live View monitor picture shows the subject in
the brightness resulting from the respective exposure setting. This expo-
sure simulation allows the effect on the picture to be assessed before the
photograph is taken, e.g. during exposure corrections or during manual
setting of the exposure. With automatic exposure control (
P
,
A
,
T
, see p.
30/31), on the other hand, the monitor picture generally remains equally
bright, i.e. within the respective setting ranges.
The exposure simulation can be deactivated by pressing the depth of field
preview button so that you generally get a monitor picture with constant
brightness, irrespective of the exposure settings.
The "generally" constant brightness presupposes, however, that the
subject brightness and the set exposure do not result in any excessively
high or low brightness values, and that the internal exposure time is not
longer than
1
⁄
30
s.
Displays in Live View mode
With the standard setting, the Live View monitor picture contains the
following displays (see "The displays / In the monitor / Recording mode
Live View photo", p. 62):
– In the header some fundamental information
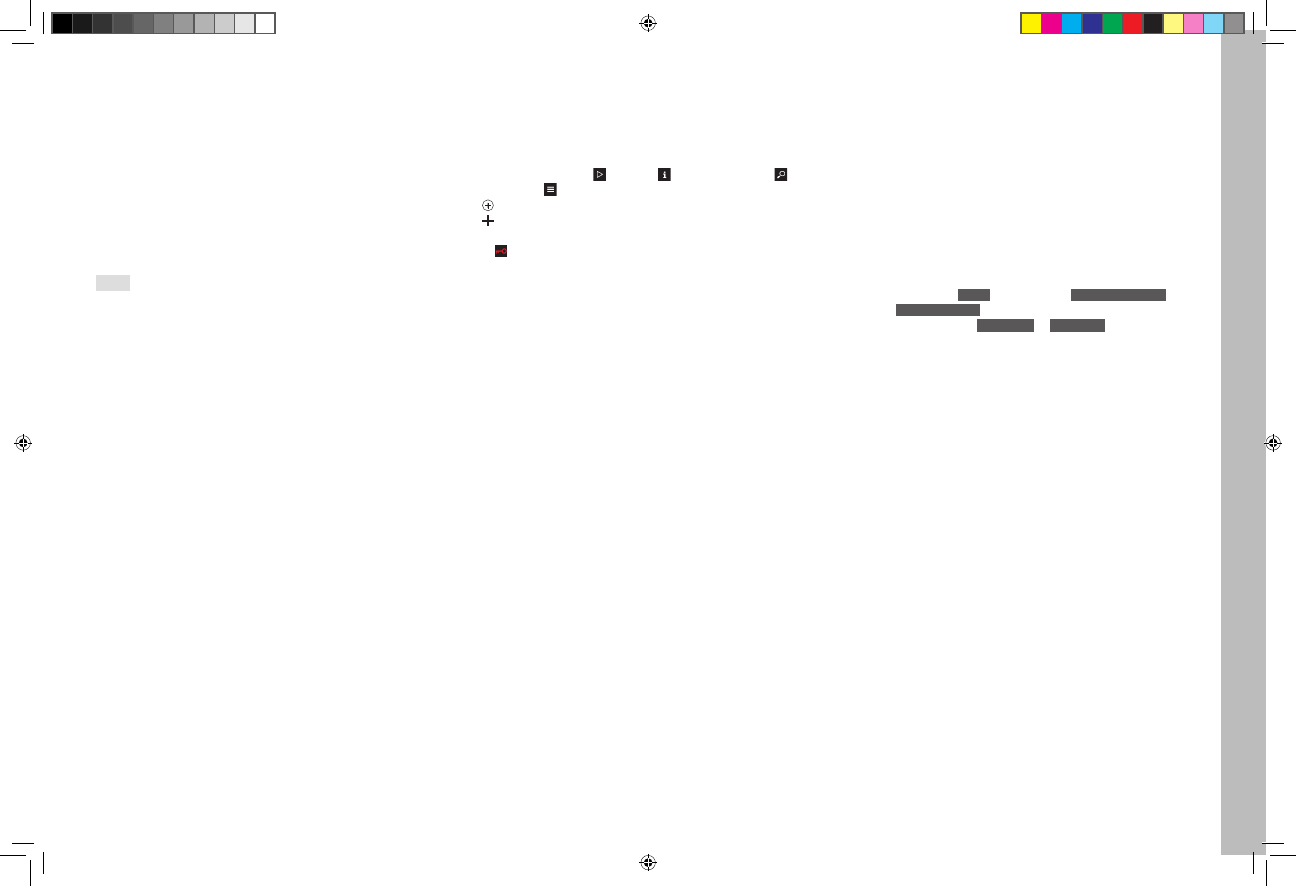
– In the corners of the picture, symbols for the functions of the buttons
alongside the monitor: = Review, = Change of display, =
Magnify and = Menu
–
Spot autofocus metering field (+ autofocus metering crosshair)
–
Autofocus metering crosshair
– Exposure simulation
– or = Button lock
Display settings
Repeatedly pressing the button bottom right next to the monitor calls up
various additional displays/information in turn:
– Histogram and clipping indicators
– Marking of clearly focused subjects
– Grid lines and horizon
– Extended picture data
– Back to the normal view
Histogram
The histogram depicts the brightness distribution in the picture. The
horizontal axis shows the brightness values from black (left) through gray
to white (right). The vertical axis corresponds to the number of pixels at
each brightness level. This form of representation – together with the
impression of the picture itself – provides an additional quick and easy
assessment of the exposure setting.
Clipping displays
These displays indicate the picture areas without marking.
Setting the function
1. In the menu, under
SETUP
, select the item
Capture Assistants
and
2. select
Exposure Clipping
in the sub-menu
3. In the sub-menu select
Lower Limit
or
Upper Limit
, and
4. set the desired threshold values on the scale by turning the rear
thumbwheel or by pressing the Joystick to the left or right
• The scale shows the clipping areas relative to the overall exposure
range.
The following then appears in the pictures:
• Excessively light areas are indicated in red, excessively dark areas in
blue, flashing in each case. The clipping symbol ([ ]) also appears in the
top right corner.
Notes on the histogram and the clipping indicators:
• Both are available also in Review mode.
• Both always refer to the currently displayed detail (see "Enlarging the
Live View monitor image").
Inhalt_EN.indd 27
12.10.2015 09:34:15