Godox TT685O II Flash for Olympus/Cameras User Manual
Page 9
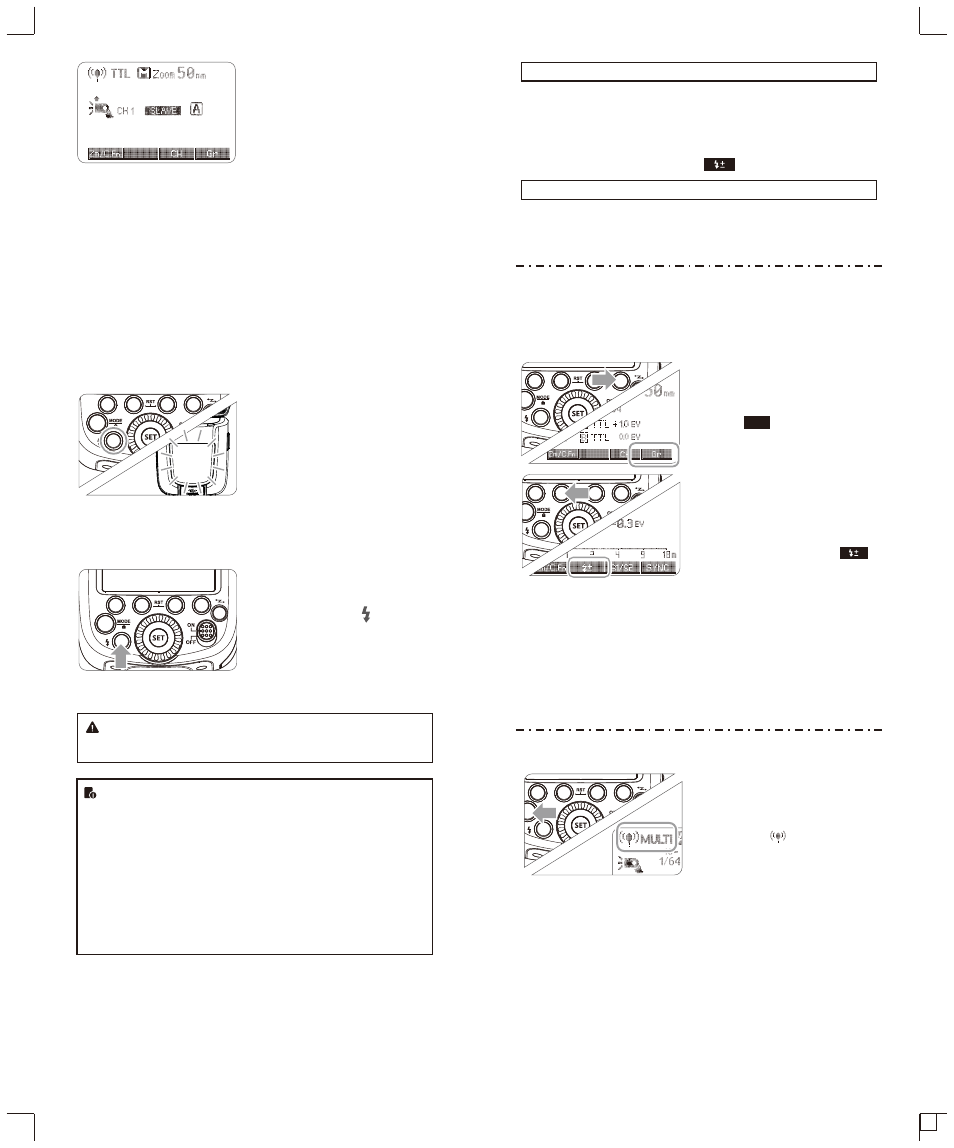
Setting <Multi>
1
stroboscopic flash.
●
Press <
MODE
> button so
that <
MULTI
> is
displayed.
● Setting the stroboscopic
flash.
Slave Unit Setting
2
●
Set the other camera
flash as the wireless slave
unit. (Page 38)
● The slave unit can be set
as
A/B/C
.
Check the communication
3
channel
●
If the master unit and
slave unit(s) are set to a
different channel, set them
to the same channel.
(Page 38)
Position the camera and
4
flashes
●
Position the camera and
flashes as the picture
shows. (Page 41)
Check that the flash is
5
ready
●
Check that the master
flash ready indicator is
lightened.
● When the slave flash
ready indicator is ready,
the AF-assist beam
lighting area will blinks at
1 second intervals.
Check the flash operation
6
●
Press the master unit’s
Test Button< >
.
●
Then, the slave unit will
fire. If not, check whether
the slave unit is put in the
right position or not.
The slave unit might be out of order or fire an unwanted flash
due to the nearby fluorescent lamp or computer screen.
●
If the slave unit’s auto power off function is workable, press
the master unit’s test button to power it on. Please note that
test firing is unavailable during the camera’s regular
metering time.
●
The effective time of slave auto power off is changeable.
(C.Fn-Sv APOT/ Page 45)
●
By making some settings, the auto AF-assist transmitter will
not blink after the slave unit’s flash ready indicator is
lightened. (C.Fn-AF/ Page 45)
Using Fully Automatic Wireless Flash
The FEC and other settings that set on the master unit will also be
appeared on the slave unit automatically. The slave unit does not
need any operation. Use the following settings to make wireless
flashes according to the same methods with normal flash shooting.
●
Flash Exposure Compensation
( /
Page 33
)
About Master Unit
Use two or more master units. By preparing several cameras that
with master units flash attached, cameras can be changed in
shooting while keeping the same lighting source (slave unit).
5. M: Wireless Flash Shooting with Manual Flash
This describes wireless (multiple shooting) using manual flash. You
can shoot with a different flash output setting for each slave unit
(firing group). Set all parameters on the master unit.
Gr
Setting the flash mode to
1
<M>
●
Press Function Button 4
< > to choose groups.
Then, press Function
Button 3 <
MODE
> to set
the flash to M mode.
Setting flash output
2
●
When choosing the state
of the group, press
Function Button 2 < >
to set the power output.
Turn the Select Dial to set
the flash output of the
groups. Press the <SET>
button to confirm.
Taking the picture
3
●
Each group fires at the set
flash ratio.
Using a flash (master/slave) with a radio transmission wireless
shooting function make it easy to shoot with advanced wireless
multiple flash lighting, in the same way as TTL autoflash shooting.
The basic relative position and operation range are as shown in the
picture. You can then perform wireless TTL autoflash shooting just
by setting the master unit to <
TTL
>.
6.
Multi: Manual Wireless Flash Shooting
- 39 -
- 40 -