Screen menu – Philips T-Line 65BDL3552T 65" 4K Digital Signage Touchscreen Display User Manual
Page 46
65BDL3552T/75BDL3552T/86BDL3552T
34
The options are:
{3000K}
/
{4000K}
/
{5000K}
/
{6500K}
/
{7500K}
/
{9300K}
/
{10000K}
/
{Native}
/
{User 1}
/
{User 2}
.
Color control
You can adjust the color tones of the image precisely by
changing the User-R (Red), User-G (Green) and User-B
(Blue) settings independently.
{Picture}
-
{Color temperature}
-
{User}
setting to
[User 1]
Or, you can adjust the color tones per 100K in the range of
2000K to 10000K.
{Picture}
-
{Color temperature}
-
{User}
setting to
[User 2]
Over scan
Change the display area of the image.
• {On}
- Display about 95% of the original size of the
image. The rest of the areas surrounding the image will
be cut off.
• {Off}
- Display the image in its original size.
Picture reset
Reset all settings in the Picture menu.
6.2.2. Screen menu
Picture
Screen
Audio
Configuration
Advanced
Android Settings
H position
V position
Clock
Clock phase
Zoom mode
Custom zoom
Auto adjust
Screen reset
Full
Action
Action
Action
H position
Press the
[ ]
button to move the image to the right, or
[ ]
to move the image to the left.
NOTES:
• H position adjustment applies to
VGA
input only.
• H position cannot be adjusted when {
Pixel Shift
} is
activated.
V position
Press the
[ ]
button to move the image up, or
[ ]
to move
the image down.
NOTES:
• V position adjustment applies to
VGA
input only.
• V position cannot be adjusted when {
Pixel Shift
} is
activated.
Clock
Adjust the width of the image.
NOTE: This item applies to
VGA
input only.
Clock phase
Adjust to improve the focus, clarity and stability of the
image.
NOTE: This item applies to
VGA
input only.
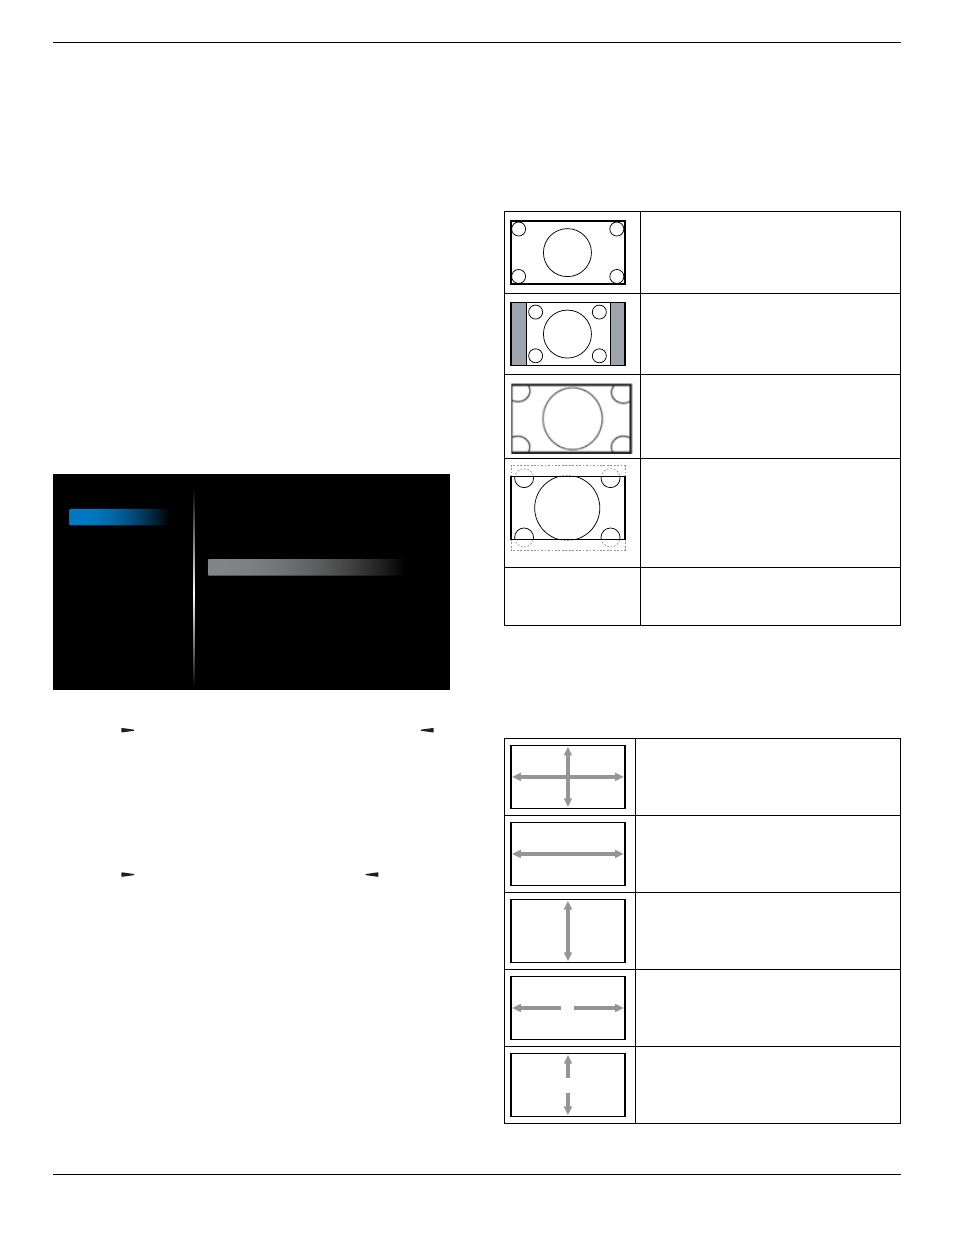
Zoom mode
The pictures you receive may be transmitted in 16:9 format
(wide screen) or 4:3 format (conventional screen). The
16:9 pictures sometimes have a black band at the top and
bottom of the screen (letterbox format). Zoom Mode will
be deactivated when
{Pixel Shift}
is activated or turned on,
and when
{Tiling}
is enabled.
Choose from:
{Full}
/
{Normal}
/
{Real}
/
{21:9}
/
{Custom}
.
Full
This mode restores the correct
proportions of pictures transmitted in
16:9 using the full screen display.
Normal
The picture is reproduced in 4:3
format and a black band is displayed
on either side of the picture.
Real
This mode displays the image pixel-
by-pixel on screen without scaling the
original image size.
21:9
The picture is enlarged to 21:9
format. This mode is recommended
when displaying pictures that have
black bands at the top and bottom
(letterbox format).
Custom
Apply the custom zoom settings in the
Custom Zoom submenu.
Custom zoom
Use this function to further customize the zoom to suit the
image you want to display.
NOTE:
This item works only when the {Zoom mode} is set
to {Custom}.
Zoom
Expands the horizontal and vertical
sizes of image simultaneously.
H zoom
Expands the horizontal size of image
only.
V zoom
Expands the vertical size of image only.
H position
Moves the horizontal position of image
left or right.
V position
Moves the vertical position of image up
or down.