Hardware installation edid learning – Atlona AT HD V40SRS User Manual
Page 8
6
HARDWARE INSTALLATION
EDID LEARNING
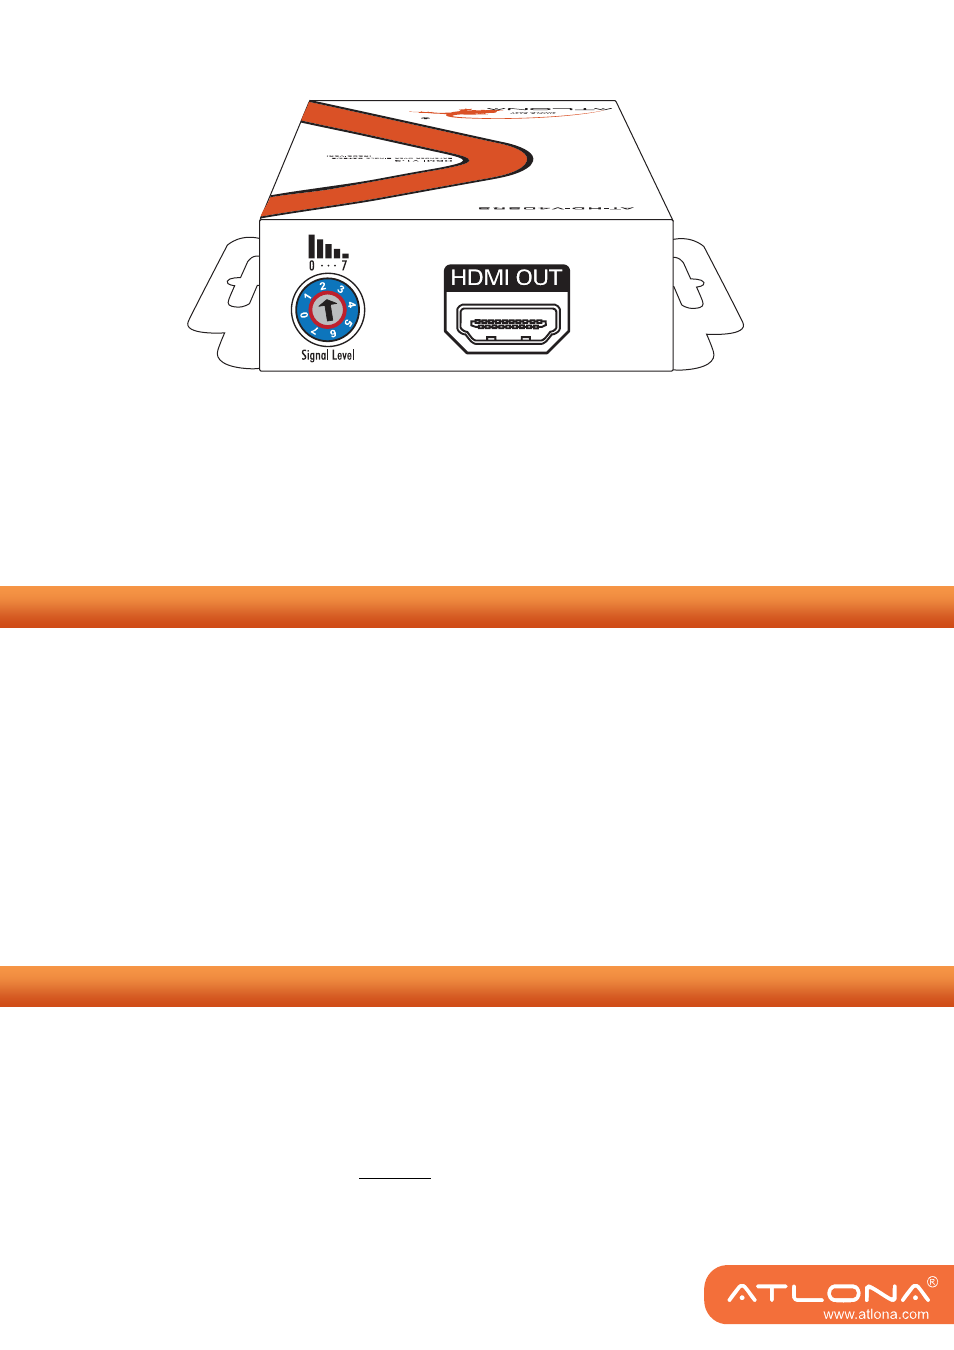
Output Panel
Signal Level: Adjust the 8-level signal equalization control to the received HDMI signals. The HDMI
signal level varies from 0 (strongest) to 7 (weakest) for respective transmission length from longest
possible range to short distance. Dial the Signal Level from 7 to 0 and stop turning the rotary
switch whenever the audio/video is playing normally. Inappropriate signal level setting may cause
overpowering issues that would shorten the product’s life significantly!
HDMI OUT: Connect to a HDMI display or projector with a HDMI male-male cable here.
1. Connect the HDMI or DVI source (such as a Blu-ray Disc player) to the Sender Unit AT-HD-V40SS.
2. Connect the HDMI or DVI display (such as a LCD HDTV) to the Receiver Unit AT-HD-V40RS.
3. Connect a solid Cat-5/5e/6 UTP/STP cable between the Sender and Receiver units.
4. Make sure this solid Cat-5/5e/6 UTP/STP cable is tightly connected and not loose.
5. Plug in 5V DC power supply unit to the interlocking power jack of the Receiver Unit AT-HD-V40RS.
6. Plug in 5V DC power supply unit to the interlocking power jack of the Sender Unit AT-HD-V40SS.
7. If you see flickering or blinking image on the display, adjust the rotary control switch to improve the
cable skew. 0 stands for the strongest HDMI signal level for longest possible transmission length while
7 stands for the weakest HDMI signal level for short transmission length. Try adjusting the signal level
from 7 to 0 to find the optimal setting for the HDMI over CAT5 transmission.
1. Turn on Sender unit AT-HD-V40SS.
2. Turn the MODE of AT-HD-V40SS to 7.
3. Connect the HDMI display to the HDMI IN of AT-HD-V40SS with a HDMI cable. The LED on the RJ-45
connector of AT-HD-V40SS will dim and light again, which indicates the EDID learning procedure is
complete.
4. Turn the MODE of AT-HD-V40SS clockwise [
] from 7 to 0 (for surround sound) or 1 (for stereo). The
most important thing is don’t let the rotary arrow pass through MODE 5 and MODE 6 which will
erase the EDID just learned and restore to default EDID.
5. Unplug the HDMI cable from the display and follow the instruction in [Hardware Installation] to set up
the AT-HD-V40SRS and enjoy the experience.