TabletKiosk Sahara Slate PC i400 Series User Manual
Page 3
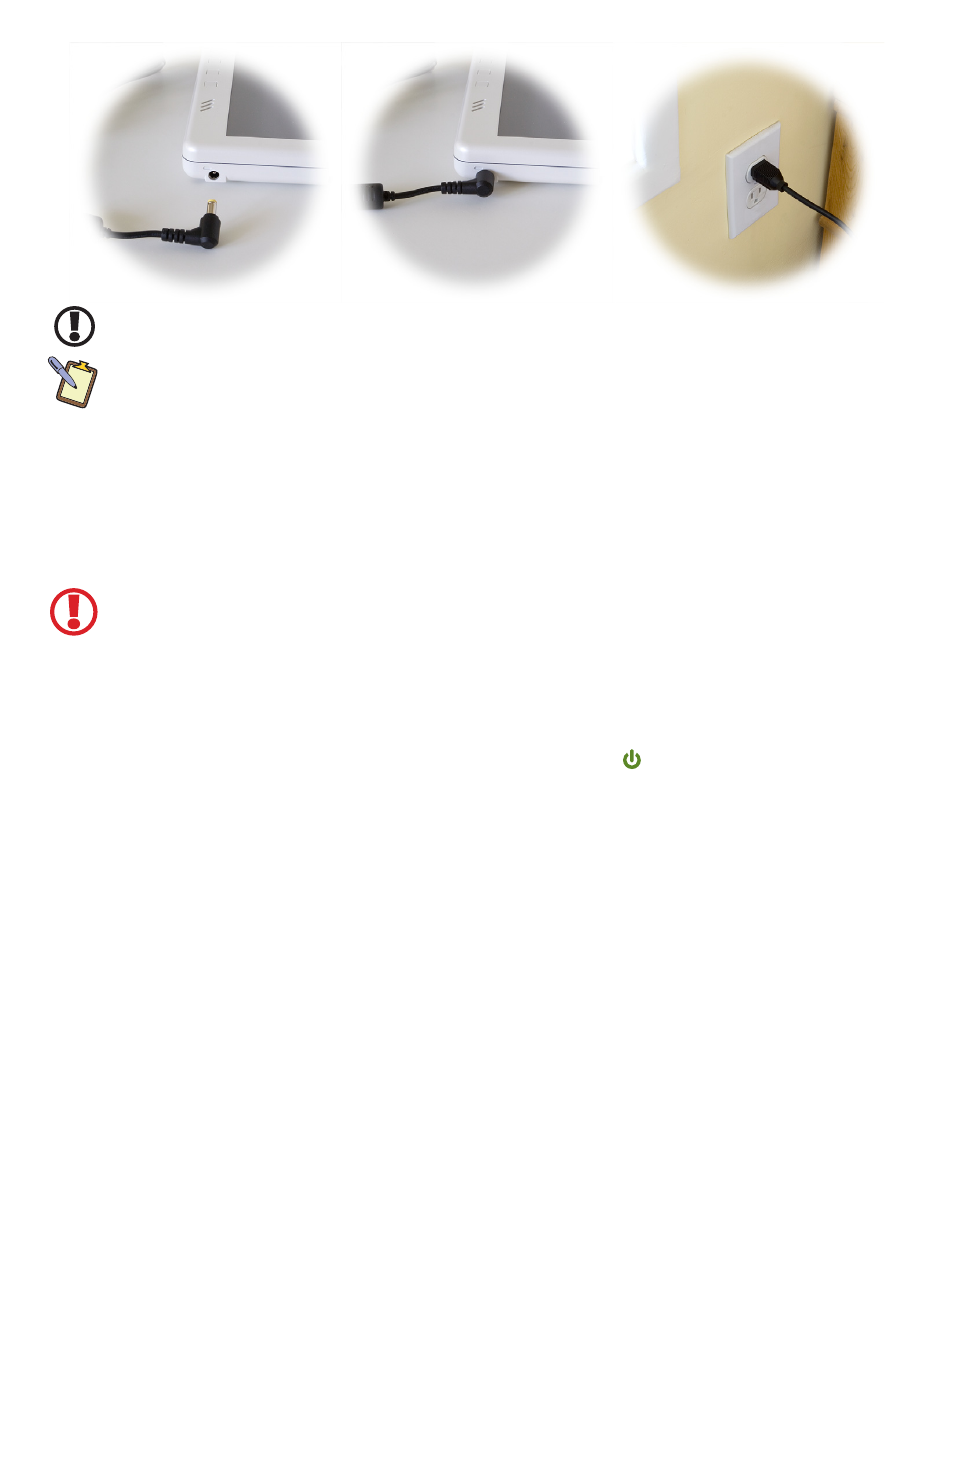
IMPORTANT: You should allow the battery to charge fully before disconnecting the Sahara Slate PC and
running it on battery power for the first time.
NOTE: When you first connect the Sahara Slate PC into an external power source, the battery charge
indicator will begin to glow amber. When the battery is fully charged the indicator will turn green.
See the section in the User’s Guide entitled Battery Care for tips on maximizing battery life and
performance.
Step 3: Connect Applicable Peripherals and Networking Cables
If you would like to use any external peripherals with the tablet (i.e. USB mouse, USB
keyboard, etc.), or are planning to connect to the Internet and/or a corporate LAN using a
wired connection (RJ45) as opposed to wirelessly, connect them now.
IMPORTANT: When you power on the tablet for the first time, you will need to have an external USB
keyboard connected in order to complete the Windows XP Professional or Windows 7 Professional
welcome screens on the i412T/i440T. An external USB keyboard is not required for Windows XP Tablet
PC Edition or Windows 7 Professional welcome screens on the i440D as you can use the on-screen
keyboard.
Step 4: Power on the Sahara Slate PC
Locate the three power switches on the top on the tablet. The switch (closest to the
PCMCIA expansion slot) is the computer’s main power toggle. Slide it away from the PCMCIA
slot and hold it there until it emits a blue glow (about 1-2 seconds) and then release it. The
Sahara Slate PC will now boot up.
Step 5: Complete the Operating System Installation
When your system powers on for the first time, you will be prompted to enter your product
key to complete set-up (Windows 7 only). The key can be found on the C.O.A. sticker located
on the back of the system.
Windows (all versions) will then have a few questions for you to answer in order to localize
and finish your installation. Refer to your operating system’s manual for information on any of
the questions you are unsure how to answer. When done, you will be taken to the Windows
desktop (Windows 7 will continue optimizing and updating your system and may restart).
Step 6: Using the Stylus Pen
Unlike a standard laptop or desktop PC, navigating the operating system’s user interface on a
Tablet PC is performed using the stylus pen, or even your fingers (if you have an i412T/i440T
or your i440D’s screen in touch screen mode).
Touch Screen:
Navigating with a touch screen is different from navigating with a mouse. Hold
the stylus pen as if you were writing with a standard pen. Instead of sliding the pen around
the screen, just tap on what you want to interact with. Sliding the pen while lightly touching
the tip to the screen will move the on-screen pointer around as if you were using a mouse and
holding down the left mouse button. In other words, you would be performing what is known
as a drag operation. Also, remember that since the screen is sensitive to the touch, resting
your hand on the screen while using the pen might make the pointer react unpredictably.