Step 3 - pointing to the satellite – Thuraya IP User Manual
Page 11
1 - Open the internet browser on your
laptop/computer and enter
http://192.168.128.100
.
(Compass direction)
The above is displayed in the browser (wMMI).
Step 3
- Pointing to the Satellite
Location with a clear line of sight is critical for a successful setup
Step 3
- Pointing to the Satellite
Location with a clear line of sight is critical for a successful demo
2 - You must have a valid GPS location for the compass direction and antenna angle
to be displayed. If the GPS is not valid, go back to step 1 and allow Thuraya IP+ to
obtain GPS fix.
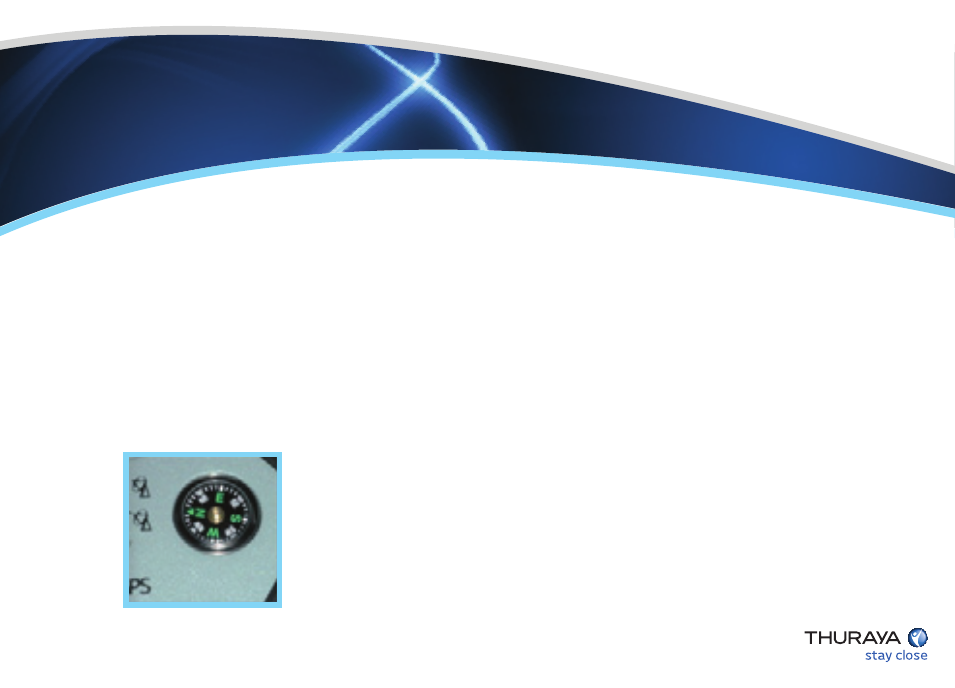
3 - Observe the wMMI home page display and note the compass direction and
elevation for both the satellites in the “Satellite Location” section. The recommended
satellite for your location will be highlighted in green. With the Thuraya IP+ terminal
upside down, use the integrated compass to determine the
direction of the recommended satellite that will be highlighted in
green. You must be able to obtain a clear view of the satellite in
the sky for Thuraya IP+ to connect to the network. If the view to
the recommended satellite is obstructed from your location,
consider using the alternate satellite instead. If neither satellite
is accessible from your location, you will need to move to a
location that has visibility to at least one of the satellites.