Step 3 - pointing to the satellite, Step 4 - connecting to the network – Thuraya IP User Manual
Page 12
Step 3
- Pointing to the Satellite
Location with a clear line of sight is critical for a successful setup
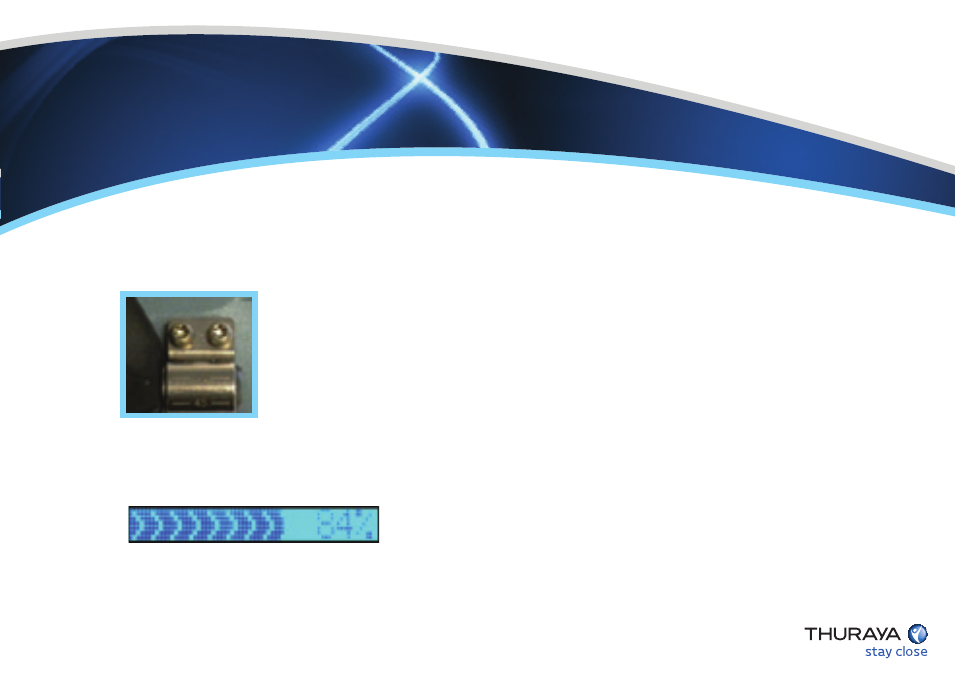
4 - Once you have determined the best satellite to use, shift the antenna stand to the
correct elevation angle using the integrated protractor. Refer to the
elevation angle as indicated on the wMMI home page. With the
elevation angle correctly set, place the Thuraya IP+ on a flat
surface with the antenna facing in the direction of the satellite as
determined in step 1. The protractor fine-tunes the pointing of the
antenna to the direction of the Thuraya IP+ satellite.
5 - You can optimize the receive signal strength by observing the signal strength dis-
play on the terminal while slowly turning it a few degrees clockwise and counter
clockwise. Find the direction that maximizes the signal strength. Likewise, slowly
raise and lower the antenna a few degrees and find
the elevation that maximizes the signal strength.
This step fine tunes the pointing of the antenna in the direction of the satellite.
Step 4
- Connecting to the Network
Once an optimal signal is obtained, automatic network connection follows
1 - Once the Thuraya IP+ terminal obtains sufficient signal strength from the satellite, it will
automatically connect and establish a Standard IP data session. Check this on the wMMI home
page by confirming that the “Network
Status” line shows “Connected”.
Congratulations! Your Thuraya IP+ is
successfully connected. You should
now be able to send and receive data
from your laptop to the internet using
Standard IP.