Rigging, 9 rigging the s119 – Adamson S-Series User Manual
Page 29
Page 29
3.9 Rigging the S119
S-Series | Rigging
The S119 can be rigged in the same array as the S10 without the use of any adapter rigging pieces. Affixing
the S-Series Support Frame to the S119 is completed in the same manner as described in section 3.4, by using
rigging position 4 on the top S10 cabinet in the stack.
Rigging
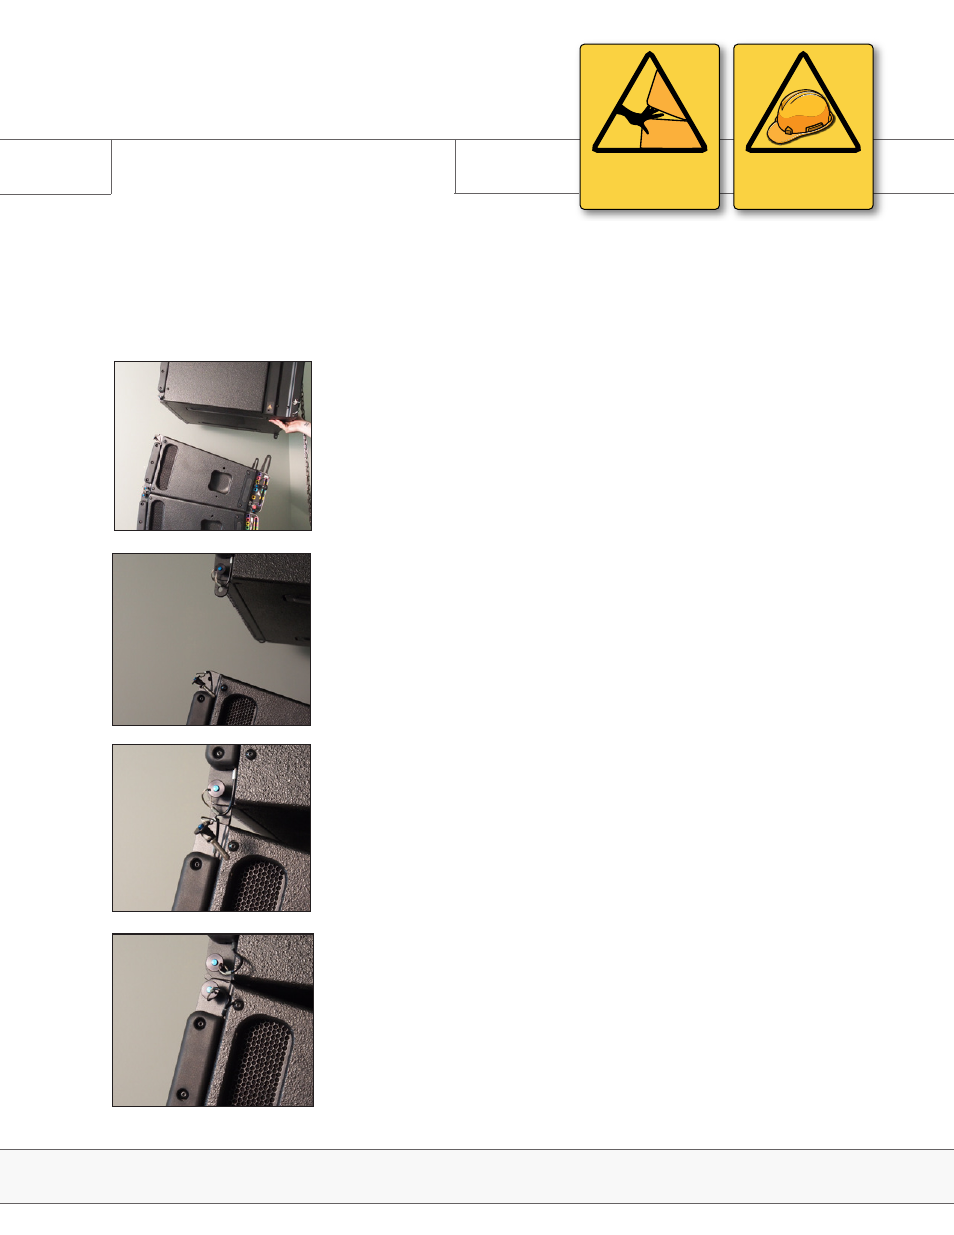
PINCH POINT
CAN CAUSE SEVERE
PERSONAL INJURY
WARNING
SAFETY RISK
PAY SPECIAL ATTENTION
Fig. 1
Fig. 2
2. Remove the bottom front link pins from the S119, allowing the
rigging piece to drop. Secure by placing the bottom front link pin back
in place. (Fig. 2)
3. Lower the S119 until the rigging pieces fit into the S10 rigging
channels. (Fig. 3)
Fig. 3
4. Secure the front rigging pieces with the top front link pin of the
S10. (Fig. 4)
Fig. 4
1. With the S119 suspended, remove the top front link pins from the
top S10 of the 4-stack dolly. Set the rear rigging position to what is
specified in the Blueprint AV™ mechanical tab. Set all other rigging
positions as described in section 3.3. (Fig. 1)
S-Series | Rigging