Specify paper size and orientation, Specify a custom paper size – Adobe InDesign CC 2015 User Manual
Page 593
588
Printing
Last updated 6/6/2015
Note: The preview in the lower-left area of the Print dialog box indicates whether you have enough space to include all
printer’s marks and the bleed and slug areas.
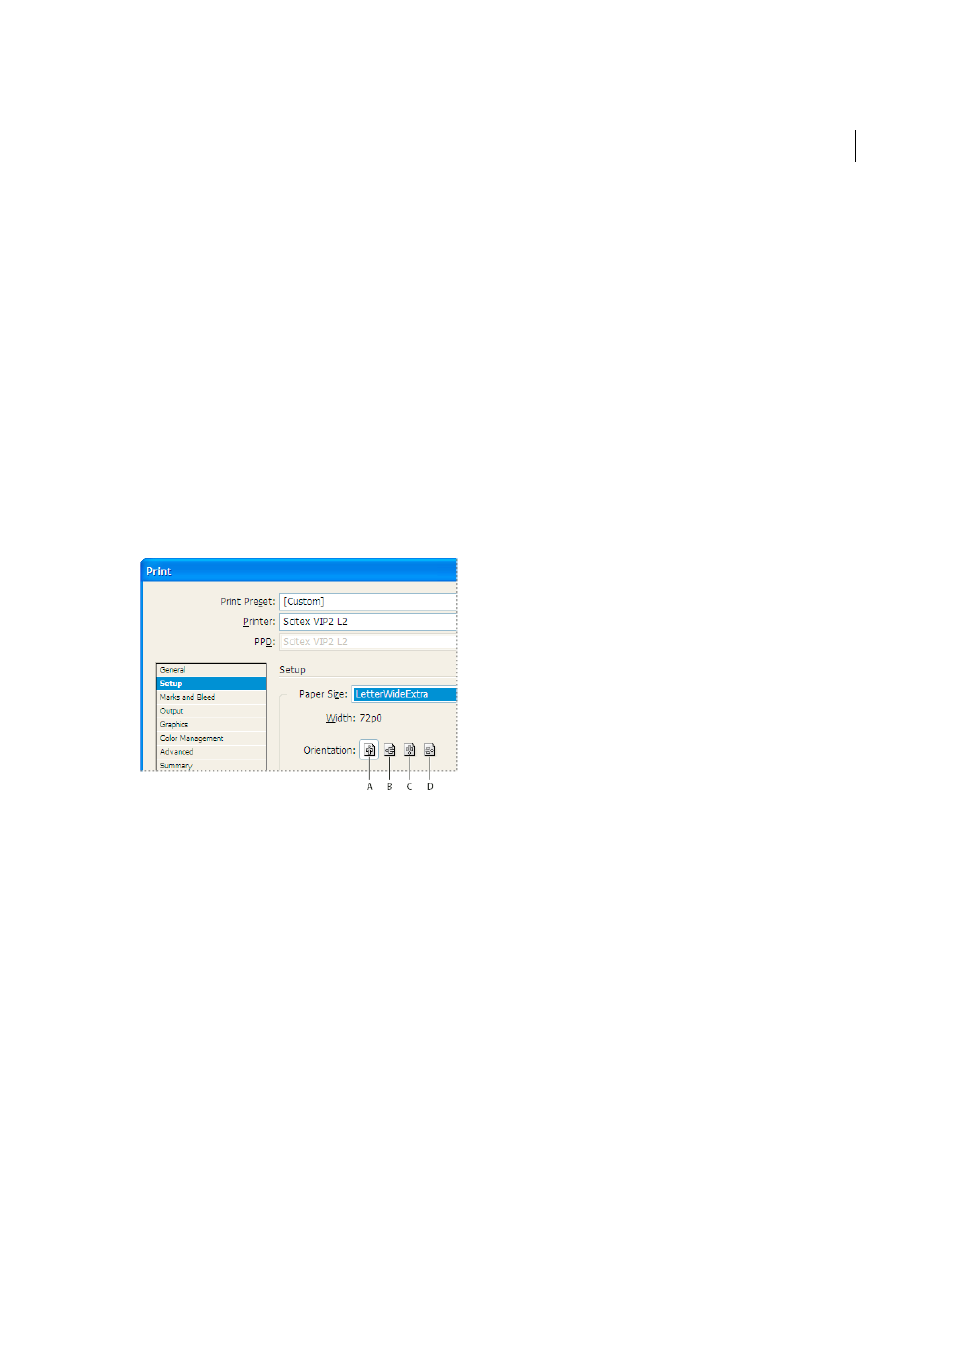
Specify paper size and orientation
1
Choose File > Print.
2
In the Setup area of the Print dialog box, choose an option in the Paper Size menu.
Make sure that your paper size is large enough to contain your document, the bleed and slug areas (if included), and
any printer’s marks. To conserve imagesetter film or paper, however, select the smallest paper size that will
accommodate your document and the necessary printing information.
3
Click an Orientation button to rotate the document on the media.
In most cases, the page orientation specified in Document Setup (File > Document Setup) and the output
orientation specified in the Setup area of the Print dialog box should be the same (both portrait or both landscape),
whether you print normal or transverse. If you’re printing spreads, you may want to choose a different paper size
and orientation (such as landscape) to fit all pages of a spread on a single sheet. If you’ve rotated the spread view,
you may want to change the orientation to print the spread properly.
A Portrait B Landscape C Reverse Portrait D Reverse Landscape
Specify a custom paper size
If you’re using a printer that accommodates various paper sizes, such as a high-resolution imagesetter, you can specify
a custom paper size when you print. InDesign makes the custom option available only if the selected PPD supports
custom paper sizes.
The largest custom paper size you can specify depends on the maximum imageable area of your imagesetter. For more
information, consult the documentation for your specific printer.
Note: Custom paper size options for non-PostScript printers is not accessible from the InDesign Print dialog box. To set
those printer-specific features, click Setup (Windows), Printer (Mac OS), or Page Setup (Mac OS) in the InDesign Print
dialog box. Check the documentation for your non-PostScript printer driver for details.
1
Choose File > Print.
2
If you are printing a PostScript file, choose PostScript for Printer in the General area of the Print dialog box. Then
select the PPD that supports custom paper sizes.
3
In the Setup area of the Print dialog box, choose Custom in the Paper Size menu.
Note: If Custom is not available, the PPD you selected when you set up your printer does not support custom paper sizes.