Backboxsw installation, Fitting the backboxsw – Amina BackboxSW345 V1.4 User Manual
Page 5
01
BackboxSW installation
Create aperture in brickwork / concrete
Check which version of the BackboxSW you
have before following this section.
Create 460mm x 205mm (18.1” x 8.1“)
aperture. (SW200)
Create 460mm x 305mm (18.1” x 12“)
aperture. (SW300)
Create 460mm x 450mm (18.1” x 13.8“)
aperture. (SW345)
Using the combination of an angle grinder
and a jackhammer drill, create a cavity within
the brickwork.
Before installing the BackboxSW you will
need to know the thickness of render that will
be applied to the wall/ceiling prior to the
finish plaster skim.
Minus this thickness from 50mm (2”) to
calculate the minimum cavity depth you will
need to create in order for the BackboxSW
to fit.
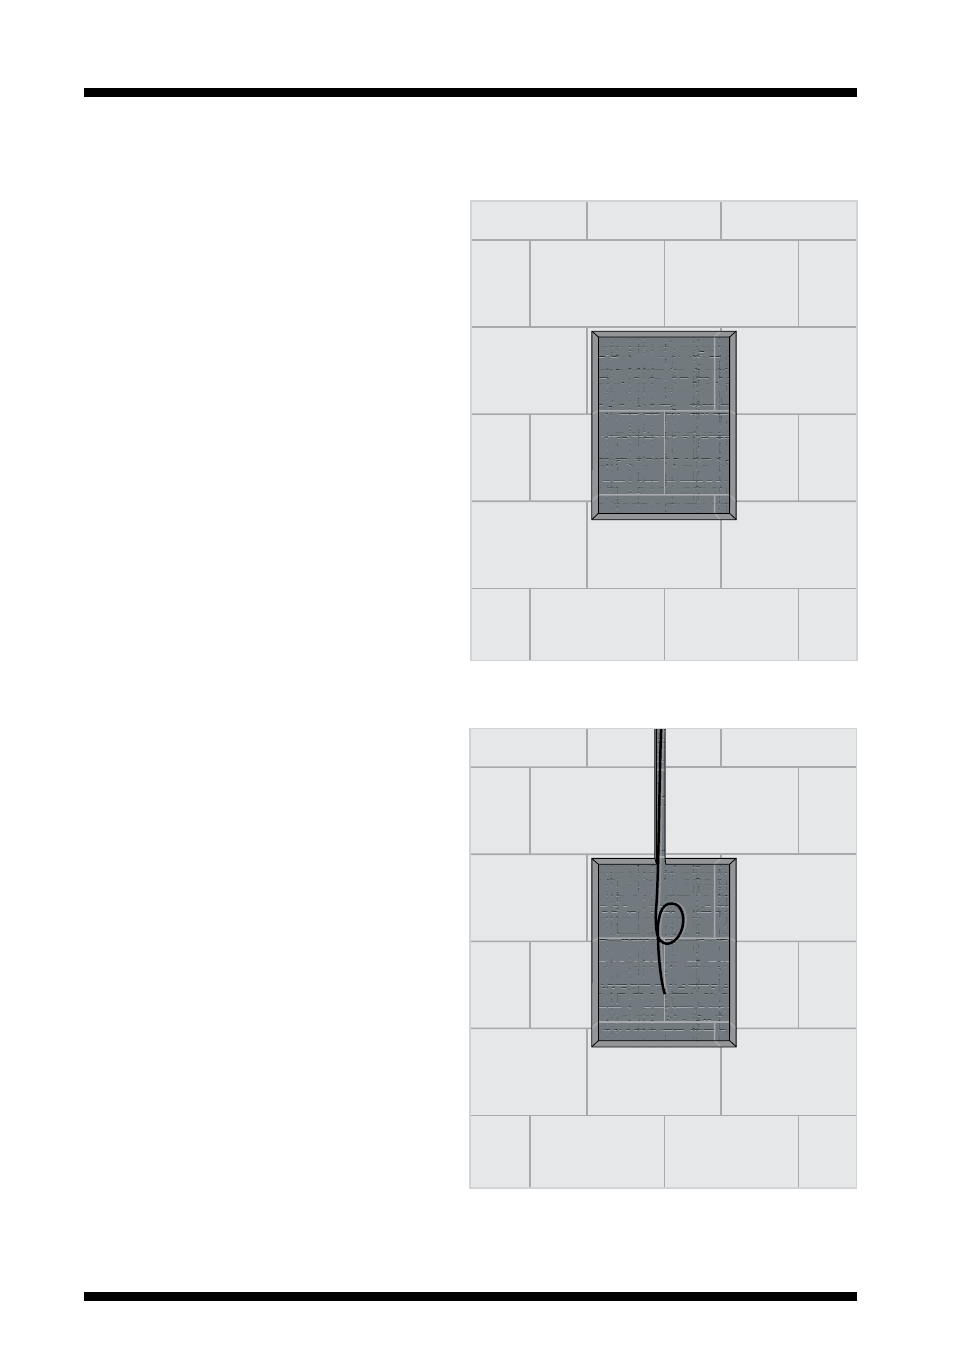
01
Create channel for cable
Using an angle grinder or hammer and
chisel, create a channel that runs into the
cavity. This will allow the speaker cable to be
pulled into a suitable position within the
cavity.
We recommend the cable is run in a suitable
conduit to protect it.
Leave enough cable slack to allow
connection to the speaker when it is held
away from the cavity.
02
02
Fitting the BackboxSW
02