Setting up the wr2100 wireless repeater – ARRIS WR2100 User Manual
Page 7
5
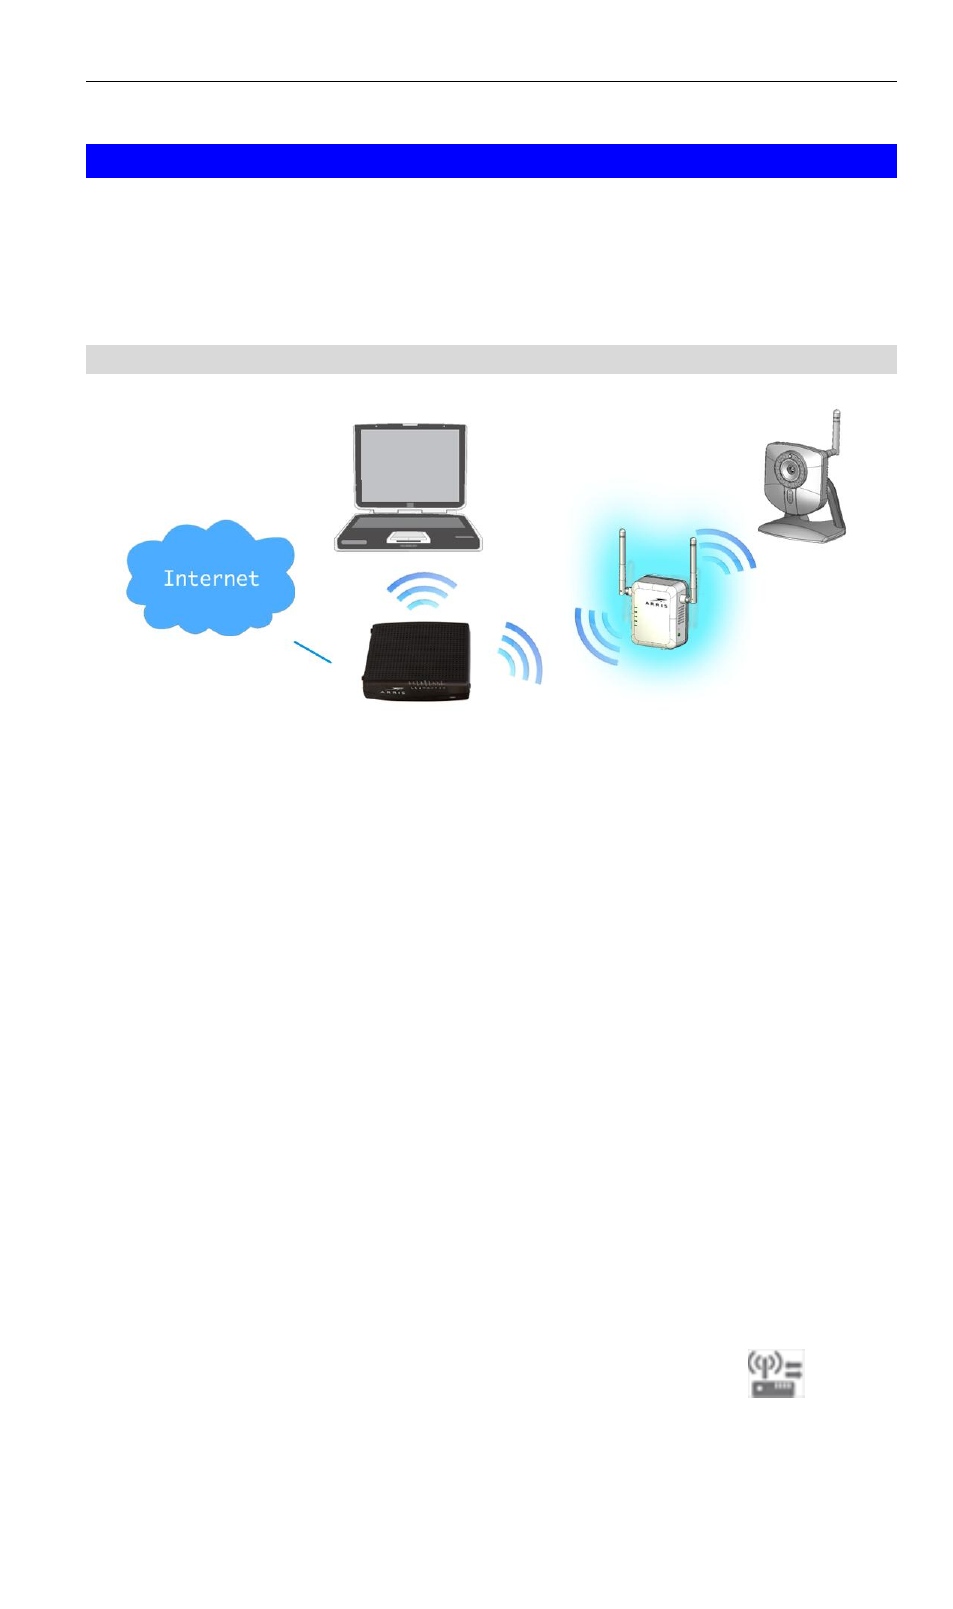
Setting Up the WR2100 Wireless Repeater
The installation allows the WR2100 Wireless Repeater to directly
connect to a wireless router (or Wireless Access Point). You can extend
the range of your wireless network without running cables and reduce
“dead spots” in the house where the router/access point signal is weak.
Automatic Configuration Using WPS
Step 1: Locate the WR2100 Wireless Repeater near the Wireless
Access Point while doing the configuration.
Step 2: Make sure the Wireless Access Point is on and working
properly and with good signal strength to WR2100 Wireless Repeater.
Step 3: Plug the WR2100 Wireless Repeater into the power outlet and
press the Power button to power it on.
Step 4: The LED stays on for a few seconds then starts blinking. Wait
for the Power LED to be static on again. The WR2100 Wireless
Repeater is now ready for use.
Step 5: Press the WPS button on the Wireless Access Point and make
sure the Wireless Access Point is in WPS mode. (The LED on the
access point will blink for 2 minutes.)
Step 6: Press and hold the WPS button on the WR2100 Wireless
Repeater for MORE than 3 seconds. The WPS LED on the device will
blink for 2 minutes. The WR2100 Wireless Repeater will automatically
associate to the Wireless Access Point on which you initiated WPS and
make connection. Make sure to press the button within 120 seconds (2
minutes) after pressing the Wireless Access Point WPS button.
Step 7: The connection of the WR2100 Wireless Repeater and
Wireless Access Point is successfully established after the
LED
remains on.