ARRIS WR2100 User Manual
Page 8
6
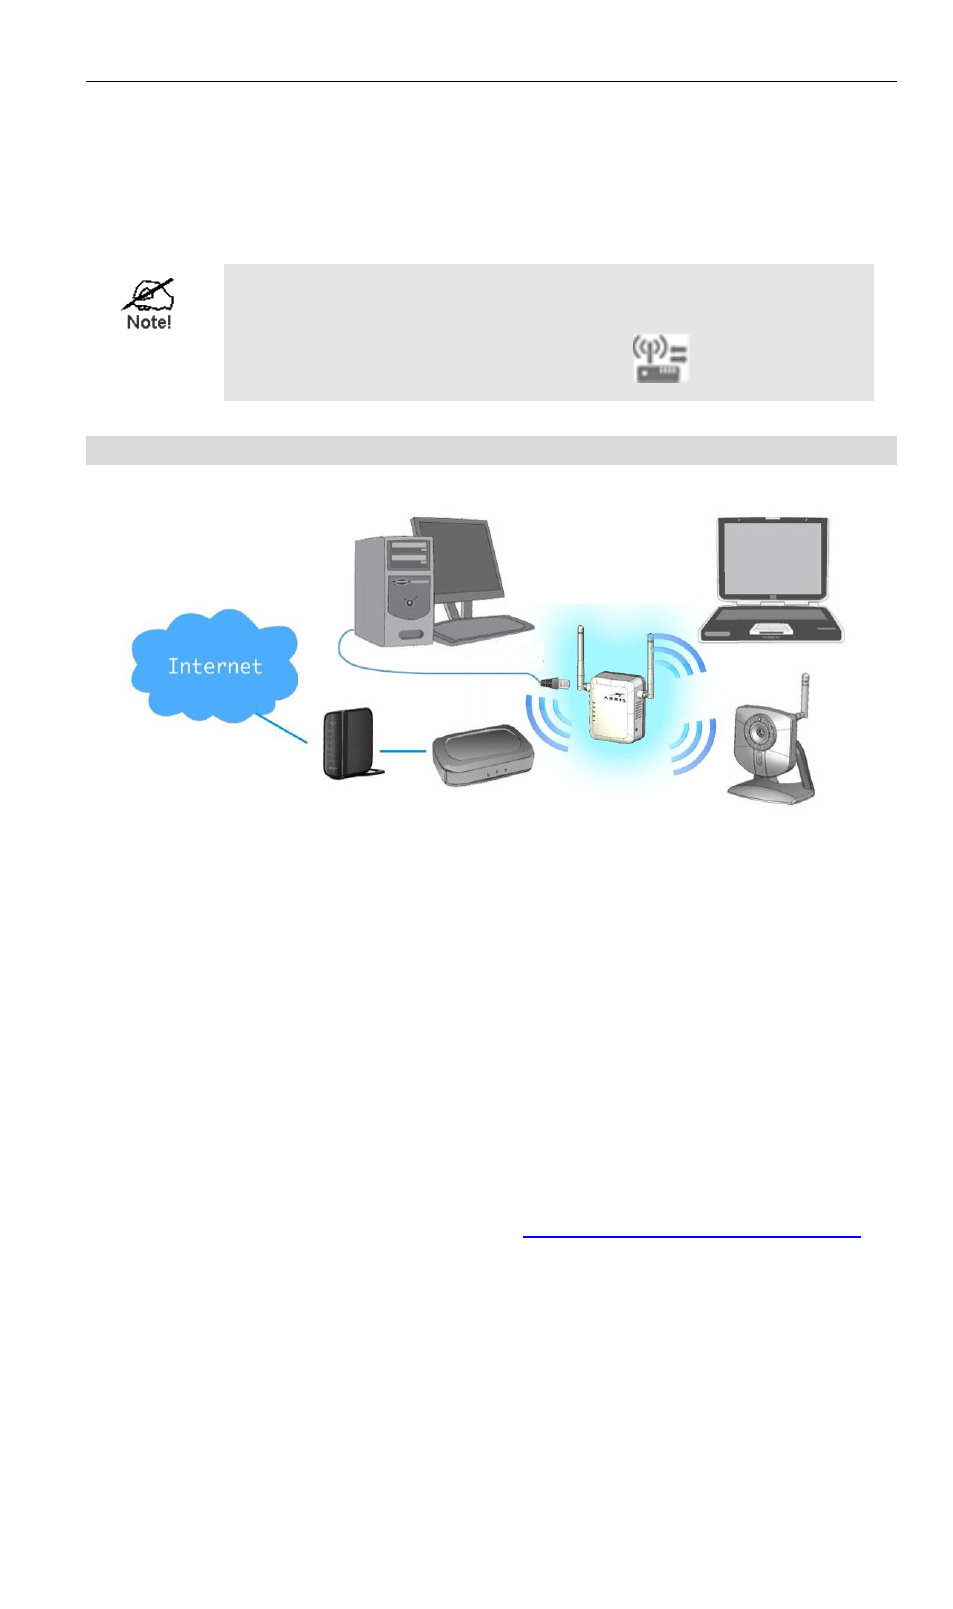
Step 8: Now you can select a suitable location for the WR2100
Wireless Repeater. It's preferable to place the device near the center of
your wireless coverage area. Check the LED color and make sure it’s
not red.
Next go to “Setting Up Your Client Devices”.
Locate the WR2100 Wireless Repeater in another
place for better wireless reception and performance
if the signal strength is weak (the
LED is red).
Manual Configuration with a PC
Step 1: Make sure the PC is connected to the Wireless Access Point
with a good signal.
Step 2: Prepare an Ethernet cable. It should be long enough to connect
the WR2100 Wireless Repeater to your PC.
Step 3: Plug the WR2100 Wireless Repeater into the power outlet and
press the Power button to power it on.
Step 4: The LED stays on for a few seconds then starts blinking. Wait
for the Power LED to be static on again. The WR2100 Wireless
Repeater is now ready for use.
Step 5: Connect the Ethernet cable to the WR2100 Wireless Repeater
and the PC.
Step 6: Launch the browser and ente
in
the Address box.
Step 7: You will then be prompted for a username and password. If
using the default values, enter admin for the username, and password
for the password.
Step 8: Choose the Wireless page and click the
“Site Survey” button.
The WR2100 Wireless Repeater will start to search the existing
wireless networks.