The effects, Constant level, Gradient – Coloronix SCC1 User Manual
Page 8: Phasing
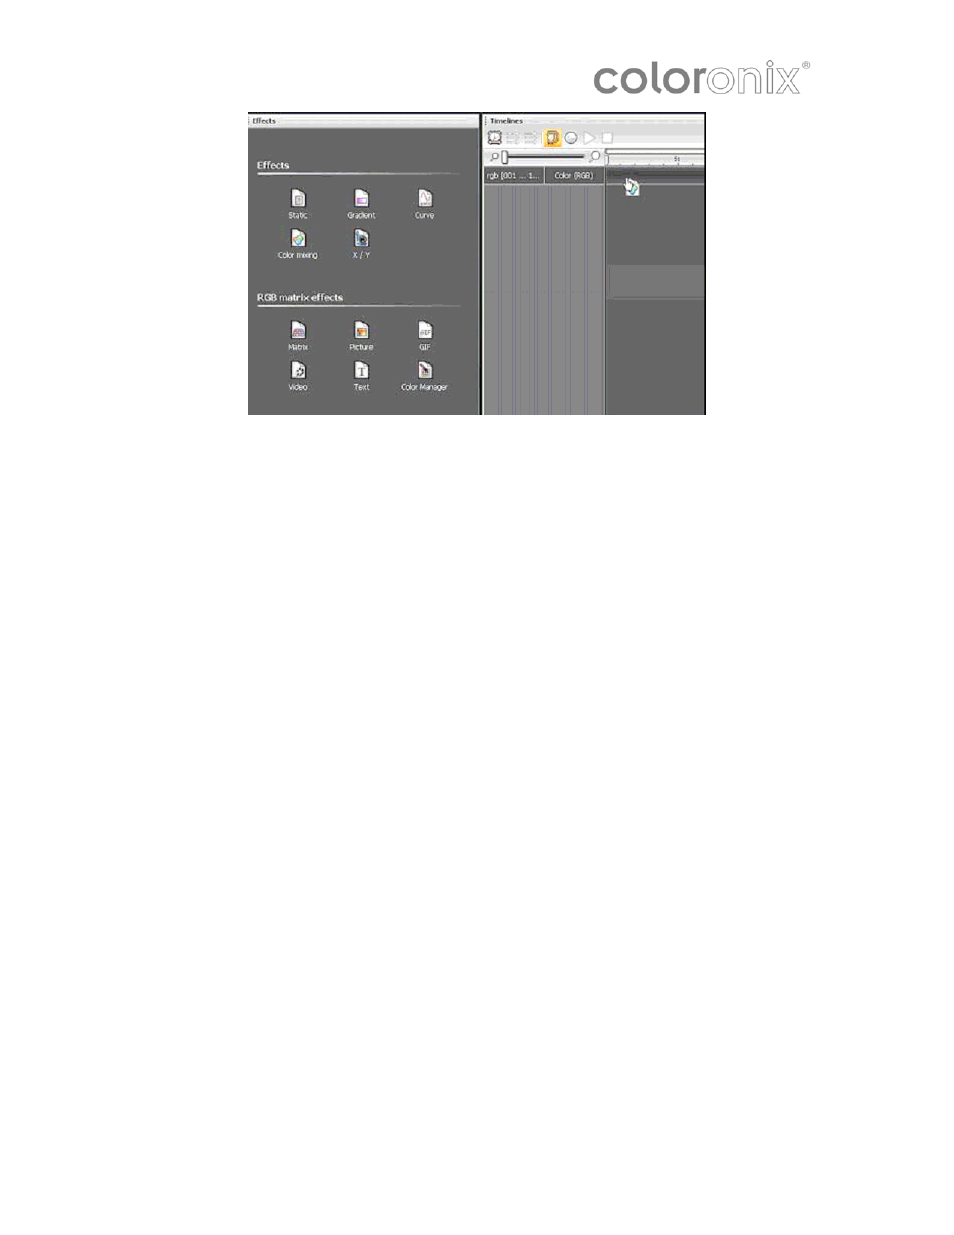
The Effects
Once the selection is made, select an effect from the “Effects” window and drag it to
the timeline. It is not possible to drag an effect if there is no fixture selected. The
following is a brief description of available effects:
Constant Level:
This effect enables you to set up a static level for a selected
fixture. Once the effect is assigned to the timeline (and if the effect is assigned to a
color channel), 3 modes of color can be set up:
• Color picker
• Preset colors (red, green, cyan…)
• Manual selection of the RGB values
Note: Click on the icon on the left side of the toolbar to set up the duration of an effect.
Gradient:
This effect enables you to create a fade between DMX values (color,
positions…). In the case of a color gradient, it is possible to add more points. Double-
click on the gradient zone to add a new step. Then, select it and change its color or its
position within the gradient.
Phasing:
It is possible to add a delay between your fixtures using the “Phrasing”
option. It is very useful when creating, for example, a rainbow effect.
The “Play” button previews effects.
Edit an effect by double-clicking on it on the timeline.
Click on the “Fixtures Order” button (the 3
rd
button from the left on the toolbar) to set
up a direction for your phasing. Next, a window opens: use the UP and DOWN buttons
to change the order—or, record a completely new direction using the “Rec” button.
Page 8 of 12 —Coloronix Color Pad Touch Manual V.2.0