Adjusting the screen angle, Attaching the optional arm – Eizo DuraVision FDX1003 / FDX1003T 取扱説明書 User Manual
Page 27
10
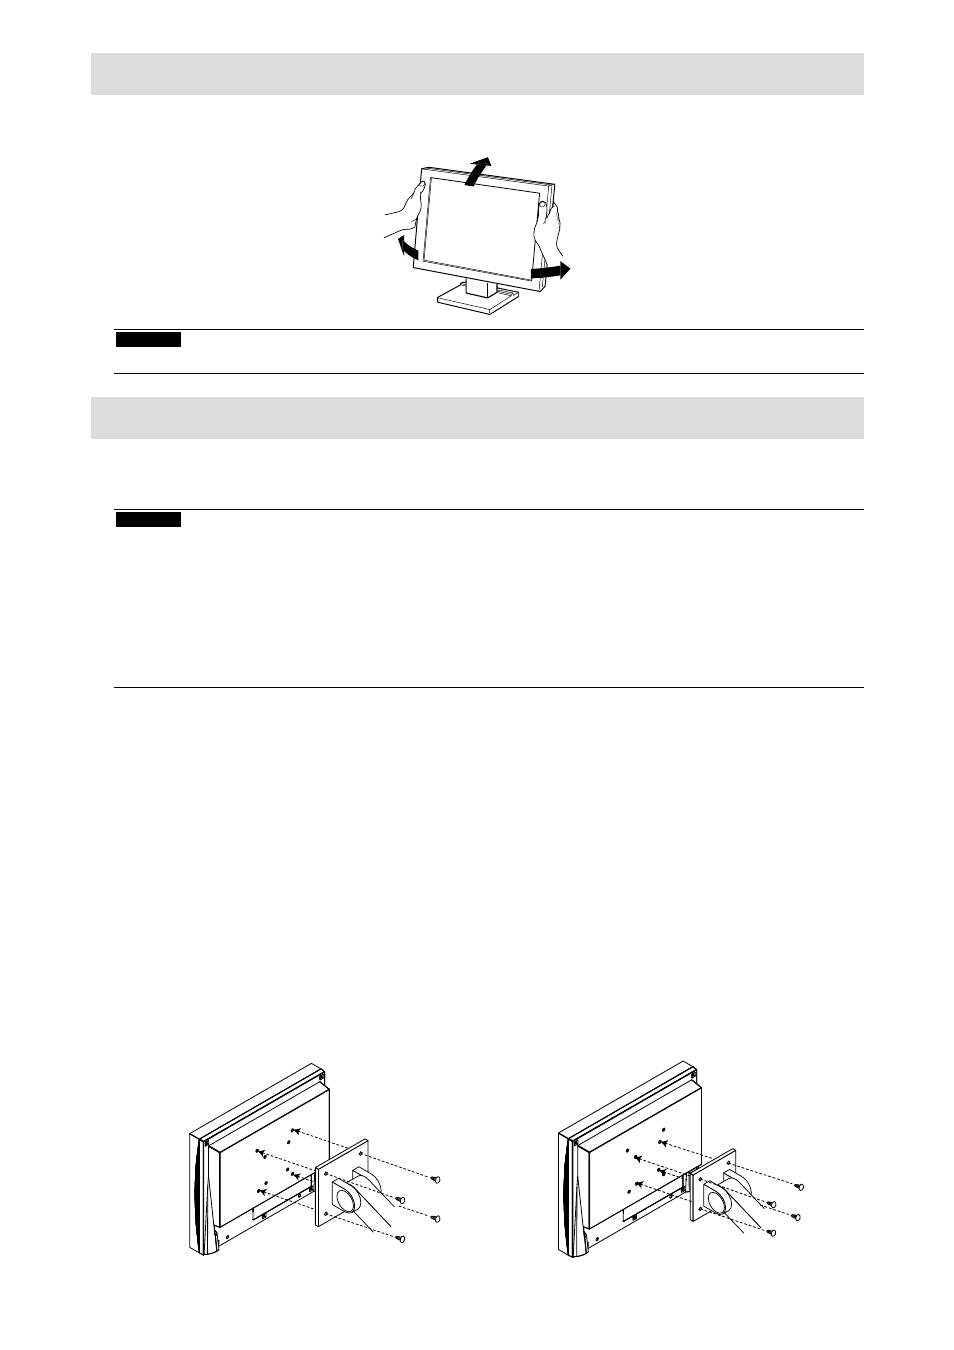
Adjusting the Screen Angle
Hold the left and right edges of the monitor with both hands, and adjust the tilt and swivel of the screen to
the optimum position for working.
Attention
• Be sure that the cables are correctly connected.
Attaching the Optional Arm
An optional arm (or an optional stand) can be attached by removing the stand section. Please refer to our
web site for the corresponding optional arm (or optional stand). http://www.eizo.com
Attention
• When attaching an arm or stand, follow the instructions of their User’s Manual.
• When using another manufacturer’s arm or stand, confirm the following in advance and select one conforming to
the VESA standard. Use the screws securing the unit and the stand.
- Clearance between the screw holes: 100 mm × 100 mm or 75 mm × 75 mm (for FDX1203 / FDX1203T only)
- Thickness of plate : 2.6mm
- Strong enough to support weight of the monitor unit (except the stand) and attachments such as cables.
• Connect the cables after attaching an arm or stand.
• The monitor and arm or stand are heavy. Dropping them may result in injury or equipment damage.
Procedure
1.
Lay the LCD monitor on a soft cloth spread over on a stable surface with the
panel surface facing down.
2.
Remove the stand.
Prepare a screwdriver. Loosen the screws (four) securing the unit and the stand with the screwdriver.
3.
Attach the arm or stand to the monitor.
Secure the monitor to the arm or stand using the screws specified in the User’s Manual of the arm or
stand.
• Clearance between the screw holes when attach
an arm or stand: In case of 100 mm × 100 mm
• Clearance between the screw holes when attach
an arm or stand: In case of 75 mm × 75 mm
(for FDX1203 / FDX1203T only)