Displaying the screen, Installing the touch panel driver (fdx1501t), Calibrating the monitor (fdx1501t) – Eizo DuraVision FDX1501 / FDX1501T 取扱説明書 User Manual
Page 23
10
Displaying the Screen
1.
Press to turn on the monitor.
The monitor’s power indicator lights up blue.
2.
Turn on the PC.
The screen image appears.
If an image does not appear, refer to “No picture” (page 11) for additional advice.
If using the FDX1501T proceed with installation and calibration of the touch panel driver.
Attention
• Turn off the monitor and PC after using them.
• For the maximum power saving, it is recommended that the Power button be turned off. Unplugging the power cord
completely shuts off power supply to the monitor.
Installing the Touch Panel Driver (FDX1501T)
Attention
• The user account to be used for installing the touch panel driver must have the “Administrators” privilege.
• When reinstalling the touch panel driver to update the driver, etc., restart the PC after uninstalling the driver and then
install it.
1.
Uninstall the other touch panel driver, if it is installed.
2.
Install the touch panel driver according to the instructions included in the CD-
ROM.
For how to install the touch panel driver, see the Touch Panel Driver User’s Manual (on the CD-ROM).
3.
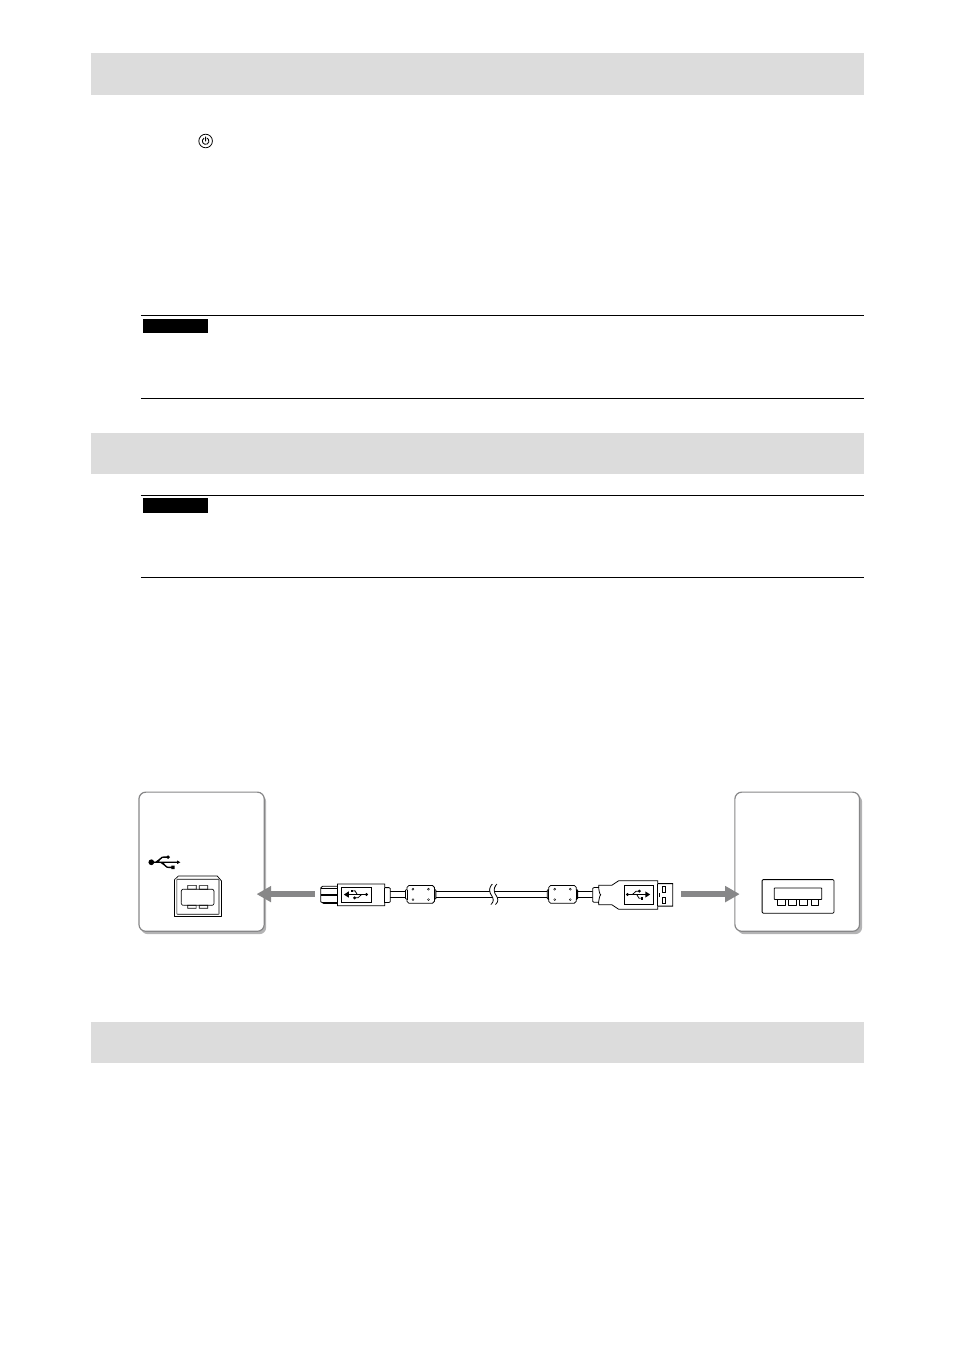
Use the USB cable (MD-C93) to connect the monitor and the PC.
USB
4.
Restart the PC.
Calibrating the Monitor (FDX1501T)
Calibrate the monitor according to the Touch Panel Driver User’s Manual (on the CD-ROM).
Connectors
on the PC
Connectors
on the monitor
USB Cable MD-C93 (supplied)