La Crosse Technology WS-9035U User Manual
Page 9
9
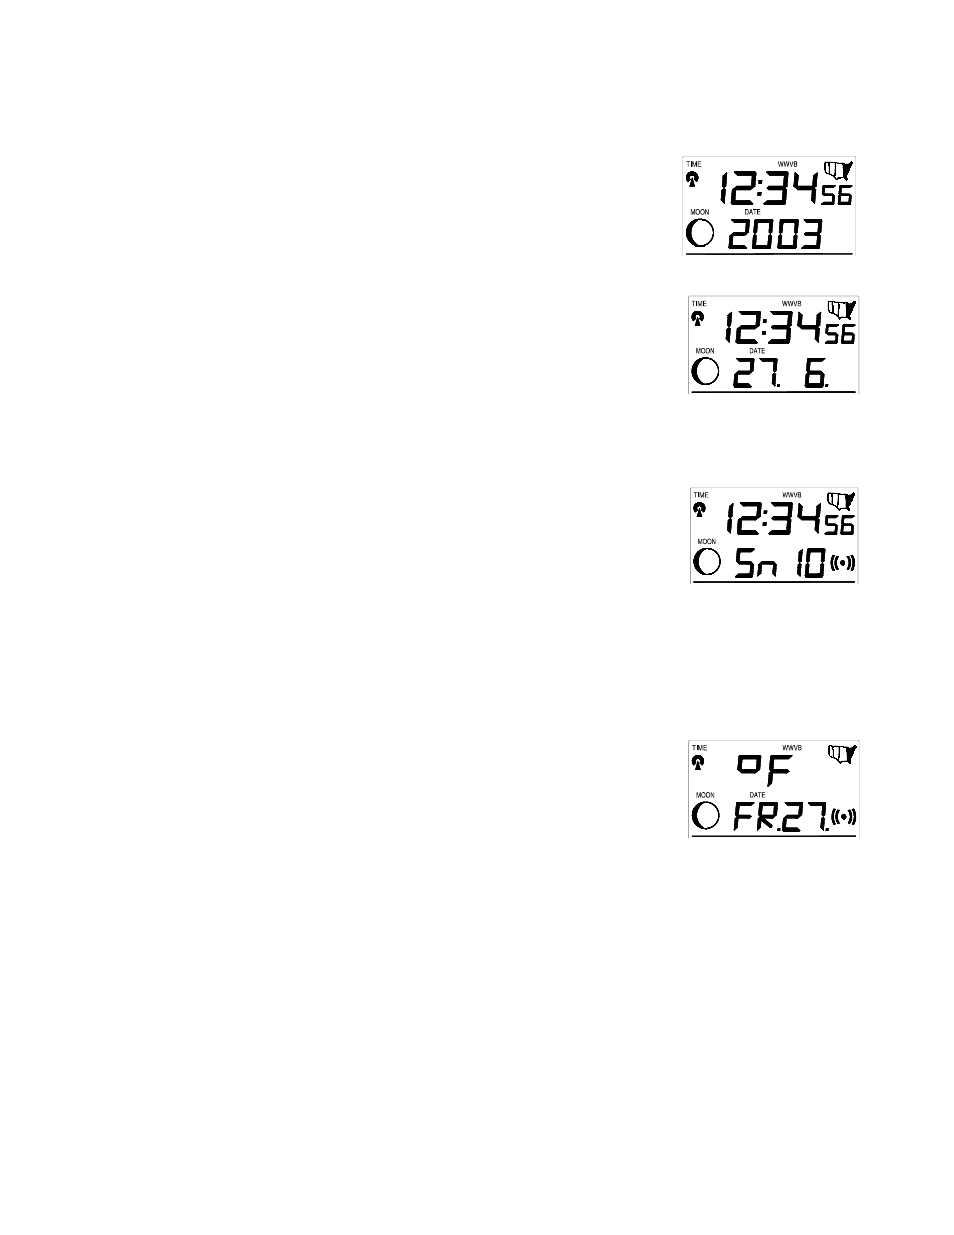
IX. SETTING THE YEAR, DAY AND MONTH
Note: Reception of the WWVB signal will also set the date and day. The reception of the signal will override any
programmed date and day.
1. Press and hold the SET button for 5 seconds.
2. “LCD” will show in the TIME LCD and the number setting will flash.
3. Press and release the SET button seven times.
4. The year will flash in the DATE LCD.
5. Press and release the ALM/+ button to advance the year.
6. Press and release the SET button to confirm the year and advance to the
month setting.
7. The month will flash in the DATE LCD.
8. Press and release the ALM/+ button to advance the month.
9. Press and release the SET button to confirm the month and advance to the
day setting.
10. The day of the month will flash in the DATE LCD.
11. Press and release the ALM/+ button to advance the day of the month.
12. Press and release the SET button to confirm and advance to the snooze
setting.
X.
SETTING THE SNOOZE
1. Press and hold the SET button for 5 seconds.
2. “LCD” will show in the TIME LCD and the number setting will flash.
3. Press and release the SET button ten times.
4. “Sn” will appear in the DATE LCD and a number will be flashing next to
it.
5. Press and release the ALM/+ button to select the duration of the snooze.
Note: The snooze can be set for 0 to 30 minutes in 5-minute increments. If 0 minutes is selected pressing the
WIND/SNZ button will deactivate the alarm and it will not come back on.
6. Press and release the SET button to confirm and advance to the temperature format setting.
XI. SELECTING
°F OR °C
1. Press and hold the SET button for 5 seconds.
2. “LCD” will show in the time LCD and the number setting will flash.
3. Press and release the SET button eleven times.
4. Either ”
°F” or “°C” will flash in the TIME LCD.
5. Press and release the ALM/+ button to select the temperature format.
6. Press and release the SET button to confirm and advance to the forecast
sensitivity setting.