3 .4 text menu, 3 .5 editor detail menu, 3 .6 global settings menu – MacroSystem Columbus 3 User Manual
Page 10
10 Chapter 3
This enables you to magnify or reduce the map details that are
to be displayed during the path animation. A map detail can be
defined at each key point. The map will then be zoomed in or
zoomed out during the animation from the active point to the
next point. Zoom factor changes should be carefully consi-
dered to avoid creating scenes that appear too busy.
If you set the map movement (
Map menu item) to manual in
the
Global settings menu, it becomes also possible to define
camera detail at the waypoints. If map movement is set to
manual, it becomes also possible to change the position of
the map camera.
This influences the look of the map after the calculation. If you
want to zoom the map in or out, you must indicate this in the
Editor detail menu.
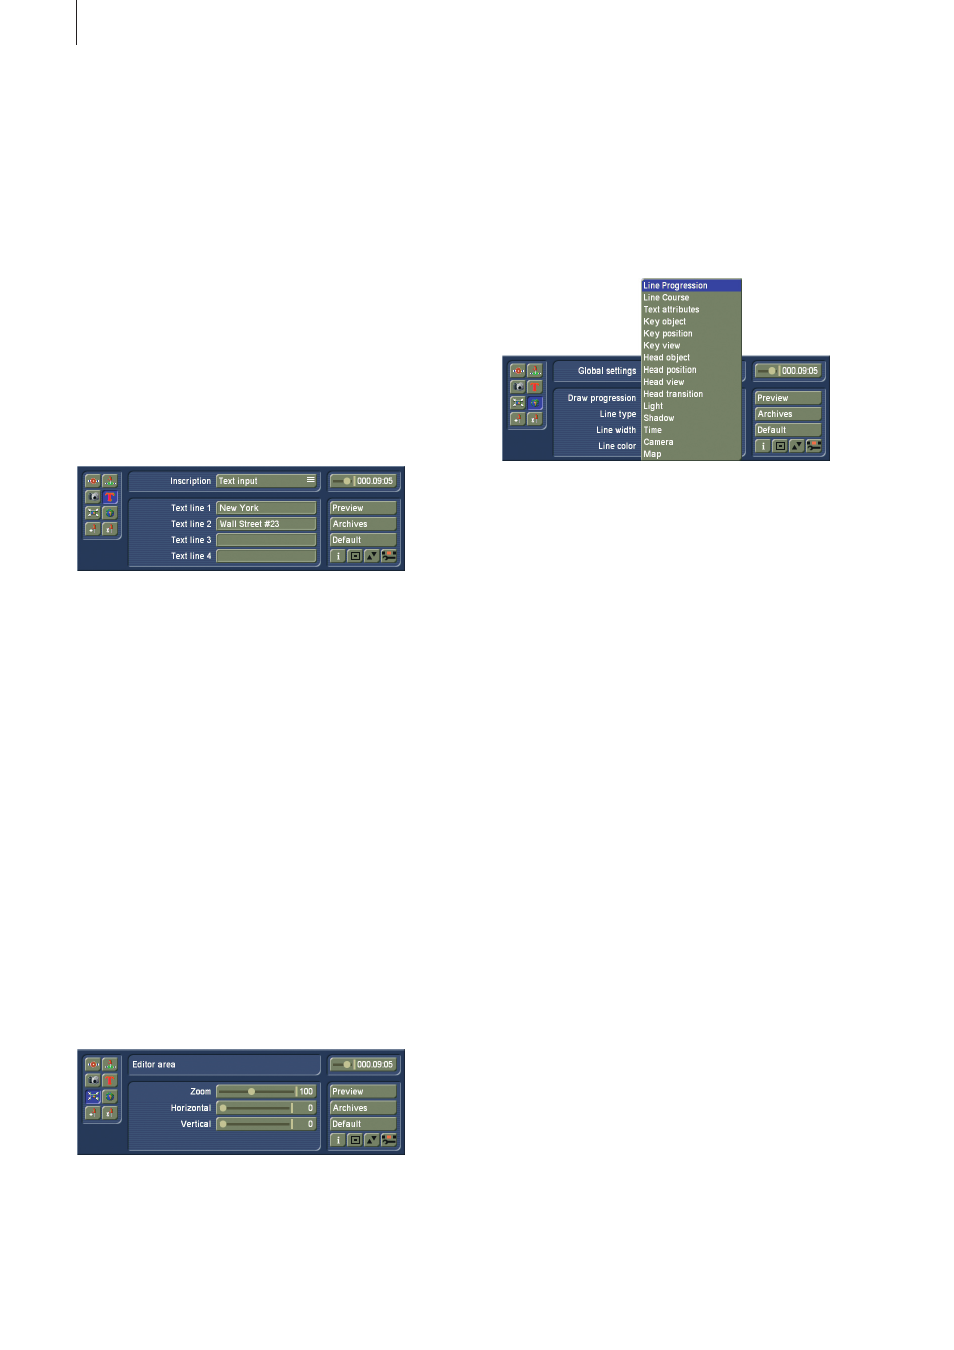
3 .4 Text menu
This menu is only accessible for key points.
A 4-line text can be entered at each key point, independently
of the other key points. Click on the
Text button to open the
familiar keyboard and enter the desired text. Should you so
choose, you also have the option to enter the text using an
external keyboard.
The text can be adjusted further. Use the
Text attributes menu
to set
Text alignment, and also the Position relative to the
point and the distance (distance from key point to text) as a
percentage. Text formatting (font, color...) can be set in the
Global settings menu (Chapter 3.6) under Text attributes.
These global settings can be used to set the color, the frame
size and the font type for 5 different fonts. This setting can be
accessed in this menu by selecting
Font selection.
Use the
Text transition menu to indicate whether you want
the text at the key point to fade in (fade in) or to fade in and
out (fade in/out) or not to fade at all (Off). You can also set a
transition duration.
3 .5 Editor detail menu
This menu can be used when you want to magnify details of
a map, to better position a point or to move on a map (that is
bigger than the field of view).
Use
Zoom to define the map detail. Use the Horizontal slider
to move horizontally on the map and use the
Vertical slider to
move vertically on the map. If the Zoom setting of the map is
such that it is not possible to move horizontally or vertically,
it will still be possible to move the slider, but it will return to 0
every time.
3 .6 Global settings menu
This is where various global settings can be found, i.e. settings
that will be applied to the entire project and not only to speci-
fic points. These settings can be accessed by clicking on the
Global settings selection button.
3 .6 .1 Line type path
Here, under
Draw path, you can first of all configure whether
you want a growing line to be drawn. If you do, you can then
select the
Line type (solid or various dashed lines), the Line
width and Line color. If you have configured the setting so
that a line path is not traced out, you will see a thin grayish-
white line appear instead to indicate where the path is. This will
of course be left out when the calculations are carried out later
on. Even if the time control in the top right of this menu (see
Chapter 3.9) is not set to maximum, the dashed display will still
be chosen for the scene‘s remaining time.
3 .6 .2 Line type route
When you activate the
Draw course option, the route stretch
will be pre-drawn from the start, and the line will subsequently
be filled with color. You can define the color using the Line
color button. The line type, whether it dotted or continuous,
and its thickness, are all configured through settings in the Line
progression menu.
3 .6 .3 Text attributes
You can use any font installed on your system when working
with Columbus 3 (except for DEMO fonts). This menu allows 5
fonts to be defined. You can then choose amongst them in the
local text settings.
To set these definitions, you should use this menu to select
fonts 1-5 in turn and configure their individual settings of font
type, size, color and frame attributes.
Under the
Select font style/size setting, you can configure the
font type and size. You can use
Font color to set the color in
which the font will be displayed.
Outline can be used to draw
a border around the letters (the outline strength can be adju-