3 .7 selecting a new object, 8 configuring/modifying objects, 3 .9 time control – MacroSystem Columbus 3 User Manual
Page 12: 3 .10 preview, 3 .11 archive
12 Chapter 3
3 .6 .14 Camera
This is where you can configure how the camera moves in
the case of oversized maps. If you decide to use
manual,
you will not be able to change any other settings options
here; though in the
Camera detail menu you will be able
to enter a manual camera position for each point. If you
decide on
automatic camera movement, you can use the
Camera points function to set whether the camera should
move from key point to key point (only
key points) or
whether it should move to
all points. Set it to static to avo-
id camera movements during the animation. In this case,
you should configure the camera detail in such a way as to
make your route appear in the desired detail.
3 .6 .15 Map
This menu is only available if you started Columbus 3 in
Image Pool Ext . mode. Here you have the option of chan-
ging the map. After you click on the
Select map button,
the image pool opens and you can select a map from it. In
the Imagepool you can also change the product in order to
access images of other products. Please refer to the Bogart
SE manual for more information regarding the Imagepool.
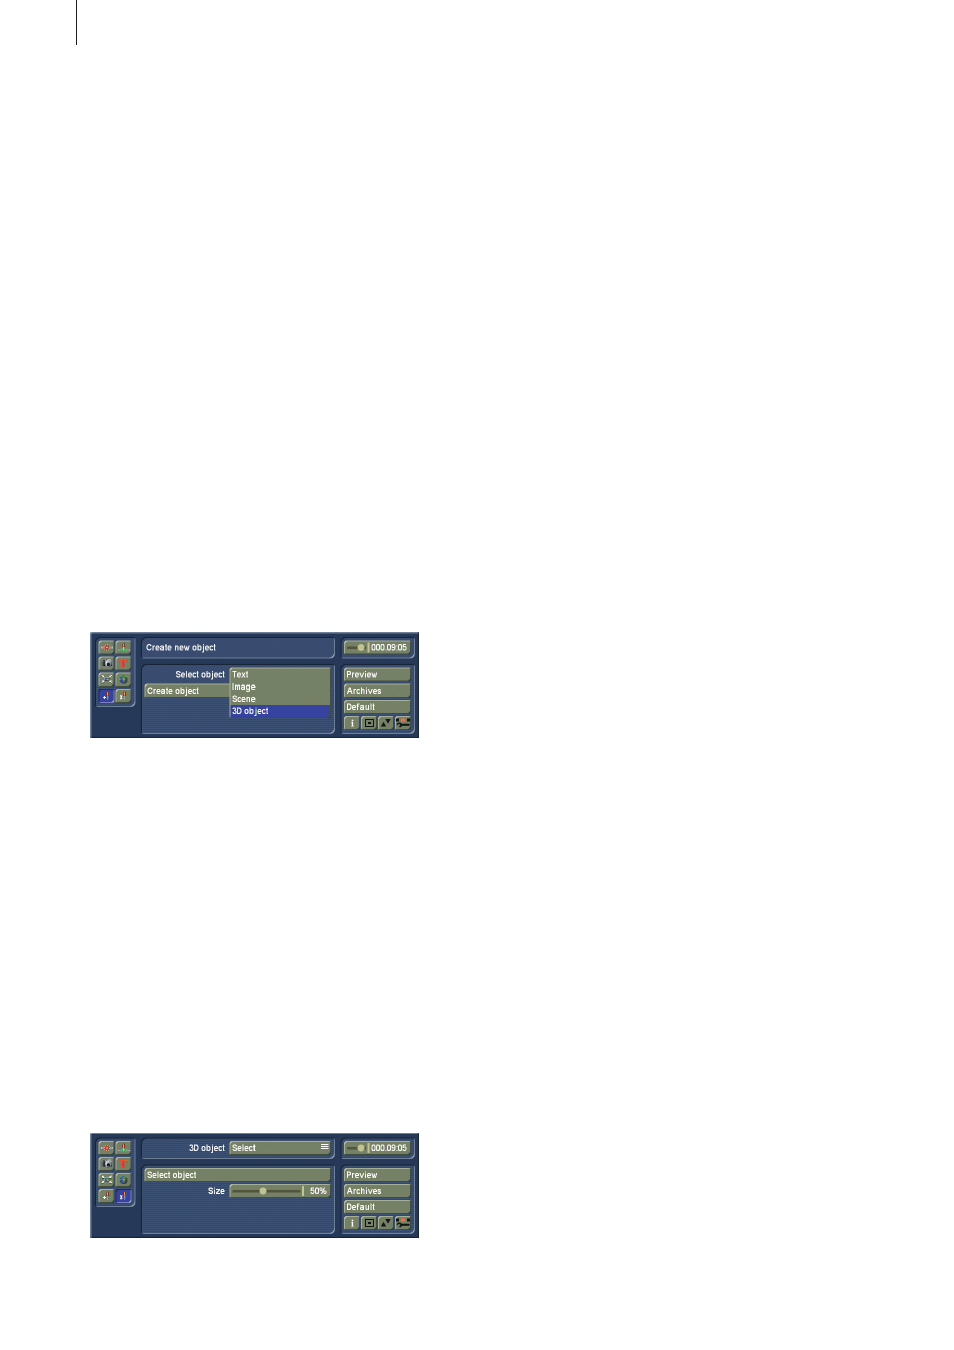
3 .7 Selecting a new object
This allows you to choose a new object that can be posi-
tioned independently of the route. The object can be your
choice of a text (4 lines), an image from the Imagepool, a
scene from an active project, or an object from the pool.
You can insert as many of these independent objects in
your route as you would like. Once you have chosen the
object type, you should click on
Create object. This will
bring you in the menu you need to select your object.
Select text to enter text, Image to go the Imagepool, Scene
to select a scene and 3D object to go to the Object pool.
The size of the selected objects is adjustable. The object
will always be positioned in the center of the image. These
objects can be moved, in the same way this is done for the
route.
3.8 Configuring/modifying objects
When you want to change the properties of an object, this
is the menu to come to. If there are no independent objects
on your route, you will see this through an empty menu and
a text message.
Select your object and change the properties. Depen-
ding on the type of the object, different properties will be
displayed here. These options are identical to those of the
key points. They have already been described there. You
can also link the object here. There are always two active
points on your map: one point on your route and one free
object. These can be linked by clicking on „Join object with
route point“. The time component will now be linked to the
route point. This is only important when you want the object
to fade in/out. The object will then behave as a key object,
and it will be faded in/out at the key point for the duration
you have set. Only the time factor of the route point is used,
all other values are not changed, nor copied. It speaks for
itself that you can also delete the object again.
3 .9 Time control
In the top right of the main menus you will see a slider
control that you can use at any time to specify the point in
time at which you want the current route display to apply.
Normally it should be set to the maximum value (to the far
right) so that the entire route is always visible. The default
setting for the maximum value is 10 seconds, though this
can be changed at any time using the
Route button in the
Time menu (Chapter 3.6.13). The times stated here is the
net „driving time“ and does not include the time needed for
transitions or pauses.
3 .10 Preview
Contrary to other programs, Columbus 3 displays a full
screen animated preview. The menu bar and the trackball
pointer are not available during such a preview. However,
you can abort a preview by clicking on the right trackball
button. Depending on the complexity of the Columbus 3
project and on the system model you are using, the preview
might not be played completely smoothly. However, the ti-
ming will on the whole be accurate. You might notice some
display inaccuracies but these will no longer be visible after
the calculations have been performed.
3 .11 Archive
This is where you can store entire routes together with all
their settings thus enabling you to use them as often as
you like. The map used is not saved. This way, you can use
the same route on any other map. If the size of the map is
changed, the route will be adjusted to fit the new image
limits.