Chapter 3 - system setup, Choosing a notebook pc, Attaching the notebook to waveport – Measurement Computing WavePort rev.3.0 User Manual
Page 19: System setup
WavePort User’s Manual
06-14-00
System Setup 3-1
System Setup
3
1. Choosing a Notebook PC …… 3-1
2. Attaching the Notebook to WavePort …… 3-1
3. Connecting the Communication Cable and Notebook Power Cable …… 3-4
4. Connecting the WavePort to Power…… 3-5
5. Installing Software …… 3-5
6. Using the Daq Configuration Applet to Check Connections…… 3-6
A Guide to Using the Daq Configuration Applet …… 3-7
1. Choosing a Notebook PC
A Notebook PC provides a means of communicating
with WavePort’s acquisition hardware.
The Notebook you choose must meet the following
requirements:
•
Maximum Height (when closed): 1.5” (38 mm)
•
Maximum Length: 12.75” (323 mm)
•
Maximum Width: 10.19” (259 mm)
•
16MB Ram (32MB Ram recommended)
•
Pentium
®
90 Processor (or equivalent)
•
10 MB of Available Disk Space
•
Windows Operating System
(Windows95/98/NT or 2000)
•
EPP (Enhanced Parallel Port) –
Optional, but recommended
•
Power Consumption: Not to exceed 50 Watts
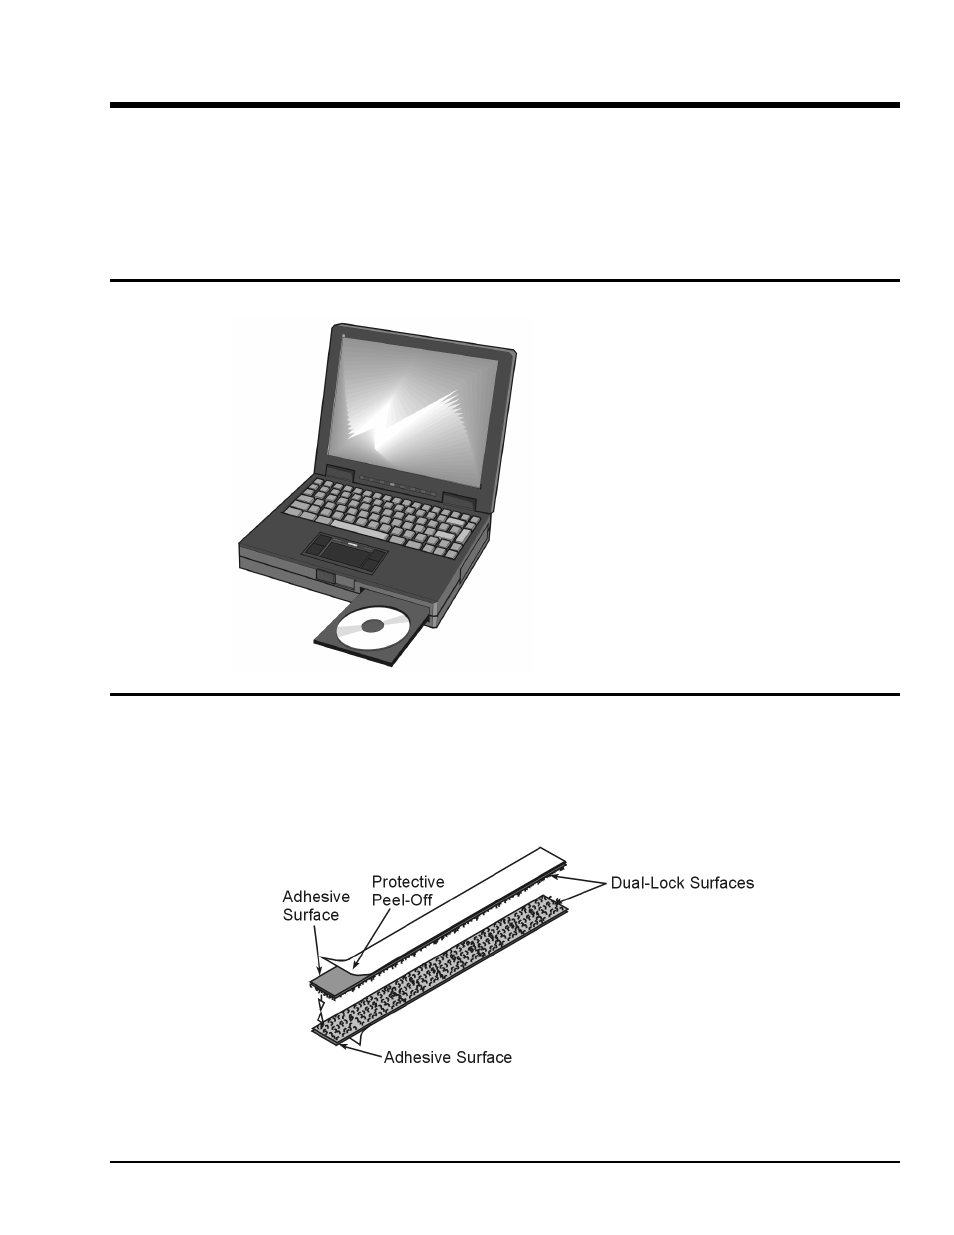
2. Attaching the Notebook to WavePort
You can use the included Dual-Lock Fasteners (ST-27) to hold your Notebook PC firmly to WavePort’s
cover plate.
Prior to attaching the strips, verify that WavePort’s cover plate and the bottom of the Notebook are clean.
Isopropyl Alcohol swabs, or commonly available “rubbing alcohol” with clean, lint-free rags can be used to
achieve a clean mounting surface.