Configuring the alarm monitor, Configure your recorder, Professional recorder – OpenEye Gen6 RADIUS-PC User Manual
Page 63: E-series recorder

64
32541AD
Configuring the Alarm Monitor
1.
Click
Menu
, and then click
Settings.
2.
Click
Alarm Monitor
.
3.
Select
Use
to enable the Alarm Monitor.
The Alarm Monitor uses one port to transfer the data (the Emergency Port). The port can be
adjusted inside the Network settings if necessary. It is recommended that the default setting
should be used unless the port must be changed.
4.
Click
Save and Close
.
For the Alarm Monitor to work, you must have configured your recorder to transmit alarm information to
RADIUS. To access your recorder’s configuration settings using RADIUS, right-click the recorder in the
Server List, and then click
Device Configuration
.
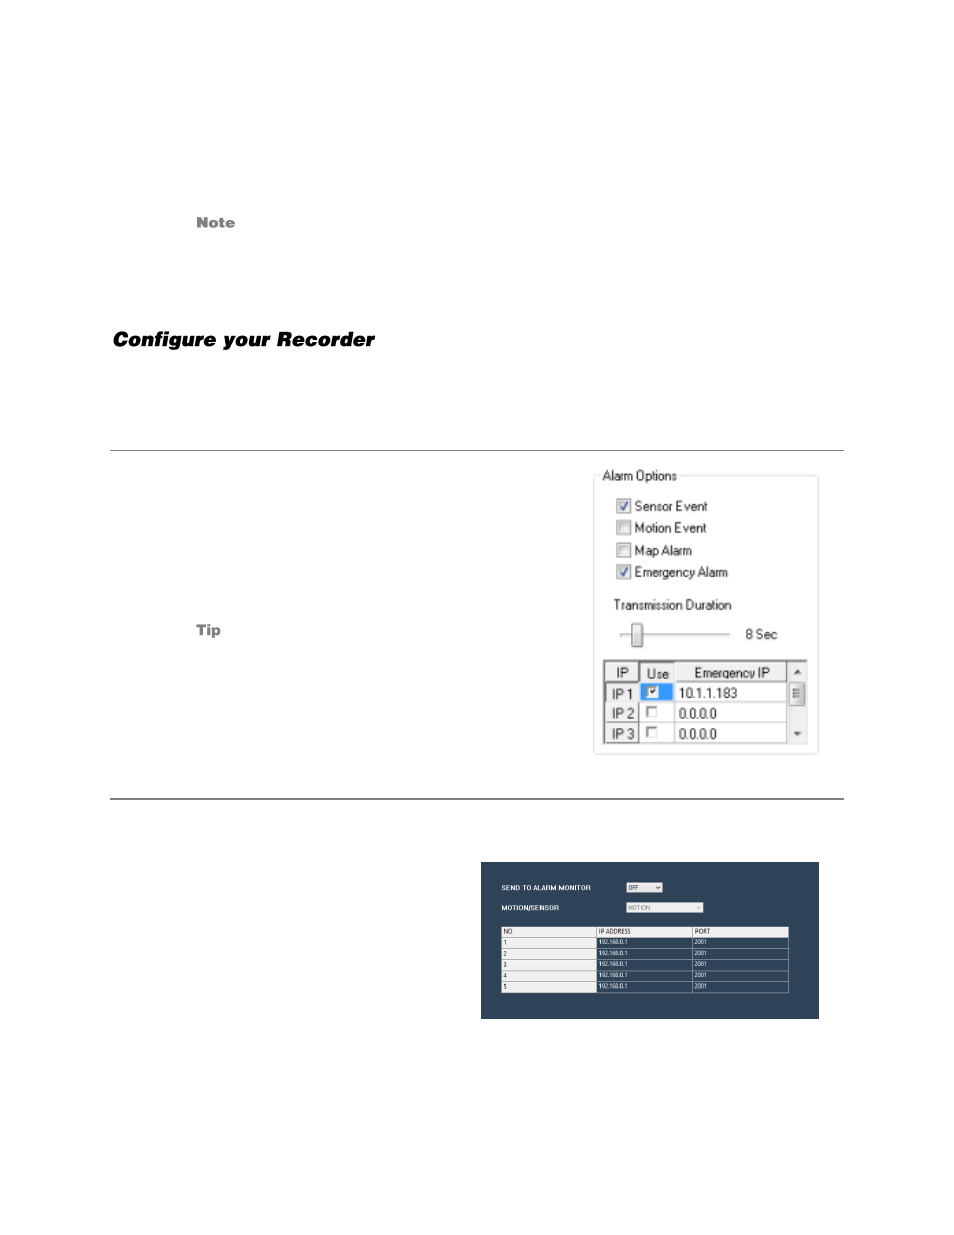
Professional Recorder
For a Professional Recorder, follow these steps:
1.
Click
Recording Schedule
.
2.
Select the appropriate
Alarm Option
.
3.
Set your desired
Transmission Duration
.
4.
Type the IP Address of your RADIUS workstation in the
Emergency IP
list.
5.
To enable an IP address, select
Use
.
The RADIUS Alarm Monitor displays only events
set up as
Emergency Alarms
.
6.
Click
Apply
.
E-Series Recorder
For an E-Series Recorder, follow these steps:
1.
Click
Record
, and then click
Motion / Event Setup
.
2.
Click Alarm Monitor.
3.
Set
Send to Alarm Monitor
to
On
.
4.
Click
Save.