Sea Eagle 124 smb Super Motormount Boat (124SMB) User Manual
Page 7
Slide the aluminum
motor mount rods
through the grommets
and the fittings on both
the bench seat and
motor mount board.
Once the rod is installed
put the rod pin through
the hole at the end of
the rod. Repeat this
process for both sides.
MM Installation
Attach the L-Bracket
and wooden motor
mount to the motor
mount bench.
The brackets fasten in
two places, the wooden
motor mount block and
the aluminum motor
mount slat. Connect
the bracket to the motor
mount slat first by taking
1 short bolt & 1 washer
and push the short bolt
through the bottom of
the slat and through the
bottom of the bracket.
Attach the brackets to
the motor mount on the
lowest fitting. Use 1
short bolt & 1 washer
and put the short bolt
through the bracket and
through the motor
mount and then fasten it
with the knurled nut.
Once installed, proceed
to finish the inflation of
your 124SMB.
You can safely inflate
one centimeter beyond
the diagram. Once fully
inflated you should be
able to indent your
thumb into the boat
about ½ to ¾ of an
inch. If you are using
floorboards, only inflate
the main chambers 75%
full until they’re installed
and then finish inflation.
AB25-3 Oar Set
The AB25-3 Oar is 56”
long and easily rows
your Sea Eagle 8 or 9.
Each oar includes an
ABS blade, aluminum
shaft and drip ring.
Assemble the AB25-3
by sliding the drip ring
over the shaft and then
connect the shaft to the
blade. Tighten the ring
at the bottom of the
blade so that its secure
on the shaft. We always
recommend testing the
connection of the blade
and shaft on dry land
rather than in the water.
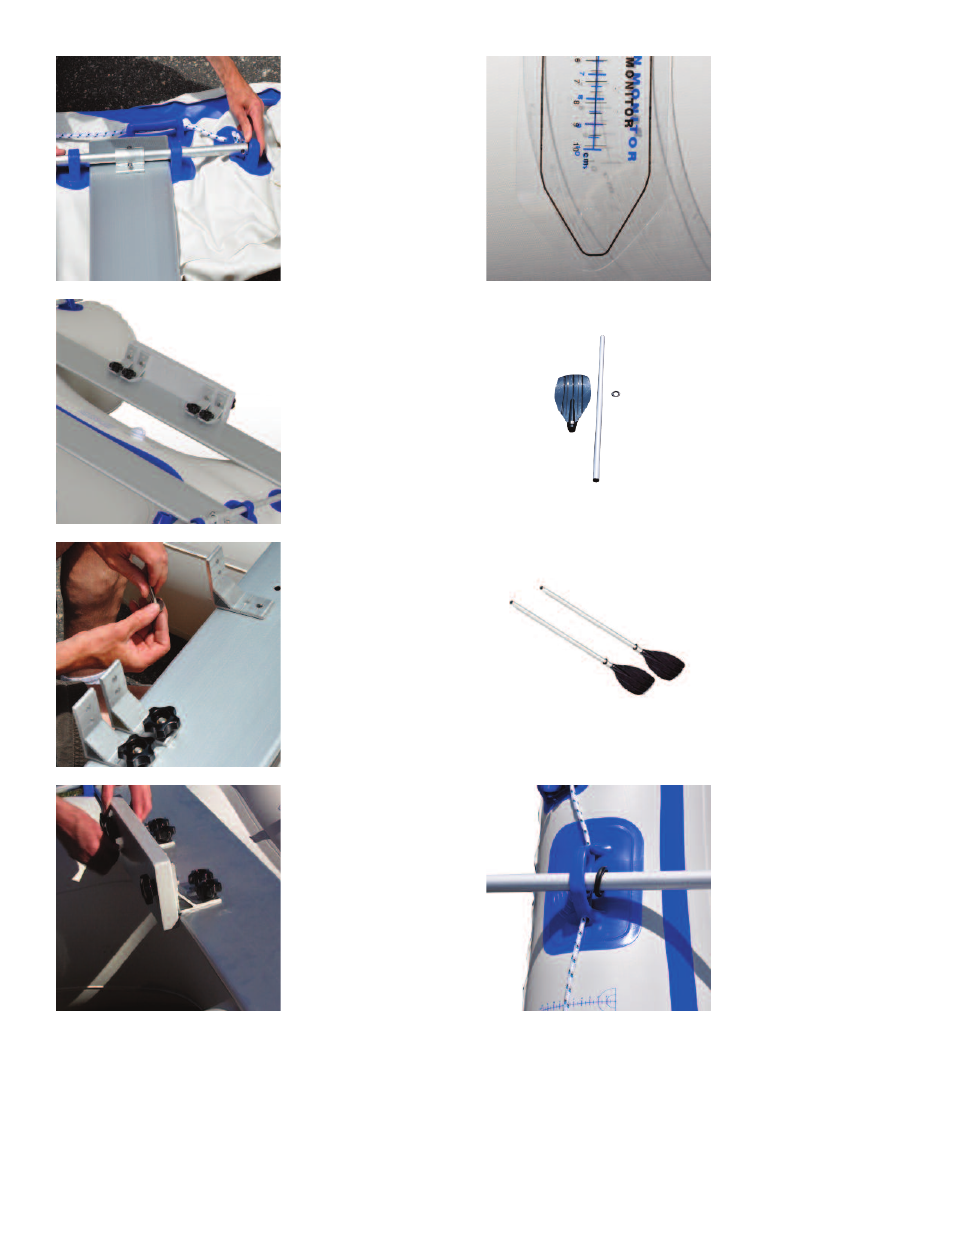
To row your boat using
the AB-253 oar set, use
the blue carry handles
as oar locks. Although
the handle is a snug fit
for the shaft of the oar,
you can keep the drip
ring on the inside of the
boat to act as a stopper
and keeping the shaft in
place.
6