Manual flash operation, High speed sync (fp) flash ( hss, Modeling flash – SIGMA ELECTRONIC FLASH EF-610 DG SUPER SO-ADI (ソニー用) User Manual
Page 19
18
Mode
Number of Flash Exposures
TTL, M(1/1,1/2)
20 Continuous Flash Shots
M(1/4, 1/8)
25 Continuous Flash Shots
M(1/16-1/32) 40
Continuous Flash
Shots
Multi 10
Cycle
MANUAL FLASH OPERATION
Manual flash is provided when shooting the subjects when the correct, Exposure is difficult to obtain in
the TTL mode.
In the manual flash mode, you can set the flash power level from 1/1 (full) to 1/64 power in one step
increments.
1.
Set the camera’s exposure mode to M.
2.
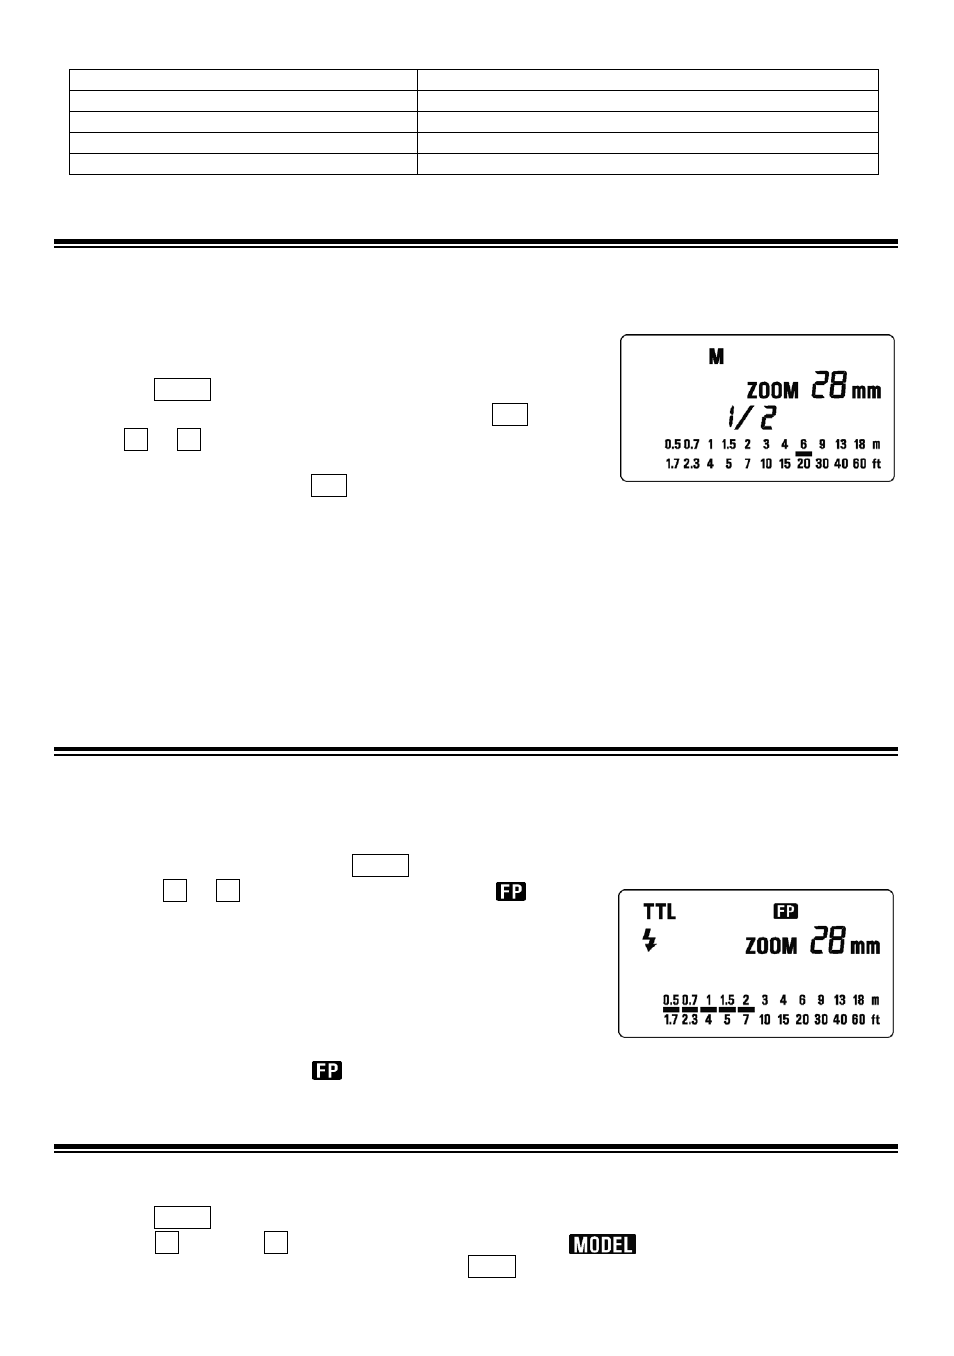
Press the MODE button on the flash unit to select M.
3.
The guide number value blinks when you press the SEL button.
4.
Press + or – button to set the desired flash power output.
5.
The manual flash output display will stop blinking and remain
displayed after you press the SEL button again.
6.
Adjust the focusing by pressing the shutter button, read-out subject distance from the focus ring on
the lens. Then, adjust the F-stop or flash power, until the distance indicated on the LCD panel of the
flash, and subject distance becomes about equal.
7.
When the Ready Light of the flash is illuminated, the unit is ready for use.
◆
You can calculate the correct exposure by using the following formula:
Guide Number “GN” / Flash to Subject Distance = F-stop
This flash unit will automatically calculate and indicate the appropriate Subject Distance according to
the above formula. (Please refer to table1 on the last page)
HIGH SPEED SYNC (FP) FLASH(HSS)
When you take a picture with an ordinary flash, you cannot use a shutter speed faster than the
camera’s synchronized speed because the flash must fire when the shutter curtain is fully open. The
FP flash keeps firing, while the shutter curtain is running. Thus you can use a shutter speed faster than
the synchronized speed.
1.
Choose the Flash Mode by using MODE button (“TTL” or “M” modes can be used).
2.
Press the + or – button and make the indicate
indicator
appear on the LCD panel.
3.
Focus on the subject
4.
When the Ready Light of the flash is illuminated, the unit is
ready for use.
◆
Depending on the shutter speed, the Guide Number will be
changed.(Please refer to table2 on the last page)
◆
If you want to cancel the FP Flash mode, please follow the FP
flash procedure to make the
indicator display from the LCD panel.
MODELING FLASH
If you use the Modeling flash, you can check the lighting and shadow effects, before you take the
picture.
1.
Press the MODE button and select the mode.
2.
Press the + button or – button several times to make the
icon on the LCD panel appear.
3.
Confirm that the flash is charged, then press the TEST button to fire.