Installation ls timing cover conversion kit – Allstar Performance ALL90090 User Manual
Page 4
Allstar Performance 8300 Lane Dr., Watervliet, MI 49098
Phone: (269) 463-8000 Fax: (800) 772-2618 www.allstarperformance.com
Form 1122
Page of 5
Rev. 120412
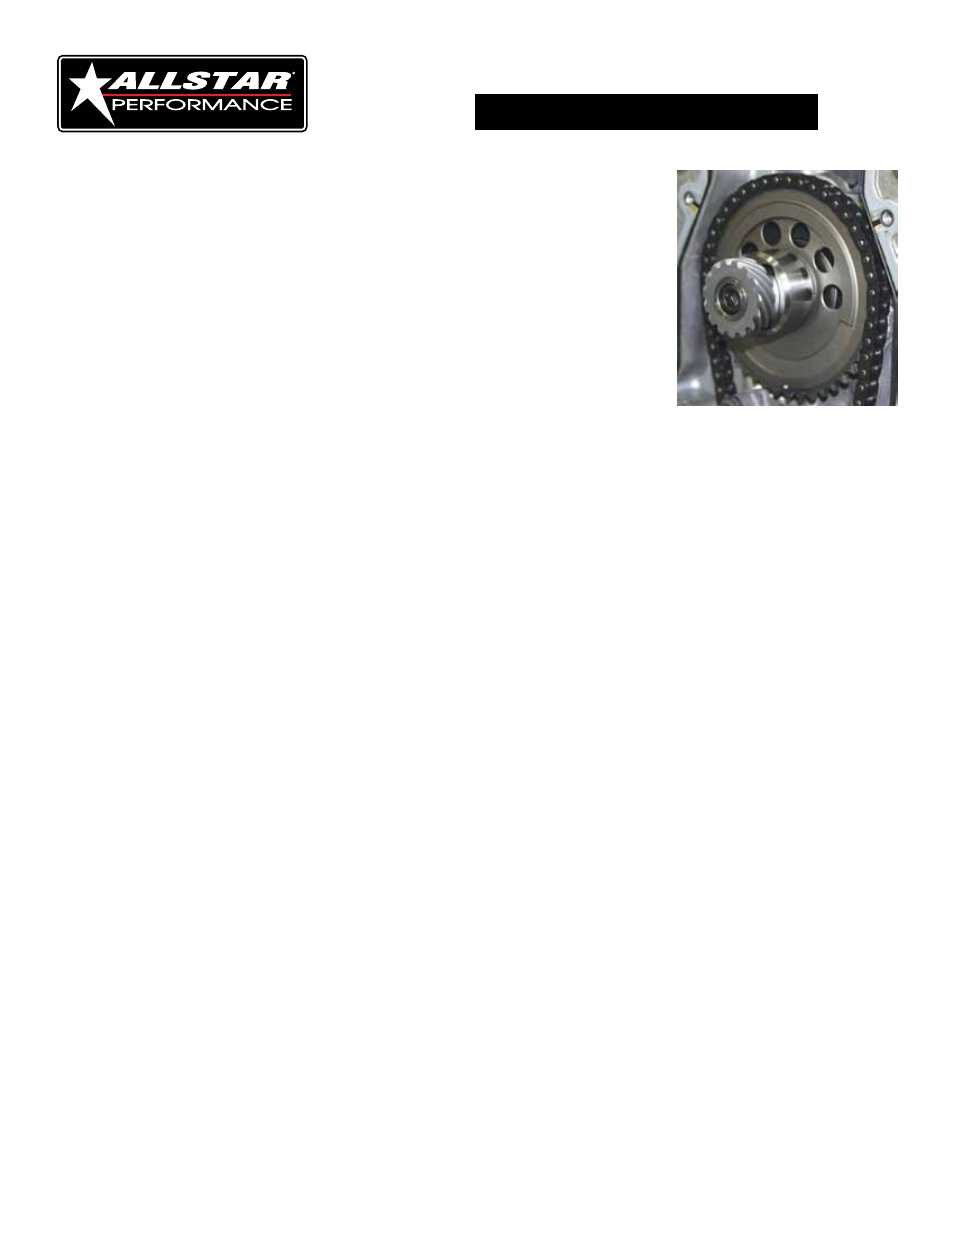
19.
Install distributor drive gear with supplied 7/16"-14 x 1" socket head
fastener using blue thread locker and torque to 60 ft. lbs. (Figure #6).
20.
Rotate crankshaft until cam timing gear mark is at the 12 o'clock
position, this will be close to TDC.
21.
Install new crankshaft seal into cover GM #12585673 or equivalent.
22.
Install timing cover and gasket applying a small dab of silicone in each
corner where block, cover and oil pan meet. Note: Bolts should fit tight
in cover as these fasteners also align cover (slight filing of holes may be
required depending on fastener used as some ARP fasteners have a
larger tolerance than OE fasteners). Tighten cover bolts to 18 ft. lbs.
Note: Button head fastener included with kit should be installed in top
hole to provide additional clearance for distributor.
23.
Install timing pointer on cover and tighten fasteners. Do not apply thread locker at this time.
24.
Install dampener using installation tool and tighten retainer fastener to 100 ft. lbs.
25.
It will be necessary to locate TDC of the #1 cylinder and mark dampener accordingly. A top dead
center stop tool such as (Comp Cams part no.4795) that threads into the #1 spark plug hole is the
best option for this if cylinder heads are installed on engine. It is recommended to remove all spark
plugs from engine and the #1 cylinder rocker arms before performing this procedure to prevent
valves from contacting stop.
26.
Rotate crankshaft 1/4 turn clockwise and thread stop into spark plug hole.
27.
Turn engine back counter-clockwise gently until stop contacts piston and mark dampener or note
degree marks.
28.
Turn engine clockwise gently just less than one full turn until piston makes contact with stop in the
other direction and mark dampener or note degree.
29.
Remove the piston stop tool.
30.
The middle of these two marks or degrees is the true TDC.
31.
Rotate the engine so the true TDC found in step 30 lines up with the timing pointer.
32.
Loosen the timing pointer and move to the TDC mark on the dampener.
33.
Remove timing pointer screws one at a time and apply a small amount of blue thread locker.
34.
Now install the distributor. Mark the body of the distributor directly below the terminal
you would like to be the number one cylinder. Apply break in grease or engine oil to distributor gear
and install the distributor into the housing with gasket. Position tip of rotor slightly before the mark
placed on the distributor housing as shaft/rotor with turn slightly as the distributor gear makes
contact with drive gear. Install distributor hold down.
35.
Install cap and plug wires using LS firing order 1-8-7-2-6-5-4-3 firing order in counter clock-wise
direction.
36.
Fill all fluids to proper levels.
37.
Start engine and set timing to 29-32 degrees total advance @ 4000 RPM's or to engine builder's
specifications.
installation
ls timing Cover Conversion Kit
4
Figure #6