Operating your camera control keypad – Grass Valley 1-CCD CameraMan Rev.D1 User Manual
Page 12
Page 9
Use Your Camera Control Keypad
Operating Your Camera Control Keypad
Now that you’ve learned what the buttons are for and have configured them to work properly, it’s time to put them to use.
Here is the basic functionality of each button:
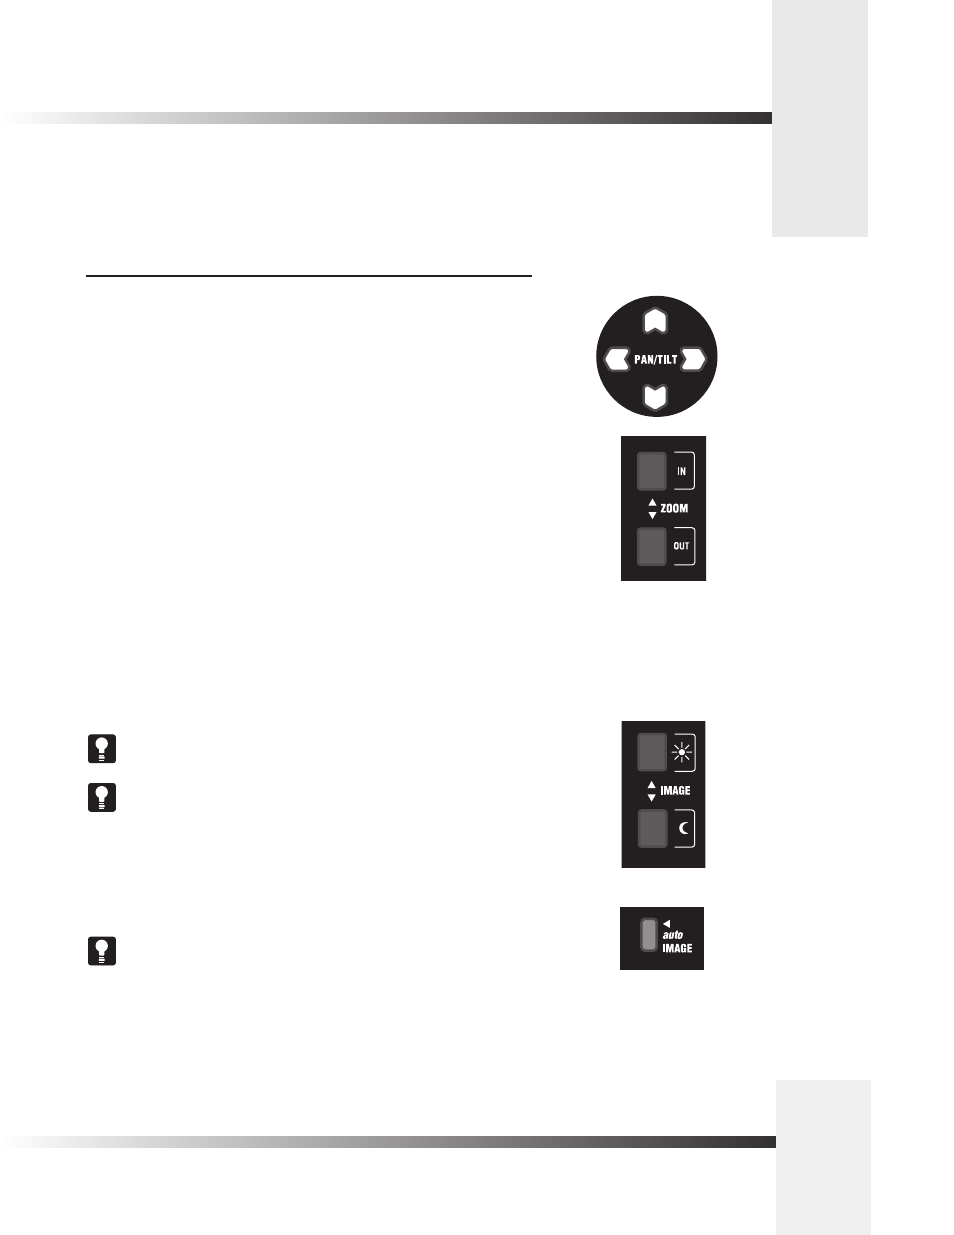
Controlling The Image
Manual Pan/Tilt Arrows
Press the up, down, left, and right PAN/TILT arrows to pan or tilt the camera according
to your setup (see page 4).
Zoom Perspective Buttons
Press Zoom IN for the camera to zoom in for a tighter view.
Press Zoom OUT for the camera to zoom out for a wider view.
IMAGE Setting Buttons
By pressing either IMAGE button, the camera’s image control automatically becomes a manual
adjustment, overriding autoIMAGE.
Manual
• Press and release the top IMAGE button (sun) to open the iris.
• Press and release the bottom IMAGE button (moon) to close the iris.
The IMAGE setting can be adjusted manually and can be stored in a Location Preset.
You may want to use the manual IMAGE setting when you are not fully satisfied that
the video image is as dark or light as it should be. Otherwise, the IMAGE setting
automatically adjusts itself to the lighting conditions in all areas of the room.
autoIMAGE
In this mode, CameraMan automatically adjusts the IMAGE (light & dark) for each camera view.
Press autoIMAGE to enable automatic operation of the CameraMan’s IMAGE function.
An autoIMAGE setting can be stored in a Location Preset.