Setting up the camera adapter (cont.), Camera power supply, Menu setup – Grass Valley Digital Wireless Triax Camera System User Manual
Page 14: Selecting the video frequency channel, Selecting the data frequency channel, Selecting the camera number, Viewfinder battery indicator
14
User’s Guide - Digital Wireless System
version 9
Camera power supply
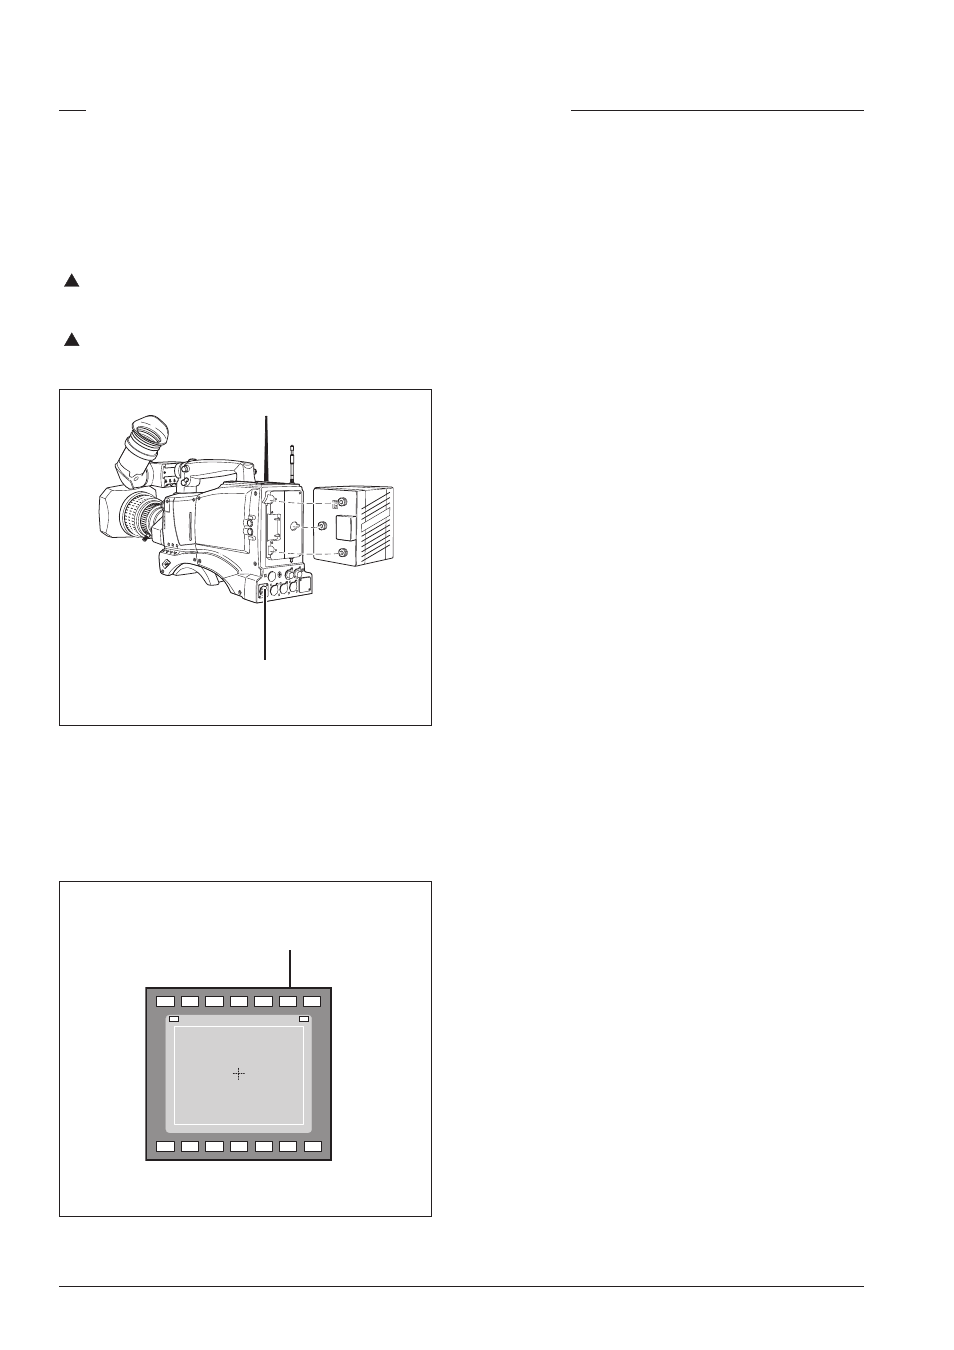
Attach the battery pack to the camera as shown below or
supply a +12 Vdc nominal voltage to the DC in connector on
the rear of the adapter.
Caution
The input voltage at the DC in connector must
stay between +11 Vdc and +17 Vdc.
Always switch off the camera before removing the
battery.
DC in power
supply socket
!
!
Setting up the camera adapter (cont.)
Menu setup
The tranmission frequencies and camera number are selected
in the viewfinder menu of the camera head. Refer to section 3
of the camera User’s Guide to learn more about using the
camera menu system. The full Install menu for the wireless
adapter is shown on the next pages.
In the menu, you can either select the channel or the frequency
for both the data link and the video channel. The values
displayed depend on the frequency module that is installed
(refer to the table below).
Note 1
If two cameras are used at the same time,
ensure that there is a minimum spacing of
two channels between the cameras.
Note 2
Some ISM frequencies [2.4-2.5 GHz] are
licence free but others may need a licence.
Please check your local directives.
Selecting the video frequency channel
•
Decide which frequencies you wish to use from the
table below.
•
The video tranmission frequency is selected in the
system menu of the camera head. In the INSTALL menu
go to the WIRELESS submenu where you can select
either the available channels or frequencies. These two
values are linked so changing one value will change the
other.
Menu path:
Install / Wireless / Video Freq. GHz.
or
Install / Wireless / Video Channel
Selecting the data frequency channel
•
Decide which frequencies you wish to use from the
table below.
•
The data transmission frequency is selected in the
system menu of the camera head. In the INSTALL menu
go to the WIRELESS submenu where you can select one
of the available channels.
Menu path:
Install / Wireless / Data Channel
Selecting the camera number
•
The camera number is selected in the system menu of
the camera head. In the INSTALL menu go to the
WIRELESS submenu where you can select either the
number.
Menu path:
Install / Wireless / Camera Number
BATTERY
indicator
ND/RE
BATT
TAPE
REC
++
+
-
!
AW2
AW1
FL
7.5
5.6
3.2
Viewfinder battery indicator
The BATT indicator in the viewfinder flashes when battery
voltage is low. It lights continuously when battery voltage is
less than 11V.
Viewfinder
display