1 fundamentals, Overview – HEIDENHAIN TNC 320 (340 55x-04) Cycle programming User Manual
Page 418

418
Touch Probe Cycles: Automatic Tool Measurement
1
8
.1 F
undamentals
18.1 Fundamentals
Overview
In conjunction with the TNC’s tool measurement cycles, the tool touch
probe enables you to measure tools automatically. The compensation
values for tool length and radius can be stored in the central tool file
TOOL.T and are accounted for at the end of the touch probe cycle. The
following types of tool measurement are provided:
Tool measurement while the tool is at standstill.
Tool measurement while the tool is rotating.
Measuring individual teeth.
You can program the cycles for tool measurement in the Programming
and Editing mode of operation via the TOUCH PROBE key. The
following cycles are available:
The TNC and the machine tool must be set up by the
machine tool builder for use of the TT touch probe.
Some cycles and functions may not be provided on your
machine tool. Refer to your machine tool manual.
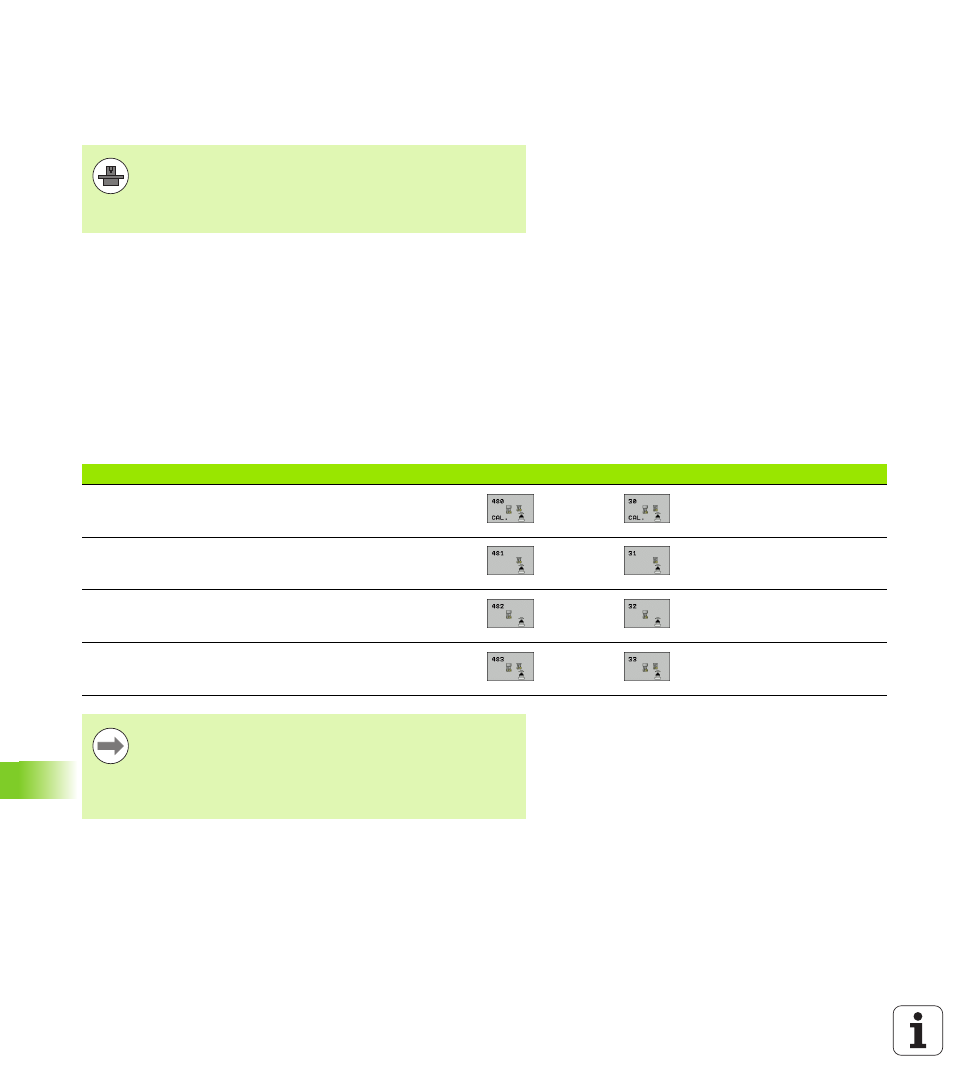
Cycle
New format
Old format
Page
Calibrating the TT, Cycles 30 and 480
Measuring the tool length, Cycles 31 and 481
Measuring the tool radius, Cycles 32 and 482
Measuring the tool length and radius, Cycles 33 and 483
The measuring cycles can be used only when the central
tool file TOOL.T is active.
Before working with the measuring cycles, you must first
enter all the required data into the central tool file and call
the tool to be measured with TOOL CALL.