Shooting – Olympus PEN E-PL8 User Manual
Page 25
25
EN
Shooting
2
• [3D Photo] is subject to the following limitations.
[3D Photo] can be used only with a 3D lens.
The camera monitor cannot be used to playback images in 3D. Use a device that
supports 3D display.
Focus is locked. In addition, fl ash and self-timer also cannot be used.
Image size is fi xed at 1824 × 1024.
RAW photography is not available.
Frame coverage is not 100%.
• In [Panning], camera movement is detected and the optimal shutter speed is controlled
when moving the camera to track a moving subject. It is convenient for shooting moving
subjects as if the background is fl owing.
In [Panning], J is displayed during panning detection, and I is displayed when
nothing is detected.
When using a lens with an image stabilizer switch in [Panning], turn the image stabilizer
switch off.
Suffi cient panning effects may not be obtained in bright conditions. Use a commercially
available ND fi lter to obtain effects more easily.
Taking panoramas
If you have installed the supplied computer software, you can use it to join pictures together
to form a panorama.
g “Connecting the camera to a computer and a printer” (P. 116)
1
Select [Panorama] in
SCN and press z.
2
Use
FGHI to choose a pan direction.
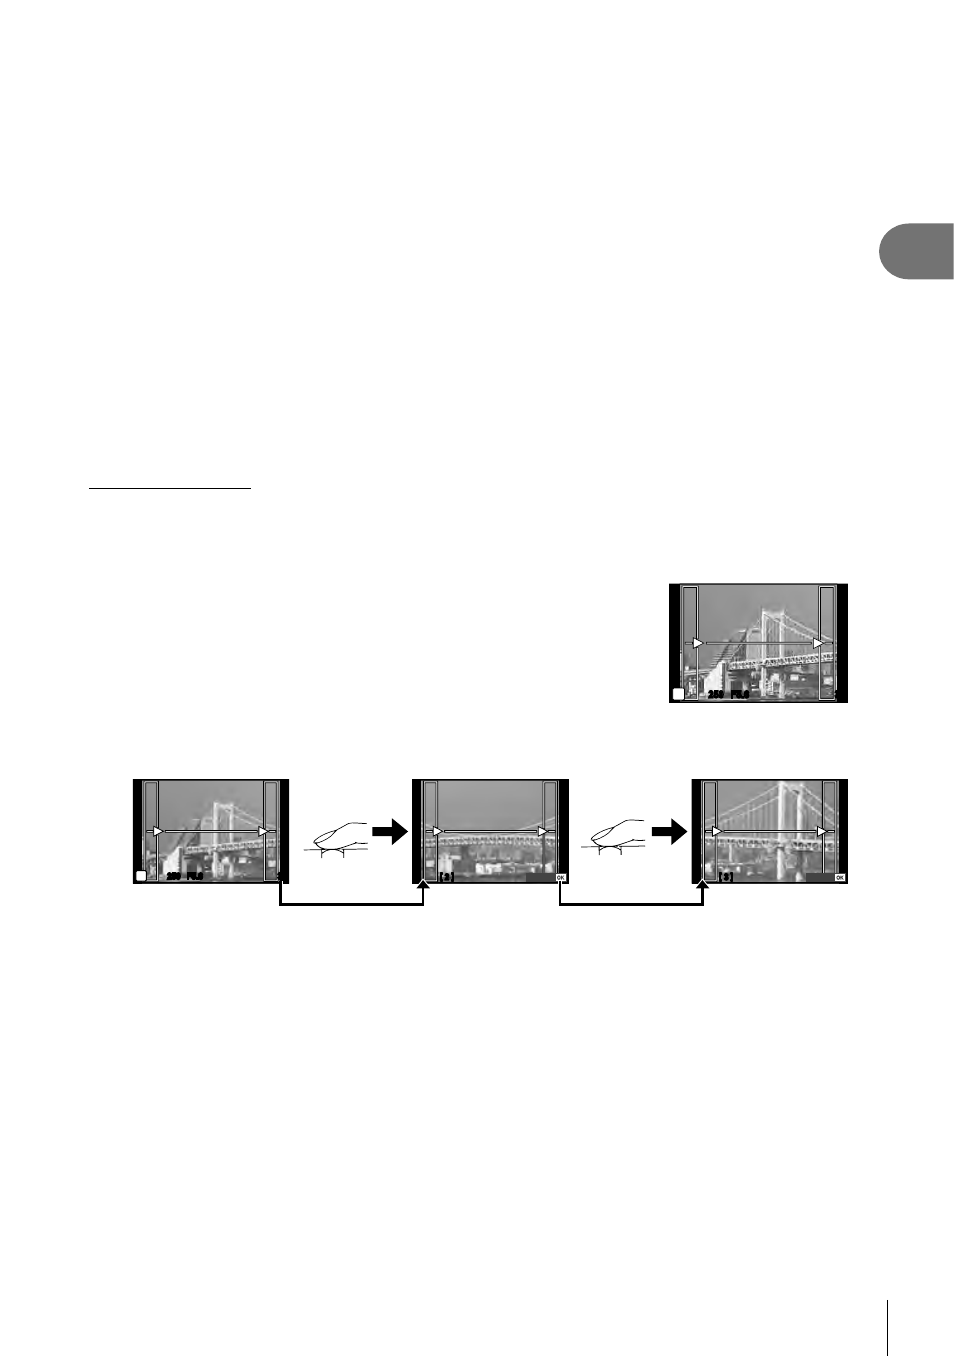
3
Take a picture, using the guides to frame the shot.
• Focus, exposure, and other settings are fi xed at the
values for the fi rst shot.
250
250 F5.6
38
M
4
Take the remaining images, framing each shot so that the guides overlap with
the previous picture.
[ 2 ]
250
250 F5.6
38
M
[ 3 ]
Exit
Exit
• A panorama may include up to 10 images. A warning indicator (
g) is displayed after
the tenth shot.
5
After taking the last shot, press z to end the series.
• During panorama shooting, the image previously taken for position alignment will not be
displayed. With the frames or other markers for display in the images as a guide, set the
composition such that the edges of the overlapping images overlap within the frames.
•
Pressing z before shooting the fi rst frame returns to the scene mode selection menu.
Pressing z in the midst of shooting ends the sequence of panorama shooting, and
allows you to continue with the next one.