Input capture regions – Rose Electronics UltraVista Plus User Manual
Page 15
UltraVista Plus Installation and Operations Manual
11
Selecting Custom allows the timing parameters to be edited. It should be
noted that you will need to select between the use of Pixel Clock or Vertical
Refresh, since these are mutually excusive parameters.
When editing is completed, clicking OK writes the preferred mode into the
EDID but may not automatically affect the input mode that is being captured.
It may be necessary to force the graphics device in the host machine to
detect the new preferred mode. This can be done by selecting Detect on the
Screen Resolutions dialog box (Windows® 7) or by disconnecting the
graphics source from the UltraVista Plus and reconnecting.
All modifications to the input settings can be saved as a .vqs file, removing
the requirement to input the same settings again. To save the settings select
the Save… command in the File menu. To open a saved .vqs file select the
Open… command.
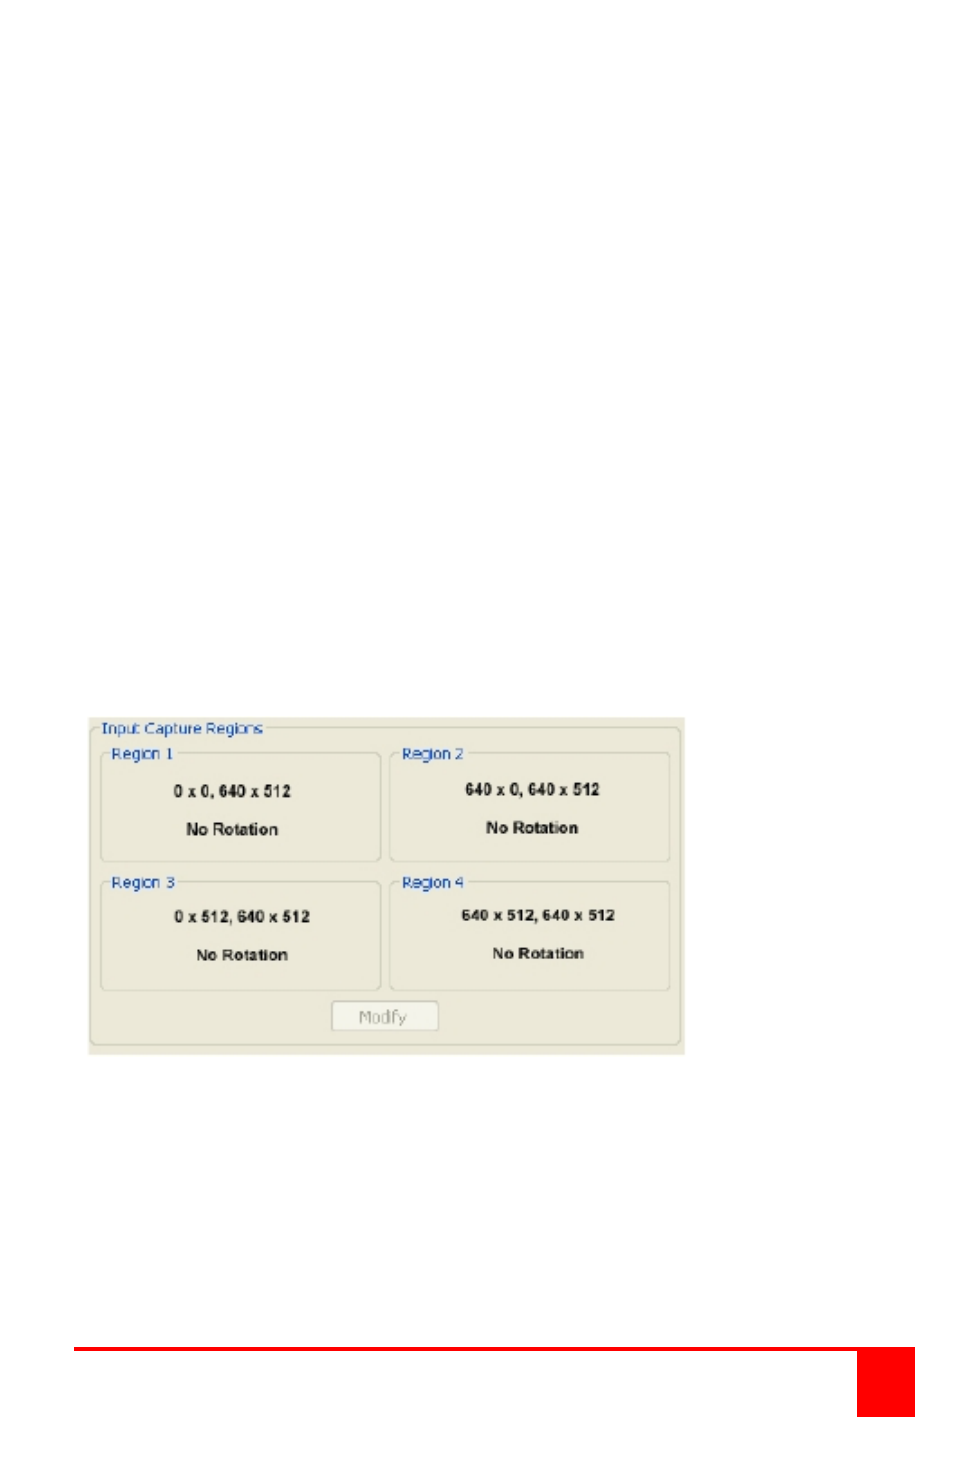
Input Capture Regions
Each output of the UltraVista Plus can select a different region of the input
source image. This dialog displays the settings of each region (region 1
corresponds to output 1 etc).
The numbers denote the top, left, width and height coordinates of the region
that is to be displayed. Note, these are described in terms of the current
active input resolution. If the input resolution changes, the capture region
coordinates scale to the new input resolution in order to maintain the same
proportions.
To modify any of these settings click on Modify to display the edit dialog.