Rose Electronics CrystalLink USB 3.0 User Manual
Page 12
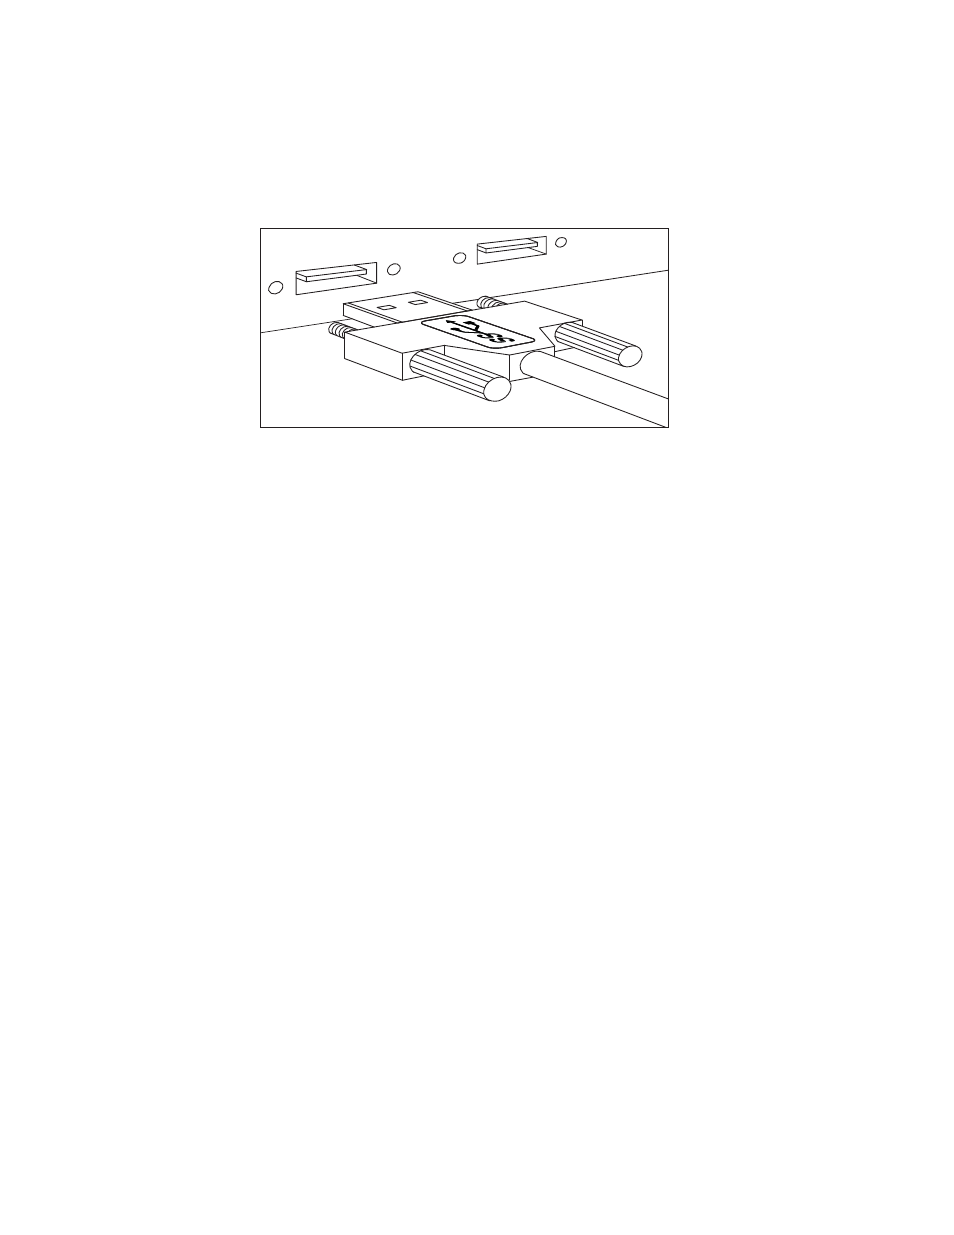
Connecting a USB 3.0 Device
1.
Install any software required to operate the USB device(s). Refer to the documentation for the USB
device(s), as required.
2.
Connect the USB device to the device port on the Receiver unit. If you are using a USB3.0 Vision
compliant locking USB cable, then you can use the locking knobs to lock the cable to the port on
the Receiver.
3.
Check that the device is detected and installed properly in the operating system.
Installing the Receiver Unit
1.
Place the Receiver unit near the USB device(s).
2.
Plug the power adapter into a suitable AC outlet.
3.
Connect the power adapter to the Receiver unit and twist the connector to lock the power
connector into the Receiver unit.
Installing the Transmitter Unit
1.
Place the Transmitter unit near the computer.
2.
Connect the link cable to the Transmitter and the Receiver.
With Surface Cabling
• Plug one end of the fiber optic cabling (not included) into the Link port on the Transmitter unit.
• Plug the other end of the fiber optic cabling into the Link port on the Receiver unit.
With Premise Cabling
• Plug one end of a fiber optic patch cord (not included) into the Link port on the Transmitter unit.
• Plug the other end of the patch cord into the fiber optic information outlet near the host
computer.
• Plug one end of the 2
nd
fiber optic patch cord (not included) into the Link port on the Receiver
unit.
• Plug the other end of the 2
nd
patch cord into the fiber optic information outlet near the USB
device.
3.
Install the supplied USB 3.0 cable between the Transmitter and a USB 3.0 port on the host computer.