Step 4: attaching a lens – Sony a7R IIIA Mirrorless Camera User Manual
Page 30
ILCE-9M2
5-010-473-91 (1)
GB
30
C:\5010473911_GB100\5010473911ILCE9M2UC2\01GB-ILCE9M2UC2\020PRE.indd
DTP data saved: 2019/07/26 10:20
PDF file created: 2019/07/26 10:21
To remove the memory card
Make sure that the access lamp
(page 13) is not lit, and then push
in the memory card once to remove
it.
Access lamp
To record to memory cards in two slots
The slot 1 is used in the default settings. If you do not intend to change
the settings and will only use one memory card, use the slot 1.
By inserting another memory card into the slot 2, you can record the same
images to two memory cards simultaneously or record a different type
of image (still images/movies) to each memory card ([Recording Mode]
under [Rec. Media Settings]) (page
82).
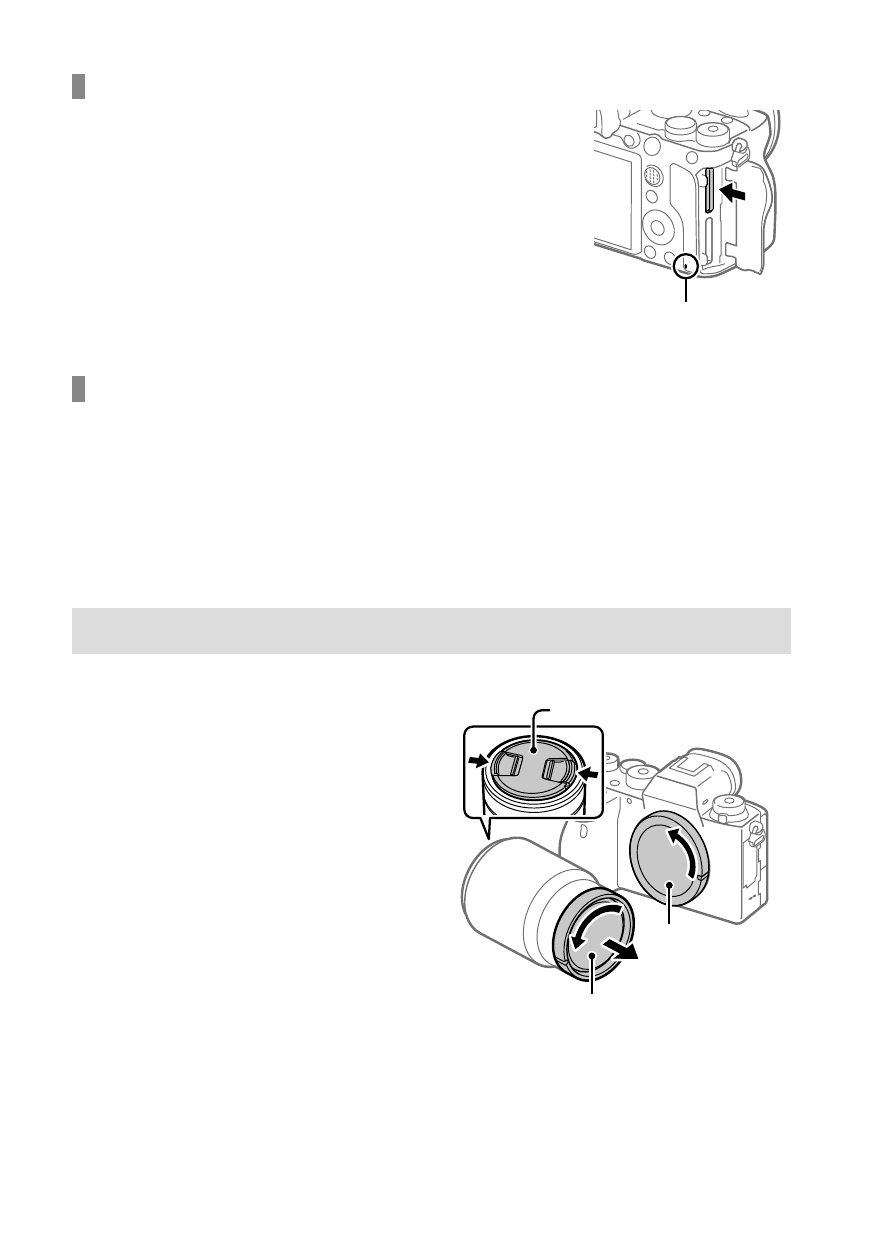
Step 4: Attaching a lens
1
Remove the body cap from the
camera and the rear lens cap
from the rear of the lens.
• When changing the lens, work
quickly in a dust-free environment
to keep dust or debris from getting
inside the camera.
• It is recommended that you attach
the front lens cap when you have
done shooting.
Rear lens cap
Body cap
Front lens cap