Basic menu operations, Using the password mode (password), Using the password mode – Sony Multi Interface Shoe Adapter User Manual
Page 9
9
3
Exchange the encryption key.
On the receiver side, select REMOTE (wireless
remote) as the encryption key exchange method, and
perform encryption key exchange.
REMOTE cannot be selected when the wireless
remote control function is disabled.
If the receiver does not support AES256 mode, select
SECURE KEY.
For details, refer to the receiver’s operating
instructions.
The unit searches for the receiver with which it is
paired.
When the receiver is found, the encryption key is
exchanged, and encrypted transmission begins.
Using the password mode
(PASSWORD)
Use this mode for encrypted transmissions between
multiple paired transmitters (this unit) and receivers.
When the same user-created password is set on both the
transmitters (this unit) and the receivers, the audio signal
can be decoded. This mode is useful when you want to
operate multiple transmitters (this unit) and receivers as a
group, or receive transmissions from a single transmitter
(this unit) on multiple receivers at the same time.
1
Hold down the SET button in the unit’s
ENCRYPTION screen until the setting value blinks.
2
Use the + and – buttons to select PASSWORD, and
press the SET button.
3
Enter a password of up to 8 characters on the unit.
For details on how to enter the password, see the
procedure described in “Unit name setting (NAME)”
(page 10).
4
Set the encrypted transmission setting on the receiver
to PASSWORD.
5
Set the same password that you set for the unit on the
receiver.
For details on receiver operations, refer to the
receiver’s operating instructions.
We recommend changing the password periodically.
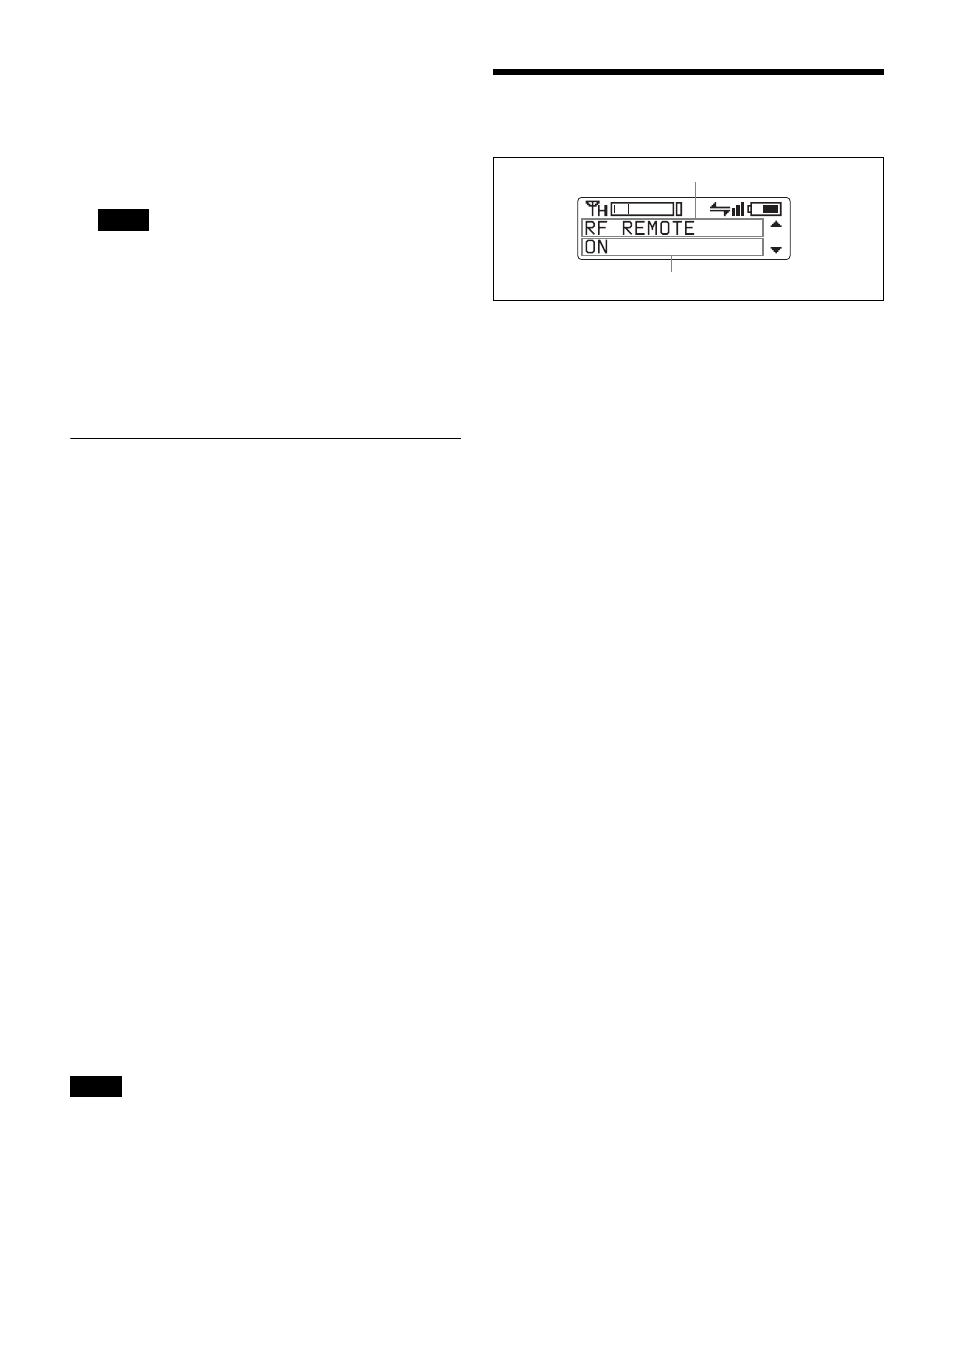
Basic Menu Operations
1
Press the + or – button repeatedly until the function to
be set appears.
Holding down the + and – buttons allows you to cycle
through screens quickly.
In addition, holding down the + button while the first
setting item of the menu is displayed allows you to
jump to the last setting item, while holding down the
– button while the last setting item of the menu is
displayed allows you to jump to the first setting item.
2
Hold down the SET button until the item to be set
flashes.
3
Press the + or – button to change the setting.
4
Press the SET button to enter the setting.
Setting items in the menu
• NAME (transmitter name) setting
• BAND (frequency band) selection
• GP/CH (group/channel) selection
• AF ATT (audio attenuator level) setting
• LCF (low-cut filter) setting
• LOCK function
• POWER SAVE setting
• BATTERY TYPE (battery type) setting
• RF REMOTE (wireless remote control) function
• SEARCH RX (receiver search) function
• CODEC MODE (audio codec mode) setting
• ENCRYPTION (encrypted transmission function)
setting
• INPUT LEVEL (audio input level) setting
• AF PHASE (audio phase switch) setting
• INTERNAL SG (internal signal generator) function
• RF POWER (RF transmission power) setting
• MAX RF POWER (maximum RF transmission power)
setting
• TIME (accumulated use time) indication
• BRIGHTNESS (display brightness) setting
• DIMMER MODE (automatic display dimmer) setting
• USER MEMORY (settings storage) function
• POWER PRIORITY (power source priority) setting
• FACTORY PRESET (factory settings) function
• VERSION (software version) display
Note
Note
Function name
Item to be set