Placing your design accurately (print assist), Placing your design accurately, Print assist – BenQ PD2500Q 25" 16:9 IPS Monitor User Manual
Page 14: Placing your design accurately ( print assist )
14
5.
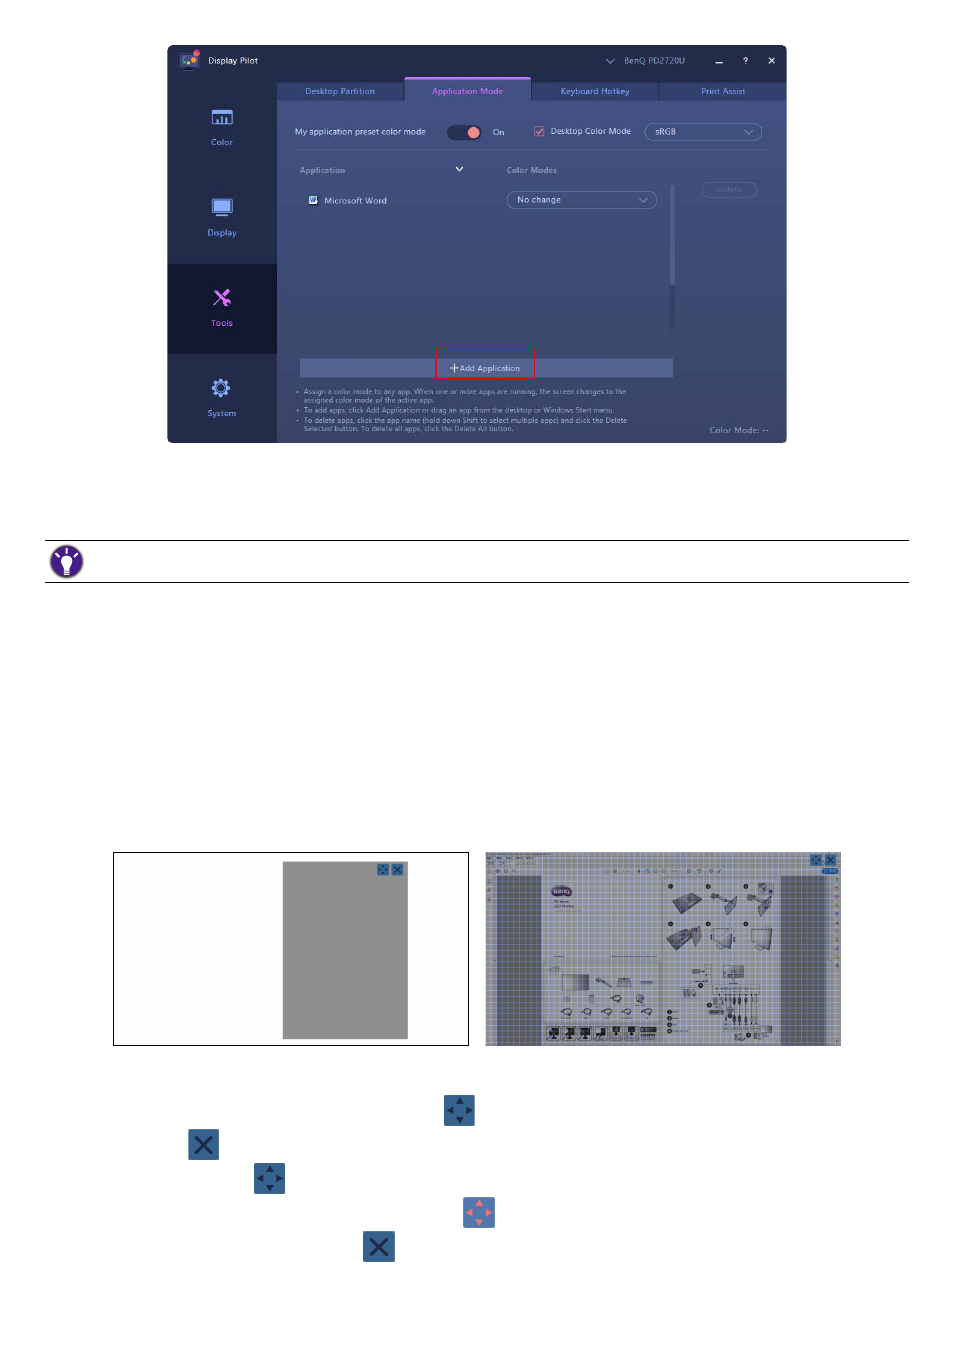
From the application list on
Display Pilot
, set one color mode for each application from the drop-down
menu. Once the application is launched and the window is brought to the front, the preset color mode is
applied immediately.
6. If you wish to remove an application from the list, select it and click
Delete
on the right.
(Windows only) If you wish to be notified of the color mode change in
Application Mode
, enable the messaging function
from
System
>
Preferences
>
Application Mode messaging
.
Placing your design accurately (
Print Assist
)
As you can zoom in and out easily on the screen, you may need some measurement tool to help know the
dimension of your design and to place the illustrations accurately. Now you are provided with
Print Assist
which is helpful by showing the range of some standard print sizes or the grid lines. The range and the grid
lines are for preview only and will not be printed.
1.
Go to
Tools
>
Print Assist
.
2. Move the slider to switch on the function.
3.
Under
Grid
, select to show the range of one of the standard print sizes or grid lines of different measure
-
ment increments.
Range of a print size
Grid lines
4.
Under
Line Color
, select a color for grid lines.
5.
Under
Line Weight
, select the thickness of grid lines.
6.
(On Windows) Move the range by dragging the
icon on the screen. Disable the
Print Assist
function
by clicking the
icon.
(On Mac) Click on the
icon and the arrows turn orange, which means you can move the range
now. Move the range by dragging it, and then click
once it is moved to a desired place. Disable the
Print Assist
function by clicking the
icon.