FujiFilm DVD-A1XV User Manual
Page 62
62
STD(STANDARD)
M1(MEMORY1)
M2(MEMORY2)
M3(MEMORY3)
M4(MEMORY4)
M5(MEMORY5)
SET
1(ADJUSTMENT 1)
2(ADJUSTMENT 2)
3(ADJUSTMENT 3)
GAMMA
CONTRAST
BRIGHTNESS
SHARPNESS(MID)
SHARPNESS(HI)
HUE
WHITE LEVEL
BLACK LEVEL
CHROMA LEVEL
ENHANCER
DNR
CCS
G0~G9
SETUP LEVEL
H.POSITION
V.POSITION
PICTURE MODE
✽1 This does not affect the HDMI/DVI output.
✽2 Only effective for HDMI, DVI and progressive scan.
✽3 This does not affect the interlaced of component video output.
✽2
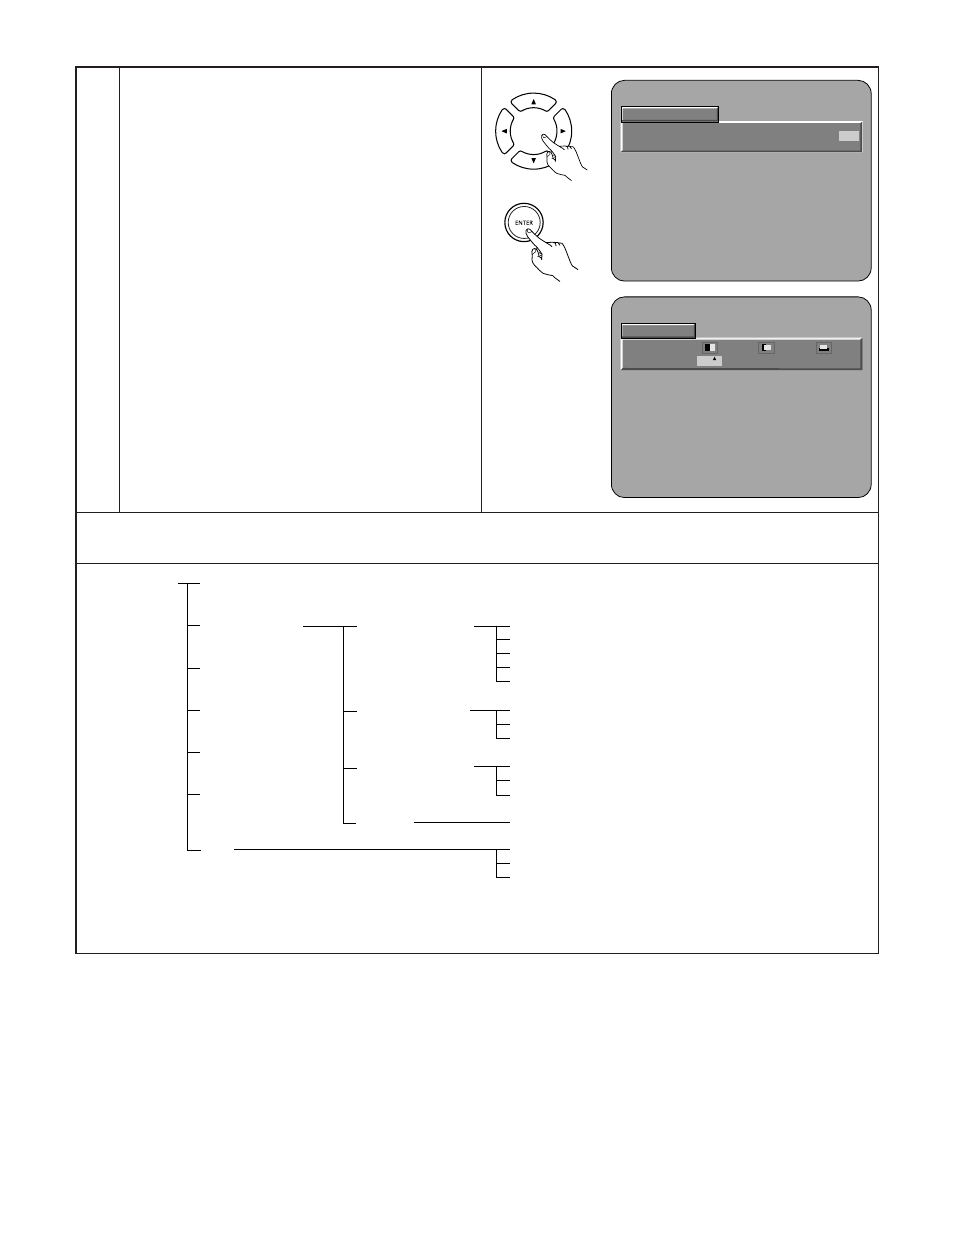
When the Display Position is Selected and Adjusted:
• Press the cursor button (ª), then select the
horizontal/vertical direction with the cursor buttons (
0
,
1
), set the adjustment value with the (•, ª) cursor
buttons, and press the ENTER button.
SETUP LEVEL (0 IRE, 0 IRE)
(Factory default: 0 IRE)
• This corrects floating black.
H. POSITION (–7 to +7) (Factory default: 0)
• A position adjustment is permitted left and right.
V. POSITION (–7 to +7) (Factory default: 0)
• A position adjustment is permitted up and down.
7
P I C T UR E MODE
S TD
M 1
M 2
M 3
M 4
M 5
SET
P I C S E T UP
S E T UP LE VE L
0
0
0
✽ To exit the picture adjust mode
Press the PICTURE ADJUST button.
Remote control unit
✽2
✽2
✽2
✽2
✽1
✽2
✽3