Installation, Mounting, Orientation – ILUMINARC Ilumipod™ 18g2 IP User Manual
Page 10: Procedure
Installation
6
Ilumipod 18g2 IP Optic WW User Manual Rev. 3
3. Installation
Make sure to mount
this product away
from any flammable
material as indicated in the
Mounting
Before mounting this product, read and follow the safety recommendations indicated in the
Orientation
Always mount this product in a safe position, making sure there is adequate room for ventilation,
configuration, and maintenance.
Installation
The Ilumipod 18g2 IP Optic WW comes with two adjustable brackets with 3-mm slot openings to
mount the product on any firm, non-flammable surface. The angle of the product can also be
adjusted and locked into place after the fixture has been mounted. ILUMINARC® recommends
following the general guidelines below when mounting the Ilumipod 18g2 IP Optic WW.
· When selecting an installation location, consider ease of access to the product for
operation, programming adjustments, and routine maintenance.
· Make sure the product’s mounting location can support its weight. See the
for the weight requirement(s) of this product.
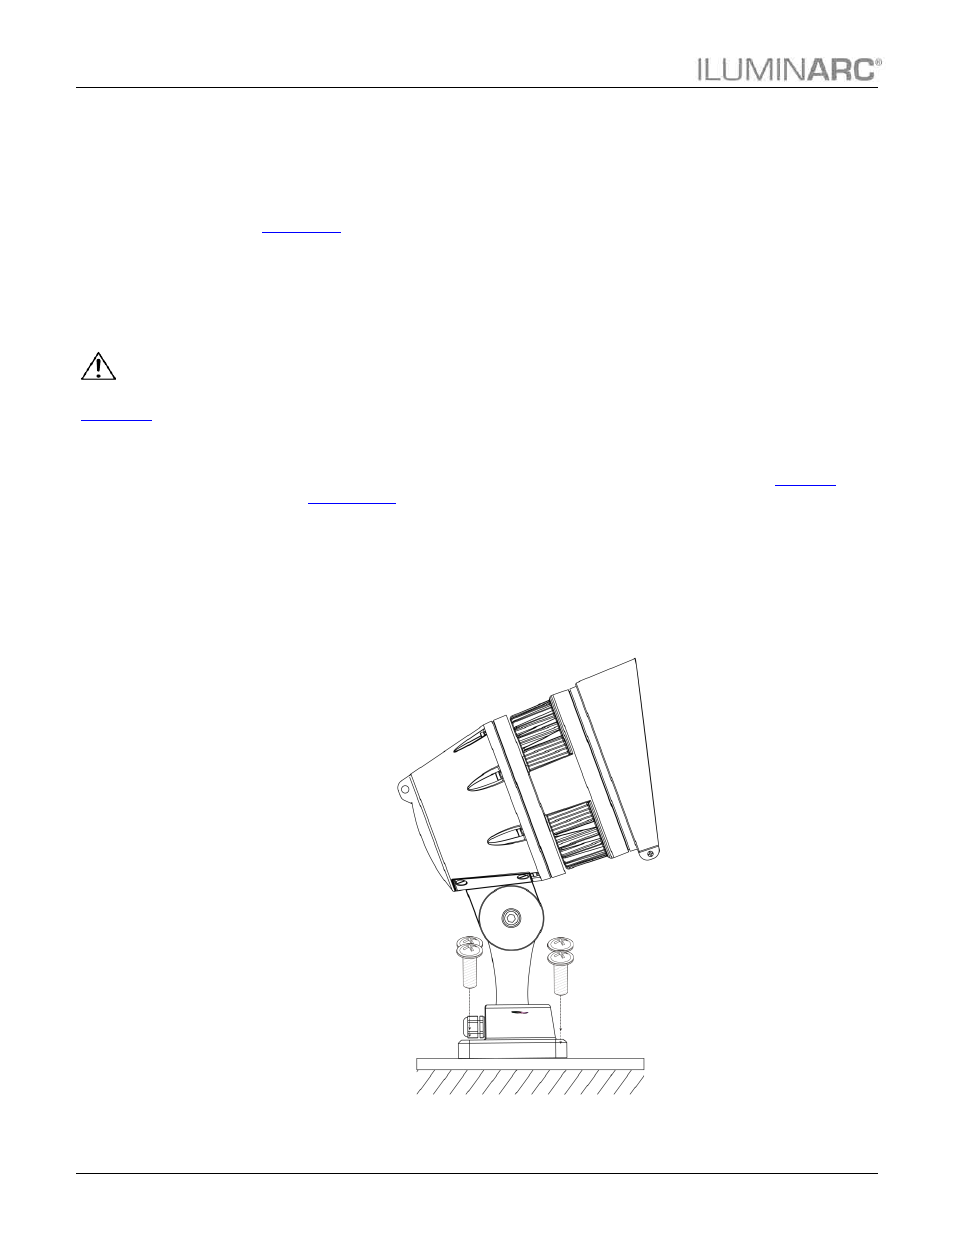
Procedure
The Ilumipod 18g2 IP Optic WW comes with a mounting base which connects to the arm of the
product. The mounting plate has four 6.1-mm holes on the corners to mount the product in any
orientation to almost any firm, non-flammable surface capable of supporting its weight. You will
have to use 4 mounting points per product.