Measuring rt60 using the pink noise mode – Ivie IE-45 RT60 - Reverberation Time Analysis User Manual
Page 4
IE-35 & IE-45 RT-60 Manual
curve which represents the average slope of the decay. It is the slope of this line from which
the final RT60 calculation is made.
The last item that needs to be mentioned is the improved statistical accuracy provided when
several decay samples are taken and averaged together before RT60 calculations are made.
Five or more samples are sufficient to provide excellent statistical accuracy. The IE-35 and
IE-45 are capable of averaging far more decay samples than five, even though five is
normally sufficient.
Measuring RT60 Using the Pink Noise Mode
Measuring RT60 with the IE-35, or IE-45 is really very simple and fast. Let's go through the
procedure step by step, which is the same for both the IE-35 and IE-45. In an actual RT60
measurement, we would be feeding pink noise into a sound system. The pink noise would be
generated by the IE-35, or IE-45, and would be fed to the sound system using a connecting
cable between the IE-35, or IE-45 audio output jack and an appropriate sound system input.
The setup and measurement procedures are shown below:
As can be seen, making a Pink Noise Mode RT60 measurement is easy and straight forward.
Now, let’s look at the steps required to make an Impulse Mode RT60 measurement. Next,
we’ll examine the results of an RT60 measurement. The measurement data gathering and
formatting is the same for either mode of measurement.
page 4
Shielded Audio Cable to
Sound System Input.
To Make a Pink Noise RT60 Measurement:
Step 1: Select RT60 from the “Functions” Menu.
Step 2: Select “Pink Noise Mode” from the
“Options” Menu.
Step 3: Use the Stylus Buttons to select octave,
or 1/3 octave measurement.
Step 4: Use the “Options” menu to select the
desired measurement time window.
Step 5: Use the Stylus Button to turn on pink
noise.
Step 6: Adust the level well up on the display
screen as shown to the right.
Step 7: Tap the “Test RT60” stylus button to
begin a test.
Step 8: Use the “Measure” stylus button to
add a second measurement for
averaging with the first.
Step 9: Repeat step 6 until you are satisfied
with the average. (Tapping the
“Re setup” stylus button clears the
measurement data so a new set of
measurements can begin.
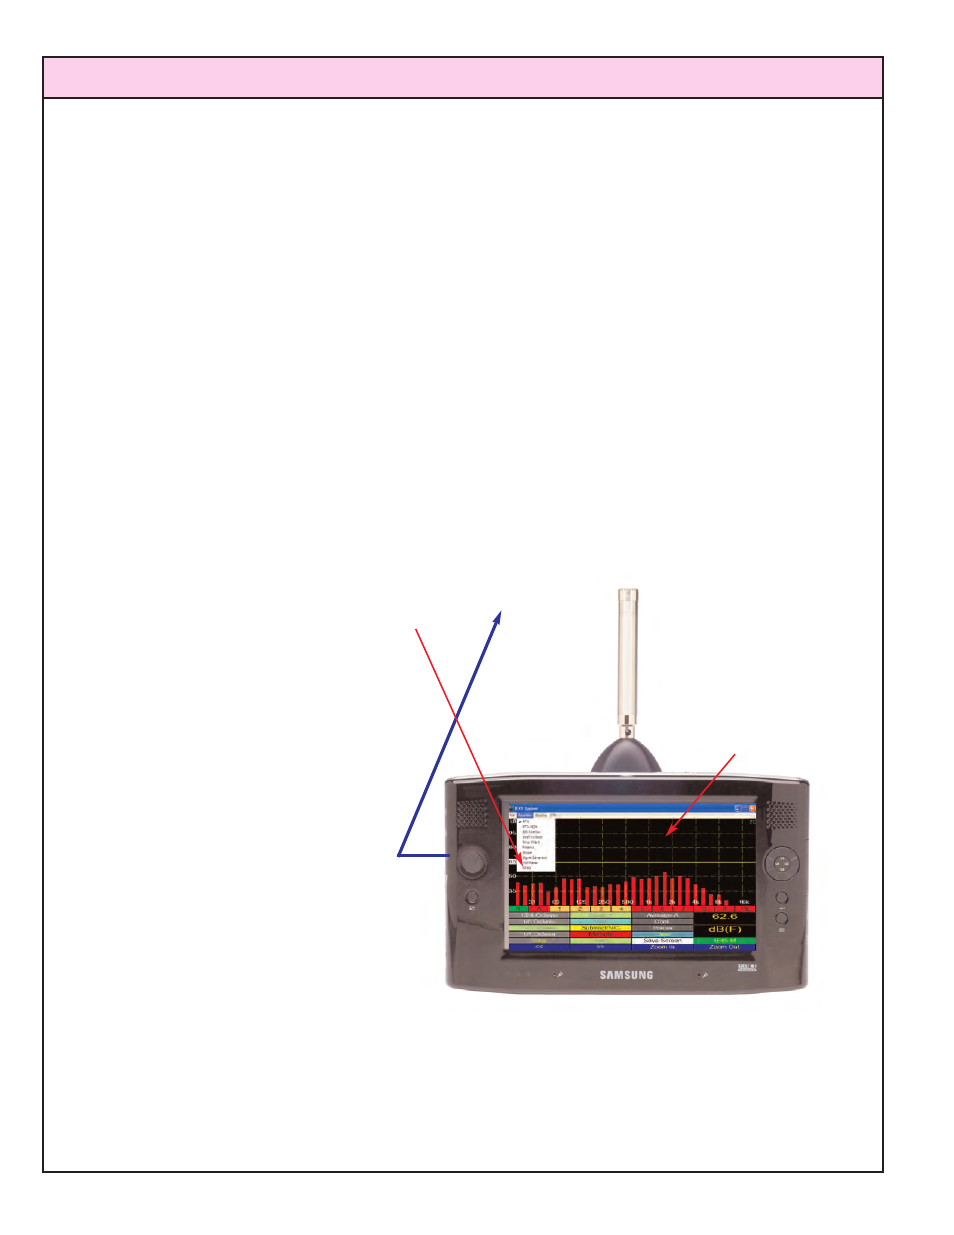
The level of Pink Noise
should be well up on the
display screen to make
an RT-60 measurement.
To accomplish this, turn
up the Q1 audio output
level and/or the sound
system amplifier, and
adjust the analyzer
screen display range.
Adjust level to about here.