Operation, Draining excess water (fig. f), Cleaning – Toyotomi TAD-30K User Manual
Page 5: Long-term storage
3. OPERATION
BEFORE OPERATION:
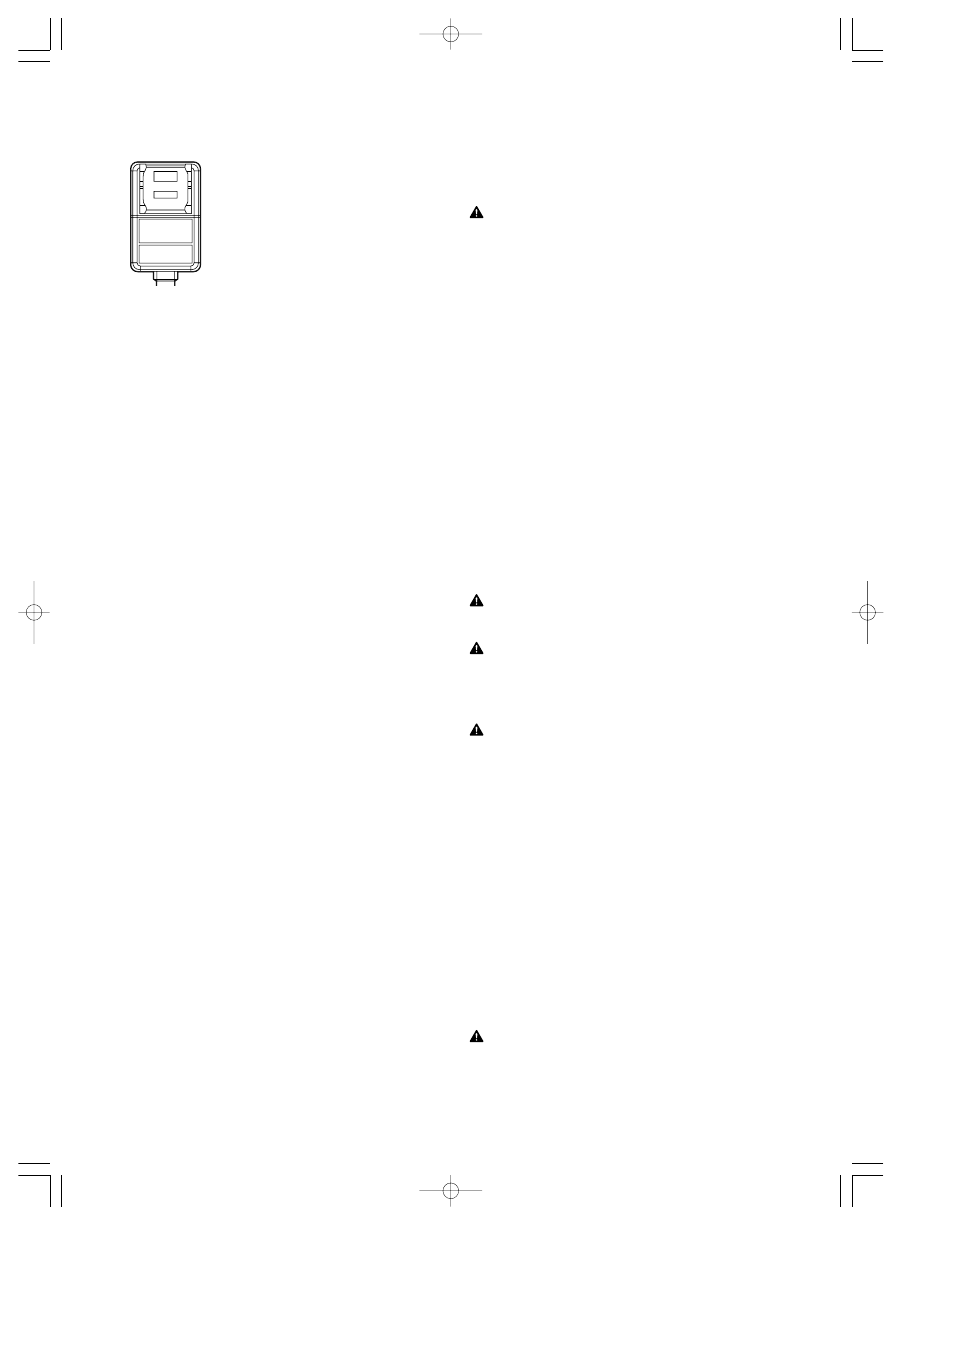
LCDI (Leakage Current Detection and Interruption) PLUG
TEST: WHEN CURRENT LEAKING OR
PRESSING TEST BUTTON, THE IN-
DICATOR LIGHT WILL TURN OFF
AND THE UNIT WILL CUT OUT.
RESET: AFTER SOLVING THE PROBLEM
PLEASE PRESS RESET BUTTON.
ALWAYS:MAKE SURE THE INDICATOR LAMP IS ON AFTER
PLUGING INTO THE POWER. IF NOT, PRESS RESET
BUTTON UNTIL IT CLICKS AND INDICATOR LAMP
COMES ON.
HARD TO RESET BUTTON:
PRESSING BUTTON WITH A STICK SUCH AS PENCIL OR BALL
POINT PEN WITH THE FLAT END (NOT SHARP EDGE) MAY
MAKE IT EASIER TO RESET BUTTON.
NO POWER ON THE UNIT: MAKE SURE THE INDICATOR LAMP IS ON.
OPERATING STEPS:
1.
PRESS ''POWER'' BUTTON (C1) TO ''ON''.
Cool mode lamp (C7) and Low lamp are lit at this time and
unit starts.
2.
PRESS MODE BUTTON (C2).
Press the mode button (C2) to set your desired operation
mode "COOL" (C7), "DEHUMIDIFY" (C8) or "FAN" (C9).
COOL mode (C7)
During the "COOL" mode the air is cooled and hot air is ex-
hausted to the outside air through the exhaust duct hose.
DRY mode (C8)
Air is dehumidified as it passes through the unit, without
being in full cool mode.
In "DEHUMIDIFY" mode operation, you cannot change the
fan speed.
FAN mode (C9)
The "FAN" mode provides only circulation of room air, so
that you cannot set the room temperature.
3.
PRESS TIMER/TEMPERATURE ADJUST BUTTONS (C5)
Set the desired room temperature by pressing UP button
"
▲" or DOWN button "▼". The default display is room tem-
perature.
When "
▲" or "▼" button is pressed, the set temperature is
displayed and may be adjusted. After 15 seconds the dis-
play will revert back to room temperature.
By pressing both buttons at once, the display will toggle
between Celsius and Fahrenheit. When using the remote
control, press the C/F toggle button (C15).
4.
PRESS FAN SPEED BUTTON (C3)
Press the fan speed button (C3) to set the desired air flow
rate.
High · · · · · · · · · · · Operation at a high air flow
Med · · · · · · · · · · · Operation at a medium air flow
Low · · · · · · · · · · · Operation at a low air flow
5.
AIR DEFLECTION
The vertical louvers (A2) may be set on right and left man-
ually in desired direction. (Fig. E)
6.
STOP OPERATION
Press the Power button (C1) and all lights will go out.
TIMER OPERATION
Auto turning OFF:
With unit in cool mode, press Timer button (C4) to select
number of hours you would like the unit to run in cool
mode until it automatically shuts off.
Auto turning ON:
With unit powered off, press Timer button (C4) to select
number of hours until you would like the unit to automati-
cally start.
USING REMOTE CONTROL
The functions work the same as your air conditioner's op-
eration panel. (Fig. C)
Batteries: Remove the cover on the back of the remote con-
trol and insert the batteries with the (+) and (-) poles point-
ing in the proper direction. (Fig. H)
CAUTION
¡
Use only AAA or IEC R03 1.5V batteries.
¡
DO NOT attempt to recharge the supplied batteries.
¡
All batteries should be replaced at the same time.
¡
DO NOT dispose of the batteries in a fire as they may ex-
plode.
¡
DO NOT install the batteries with the polarity (+/-) re-
versed.
¡
Keep batteries and other things that could be swallowed
away from young children. Contact a doctor immediately if
an object is swallowed.
4. DRAINING EXCESS WATER (Fig. F)
1.
Drain excess water from the tank by placing a pan under
the drain water outlet. (Fig. B7)
2.
Remove the drain plug, and let the water drain into the pan.
3.
When the water stops draining out, replace the drain plug.
4.
Remove the pan of water.
5.
Operate the unit in Fan mode to dry the interior of the unit.
NOTE:
Remove the drain water from the tank once a week.
5. CLEANING
CLEANING AIR INTAKE GRILLE (Fig. G)
1.
Clean the air intake grille (B8) once every two weeks.
2.
To remove the air intake grille (B8), pull the grille off.
3.
Remove the dust with a vacuum cleaner.
WARNING
¡ DO NOT touch the evaporator. It may cause injury or dam-
age.
CAUTION
¡
DO NOT rinse the charcoal filter with water.
CLEANING SURFACE
Clean the outside of the unit with a soft damp cloth.
CAUTION
¡
NEVER use gasoline, solvents, chemical products or polish
as they could damage the surfaces.
6. LONG-TERM STORAGE
At the end of each season, or when you do not plan to use your
unit for an extended period of time, the following procedures
are recommended.
1.
Run the unit 5 or 6 hours with only the ''FAN'' (C9) mode
operating in order to dry the inside.
2.
Remove the drain water from the tank and unplug the unit.
3.
Clean the unit.
Wipe off any dirt or dust on the unit with a soft damp cloth
or a vacuum cleaner, and then wipe again using a soft dry
cloth.
4.
Clean the air intake grill (B8) and replace it.
5.
Store the unit.
The original shipping carton is the best place to store your
unit. If you do not have the original packing materials, cover
the unit with a large plastic bag and store in a cool dry place.
CAUTION
¡
ALWAYS store the unit in the vertical position.
¡
DO NOT put heavy objects on top of the unit.
2
ENGLISH
RESET
TEST
TAD-30K (GB/ES/FR) 10.3.8 2:44 PM ページ 2