Remap time in a layer panel – Adobe After Effects CS4 User Manual
Page 257
251
USING AFTER EFFECTS CS4
Animation and keyframes
Last updated 12/21/2009
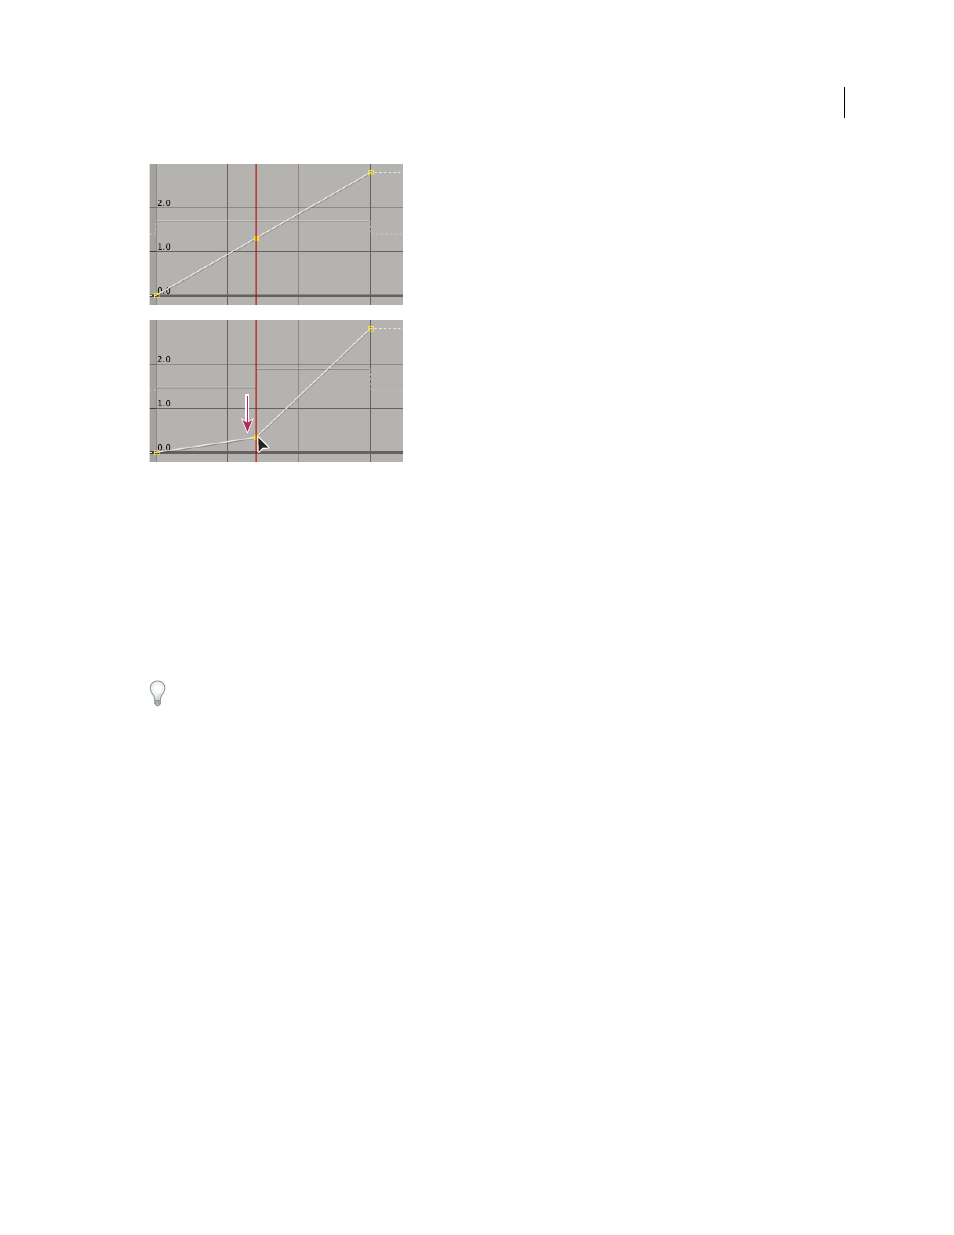
Dragging the keyframe down slows down the layer.
•
To slow the layer down, drag the keyframe down. (If the layer is playing in reverse, drag up.)
•
To speed the layer up, drag the keyframe up. (If the layer is playing in reverse, drag down.)
•
To play frames backward, drag the keyframe down to a value below the previous keyframe value.
•
To play frames forward, drag the keyframe up to a value above the previous keyframe value.
•
To freeze the previous keyframe, drag the current keyframe marker to a value equal to the previous keyframe value
so that the graph line is flat. Another method is to select the keyframe and choose Animation
> Toggle Hold
Keyframe, and then add another keyframe where you want the motion to start again.
Before you move a time-remap keyframe, it’s a good idea to select all subsequent time-remap keyframes in the layer
first. This selection will preserve the timing of the rest of the layer when you remap time for the current keyframe.
Remap time in a Layer panel
1
Open the Layer panel for the layer you want to remap.
2
Choose Layer
> Time > Enable Time Remapping. A second time ruler appears in the Layer panel above the default
time ruler and the navigator bar.
3
On the lower time ruler, move the current-time indicator to the first frame where you want the change to occur.
4
On the upper time ruler, the remap-time marker indicates the frame currently mapped to
the time indicated on the
lower time ruler. To display a different frame at the time indicated on the lower time ruler, move the remap-time
marker accordingly.