Adobe Photoshop CS3 User Manual
Page 51
PHOTOSHOP CS3
User Guide
44
Place a guide
1
If the rulers are not visible, choose View > Rulers.
Note: For the most accurate readings, view the image at 100% magnification or use the Info palette.
2
Do one of the following to create a guide:
•
Choose View > New Guide. In the dialog box, select Horizontal or Vertical orientation, enter a position, and
click OK.
•
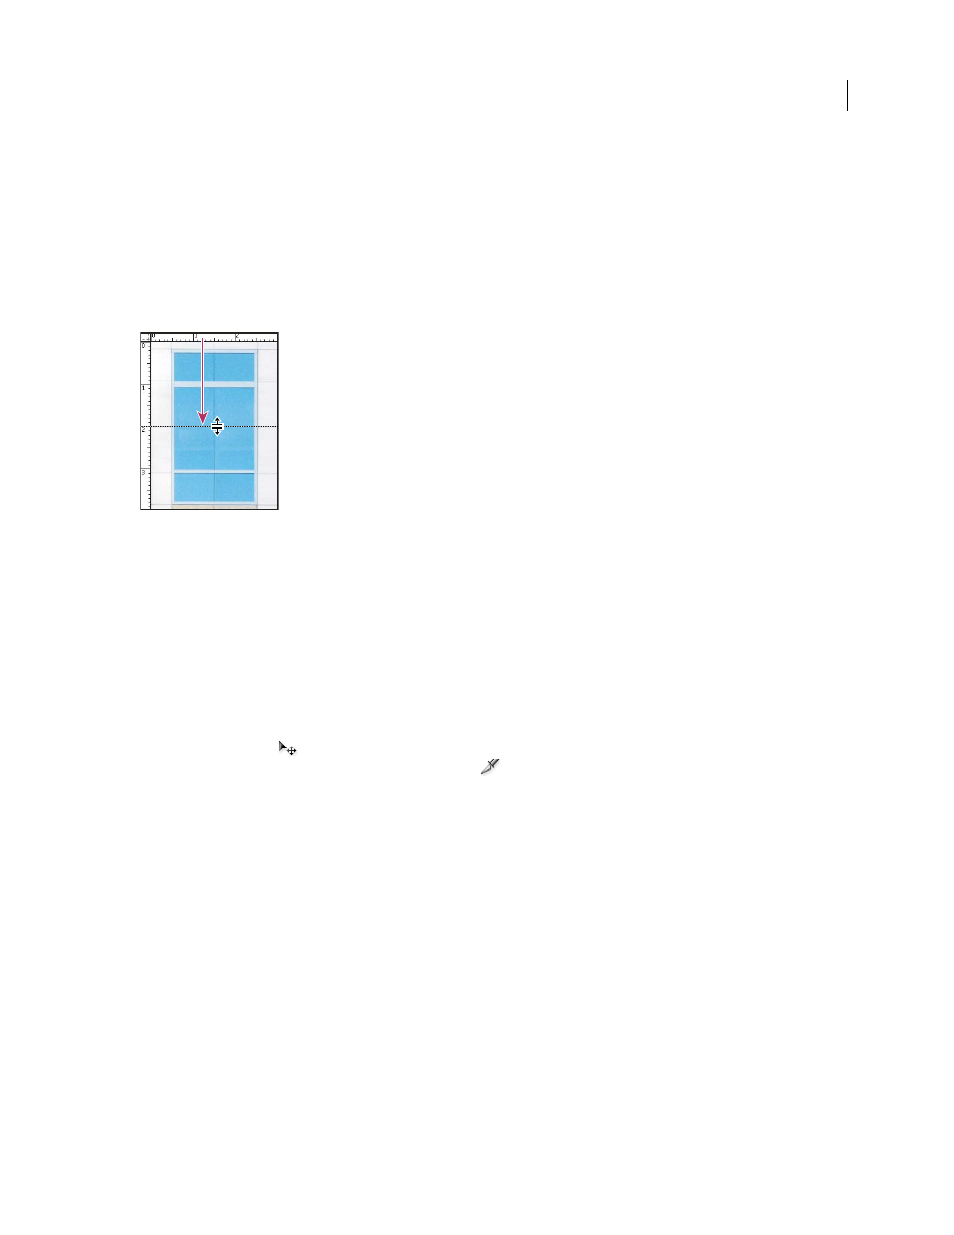
Drag from the horizontal ruler to create a horizontal guide.
Dragging to create a horizontal guide
•
Hold down Alt (Windows) or Option (Mac OS), and drag from the vertical ruler to create a horizontal guide.
•
Drag from the vertical ruler to create a vertical guide.
•
Hold down Alt (Windows) or Option (Mac OS), and drag from the horizontal ruler to create a vertical guide.
•
Hold down Shift and drag from the horizontal or vertical ruler to create a guide that snaps to the ruler ticks. The
pointer changes to a double-headed arrow when you drag a guide.
3
(Optional) If you want to lock all guides, choose View > Lock Guides.
Move a guide
1
Select the Move tool
, or hold down Ctrl (Windows) or Command (Mac OS) to activate the Move tool. (This
option does not work with the Hand tool or the Slice tool
.)
2
Position the pointer over the guide (the pointer turns into a double-headed arrow).
3
Move the guide in any of the following ways:
•
Drag the guide to move it.
•
Change the guide from horizontal to vertical, or vice versa, by holding down Alt (Windows) or Option (Mac OS)
as you click or drag the guide.
•
Align the guide with the ruler ticks by holding down Shift as you drag the guide. The guide snaps to the grid if the
grid is visible and View > Snap To > Grid is selected.
Remove guides from the image
❖
Do one of the following:
•
To remove a single guide, drag the guide outside the image window.
•
To remove all guides, choose View > Clear Guides.