ESI NeON User Manual
Page 5
ESI
5
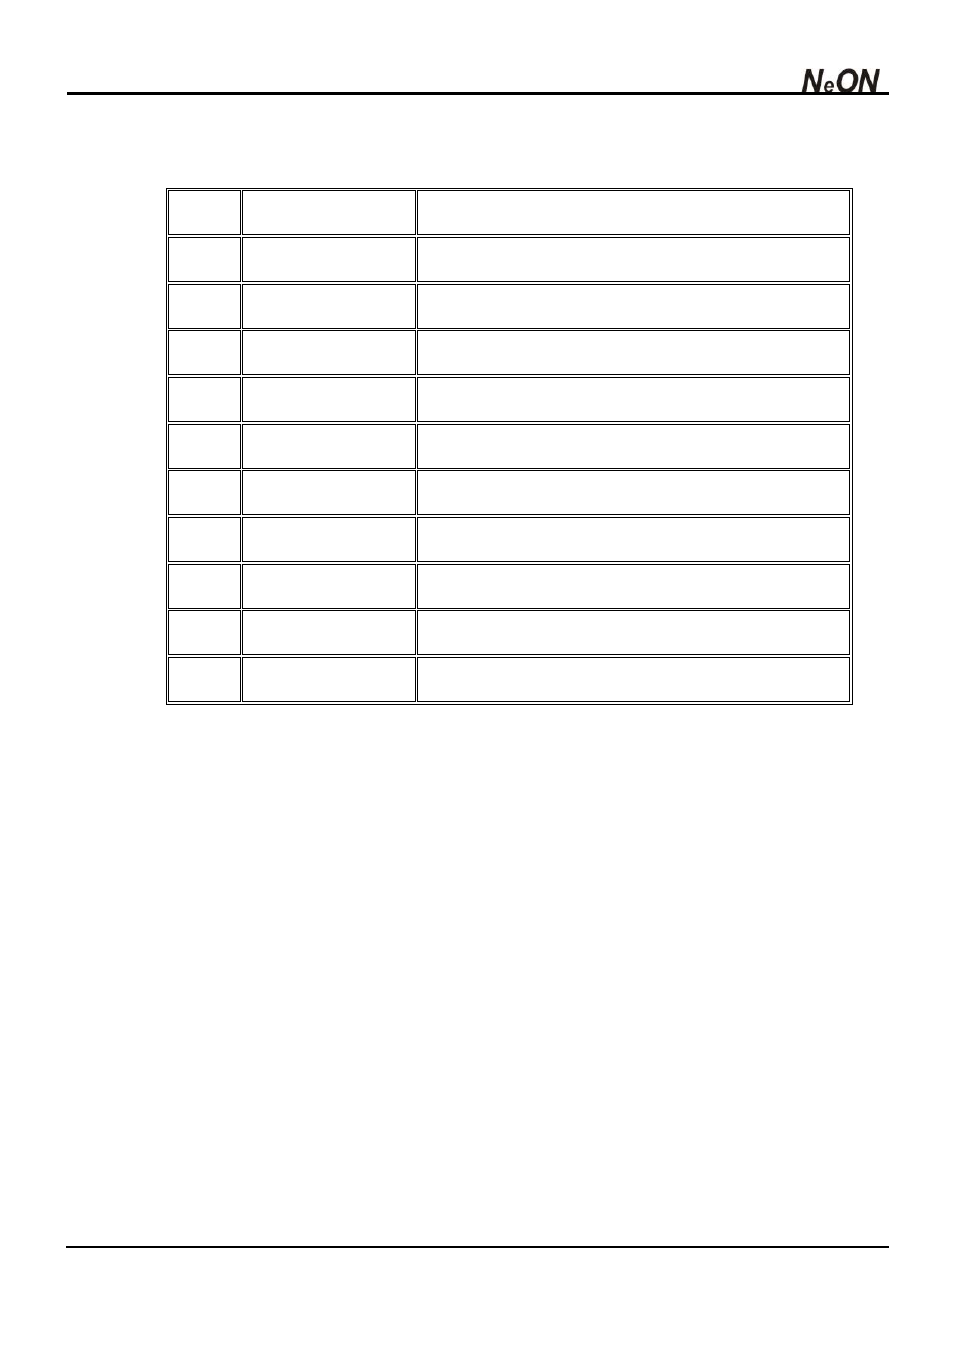
3. Numeric Buttons ‐ This button can be used when you enter numerical value directly. And each button
has another function when you hold the SHIFT button:
No
Label
Function Descriptions
1
Vel, Curve
You can select the Velocity Curve
2
Vel, Offset
You can select the Velocity Offset
3
None
You can select MIDI Out port (See page 26)
4
Sus, Pedal
You can select sustain pedal type
5
MIDI CH
Select MIDI Channel
6
Data Entry Assign
You can assign Data Wheel to MIDI Controller
7
PAD Assign
Assign button to voice
8
PAD MIDI CH
Set the PAD MIDI Channel for PAD Assign
9
SAVE
Save what you set
0
RECALL
Recall setting you saved
Please refer to chapter 10 for detailed descriptions
4. Display LCD : This shows you the value of what you operate (parameter, MIDI channel etc.)
5. Oct+/‐ : This buttons can transpose up/down by octaves
6. Ctrl Wheel : You can assign parameter to this wheel for any use, by default
7. Dec/‐ and Inc/+ : You can increase or decrease a value by 1 when editing a parameter.
8. Function Buttons
SHIFT : To use another function, hold down this key and press button labeled what you want
Ctrl Assign : This button is used for assigning controller to MIDI controller or MIDI channel.
1~8/9~16 : NeON supports 16 knobs and encoders. It swaps all knobs and encoders between 1~8
mode and 9~16 mode.
Enter/Esc : Press this key to define the value or to exit from value setting mode.
Prg.Change : This button is used for Program change.
Panic : This button can send all notes off message to all channel, simultaneously.
9. Assignable Knobs, Encoders : You can assign a different MIDI Controller to each knob and encoder.
They can also be assigned independent MIDI channels.