Flowserve X-200 User Manual
Page 5
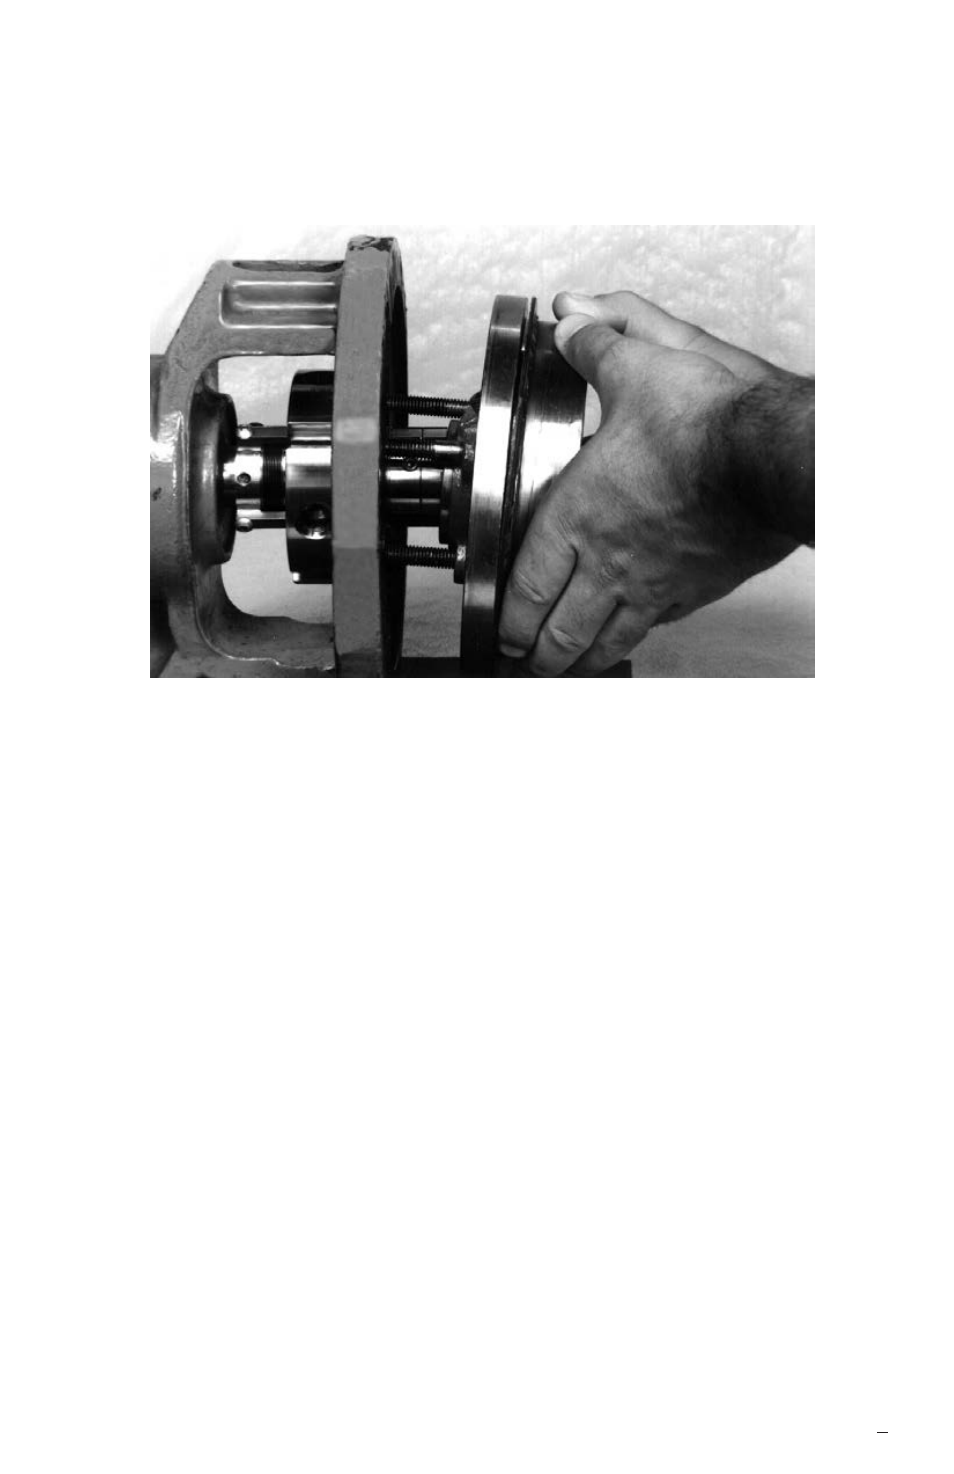
2.2 Install the pump back plate (stuffing box), Figure 4. Position the
X-200 seal gland flush connection, port a in Figure 7, in the
3:00 o’clock position for normal installations with CW rotation
(9:00 o'clock for CCW rotation) for optimum heat removal. Alternate
positioning of the gland may be necessary with some pump
designs to permit seal piping to clear the bearing housing. Refer
to the assembly drawing that is supplied with the seal for proper
positioning. Bolt the back plate in place on the bearing housing.
2.3 Position the X-200 cartridge gland with the gland gasket in
place against the seal chamber (stuffing box) face, install flat
washers on the studs to prevent misalignment, and tighten the
gland nuts evenly, cross staggering the adjustment of the nuts.
Do not over tighten.
2.4 Assemble the pump, adjust the bearings, set the impeller and
connect the coupling so that the shaft is in its operating axial
position. Any subsequent axial adjustment of the shaft requires
resetting of the seal. Connect pump piping, allow no pipe strain
on the pump casing.
5
2.1 Lubricate the shaft or sleeve OD lightly with silicone lubricant
provided and slide the complete X-200 cartridge seal onto
the shaft, Figure 3, with the end with the setting devices toward
the bearing housing.
Install pump backplate
Figure 4