Flowserve CPM Series User Manual
Page 7
7
2.5 Position the CPM PP with the gland tight against the seal
chamber face. Turn the gland so that the barrier taps are
positioned so that the associated piping will clear the bearing
frame. Tighten the gland nuts evenly in a diagonal sequence.
Do not over tighten the gland nuts, as this can warp seal parts and
cause leakage.
Figure 6
Figure 4
2.6 Assemble the pump. Avoid
pipe strain. Align coupling
properly.
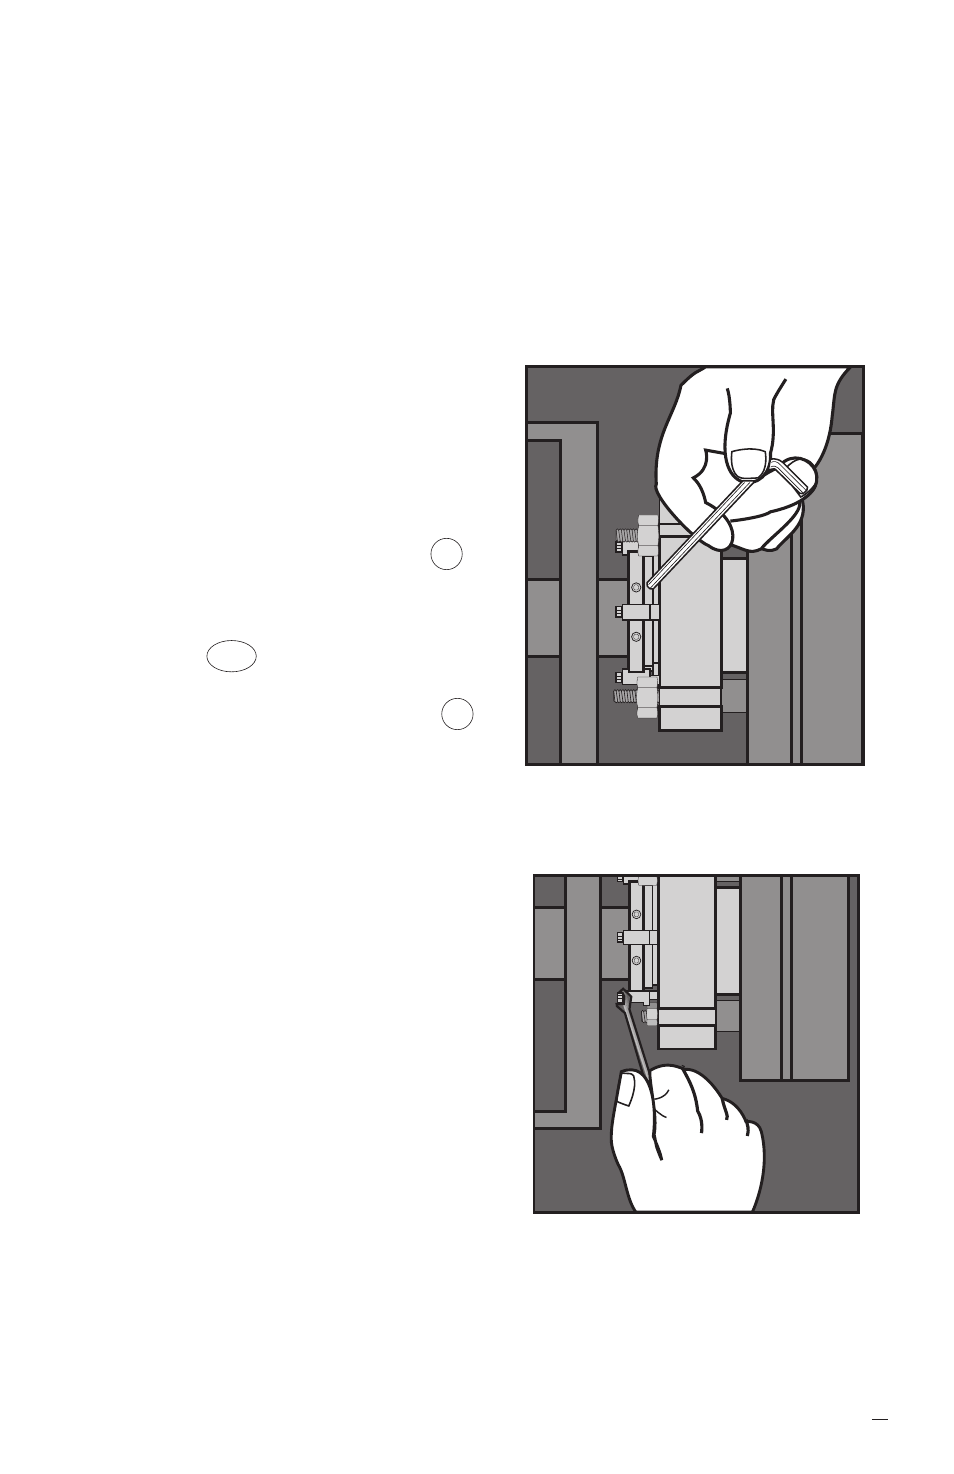
2.7 With the impeller, shaft,
coupling, and bearings in their
final operating positions, tighten
the CPM PP set screws 57 .
See Figure 5.
2.8 Rotate the setting devices
180° 103 from the drive collar
and retighten. See Figure 6.
Loosen the hex head bolts 40
in the bronze setting devices,
rotate 180° to clear the drive
collar. Retighten the hex head
bolts to store the setting devices
on the gland.
2.9 Turn the shaft by hand to
ensure unobstructed operation.
2.10 See Operational
Recommendations before
start-up.
Figure 5