Getting started, Receiver buttons & operation – ikan PD1 User Manual
Page 4
Getting Started:
BUTTON / CONNECTION
ON / OFF CHANNEL
ANTENNA
MOTOR
REMOTE
12-20V
INSTRUCTIONS
Hold for 2 seconds until display shows up.
Quick Press to change channel
Antenna Connection
Motor Connector
Optional Wired Controller
12–20V D-TAP Power Cable
Receiver Buttons & Operation
Before initial use, please have a 12-20v ProBattery fully charged for the receiver and motor
power. The hand control has an internal battery that lasts up to 10 hours, however; with the
lemo to USB Cable you may continue to shoot with no down time. You may also charge &
power hand control with the PTAP Cable.
There are multiple modes of operation for the PD Movie, including; (PD Remote Air Units, PDL, &
PDL-HT). Upon startup and calibration the lens motor will operate in Standard mode. To change to
Ramp mode, press the Nerve button seven times, and
the light will flash yellow to indicate a mode change. In
Ramp mode the speed of the motor is slower, and it
will ramp or “feather” the ends of the motor movement.
To return to Standard Mode, press the nerve button
seven times and the indicator light will blink when the
mode has switched.
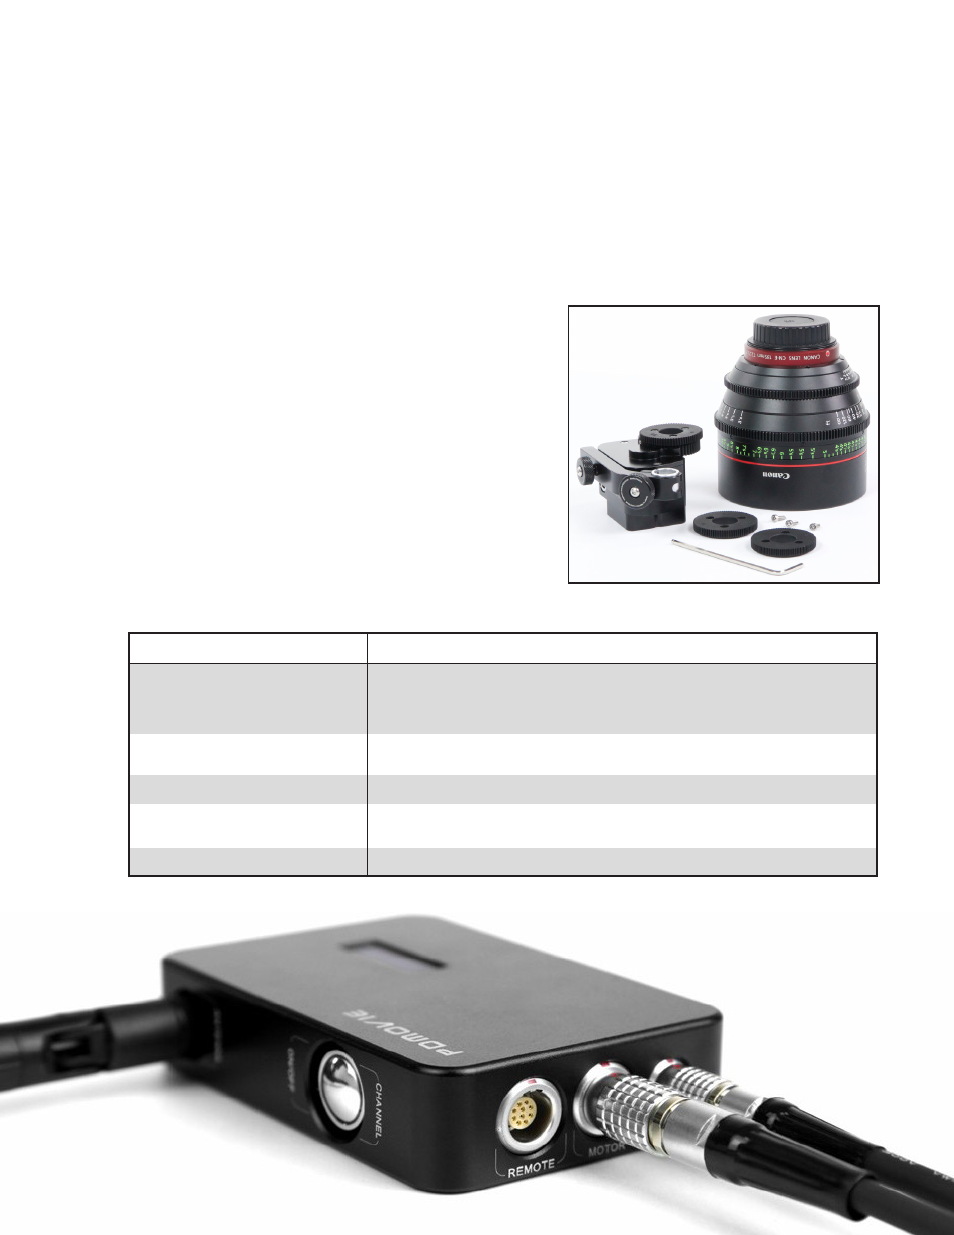
Included in the PD1, PD2 Kits are extra
gears to adapt to different lenses.
A .4, .5, .6 Pitch gears & three hex screws are
included in the kit and can be installed onto
the motors existing .8 gear.