Kleenmaid OMFFS9010 User Manual
Page 8
- 1 Minute Tour -
Be safe
Please read the rest of the instruction book which contains
important information to help you use the appliance safely and
efficiently.
Gas and Electricity on
Make sure that the gas supply is turned on and that the appliance
is plugged in and switched on. The ignitor needs electricity.
In case there is no electric current, the burner can also be lighted
using a match.
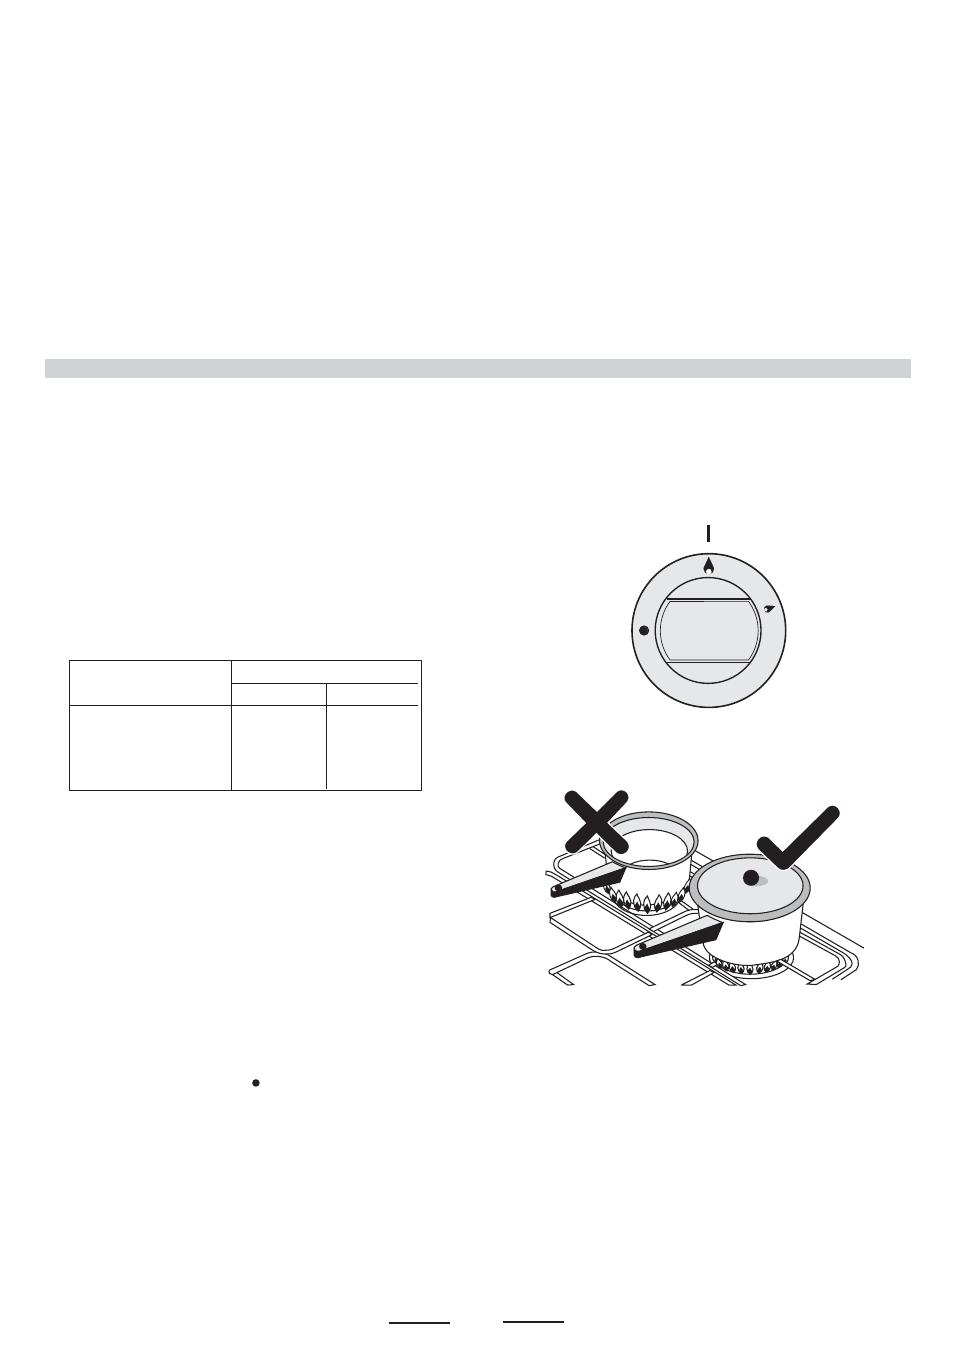
It is recommended that pans suitable to the size of the burner
should be used as follows:
8
The symbol lights up again when the time of day corresponds to
the cooking start time. When the cooking time is up, the AUTO
symbol flashes, the sound signal rings, the cooking time symbol
and the relay switch off.
Minutes counter
Press the minutes counter button (1) and set the cooking time
with 5 or 6 button.
The bell symbol lights up when the minutes counter is operating.
When the set time is up, the sound signal rings and the bell symbol
switches off.
Sound signal
The sound signal starts at the end of a programme or of the
minutes counter function and it lasts for 15 minutes.
To stop it, push any one of the functions buttons.
The small flame indicates the low position.
Turn the knob to it after the contents of a pan have boiled.
The smaller burners are for smaller pans and simmering. Make
sure flames are under the pans. Using a lid will help the contents
boil more quickly.
Start programme and check
The programme starts 4 seconds after it has been set.
The programme can be checked at any time by pressing the
corresponding button.
Setting error
A setting error is made if the time of day on the clock falls within
the cooking start and end times.
To correct the setting error, change the cooking time or cooking
end time.
The relays switch off when a setting error is made.
Cancelling a setting
To cancel a setting, press the cooking time button (2) and then
press the button (5) until 00 00 appears on the display.
A set programme will automatically cancel on completion.
Always use pans with a flat base diameter, which are well balanced
and stable in use, a pan which overhangs the hotplate should not
be used. Avoid using old, misshapen pans, or pans which are
unstable when placed on a flat surface. Do not use split pans
as they are inherently unstable.
To save gas, always position pans centrally over the burners and
adjust the flames so that they do not lick up the sides of the pan
and only the base is heated. Always put lids on saucepans and
boil only the amount of liquid you use. When the liquid has boiled
adjust the setting to maintain a simmer. Do not light the burner
until the pan is in position and turn off the burner before removing
the pan. In hard water areas, descale kettles regularly. For safety,
keep saucepan handles turned to a safe position so they are out
of reach of small children and cannot be accidentally knocked.
To tunr the burner OFF, turn the control knob clockwise to the
OFF setting (marked with a dot )
Automatic electric ignition
To turn on a burner, press the knob corresponding to the
selected burner and turn it anticlockwise to the maximum
position. Keeping the knob pressed, the electric automatic
ignition of the burner will be started up. In case there is not
electric current, the burner can also be lighted using a match.
WARNING
It is not recommended to press push button for ignition if all the
burners are not located in the proper positions. The burner heads,
burner skirts and pan supports are removable for better cleaning:
Always ensure that the burner skirts and heads are replaced
correctly so that the burners function safely and correctly.
During the use of the appliance pay attention that water or any
liquid does not enter into the appliance through the holes of the
burners or around the rods of the valves or the push button
electronic lighter.
Water or juice will produce dangerous short-circuits and can
seriously damage the working of the Hotplate.
BURNERS
PANS
fl min.
fl max
AUXILIARY
80 mm
160 mm
SEMI-RAPID
120 mm
200 mm
RAPIDE
200 mm
230 mm
TRIPLE CROWN
230 mm
260 mm