Usb charge port, Temperature trend icons, Low battery icon – La Crosse Technology K84285 User Manual
Page 9: Position outdoor transmitter
9
Projection Arm Rotation: The projection arm can be rotated 180 degrees to view
the projection on the wall or ceiling.
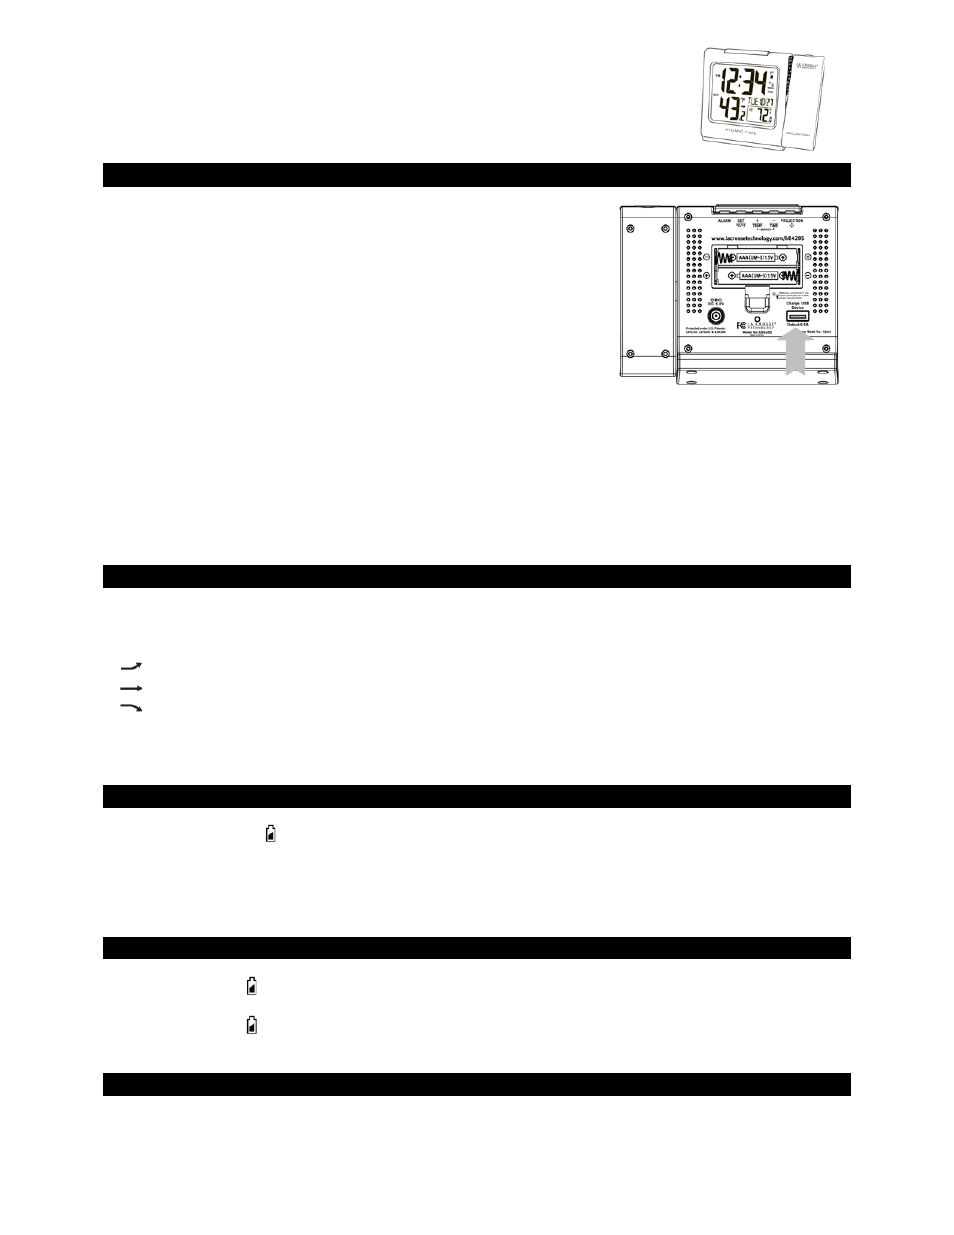
USB Charge Port
The integrated USB charging port (on back) will charge your smart
phone, camera or other devices when the Projection Alarm is plugged
into a power outlet with the included 5V A/C adapter.
Note: This is a power-output charging port. The charging port does not
supply power to the Projection Alarm.
Begin charging your external device by connecting the device’s USB
charging cable (not included) to the USB charging port on the back of
the Projection Alarm. Charging times will vary.
Note: Some USB cables are for data transfer only and cannot be used
for charging. Make sure that the USB cable you use will charge your
device. Most USB cables included with mobile devices will work for charging.
• USB Power Output: 1A maximum current
• Do NOT over load USB port. Charge 0.5A devices or less only
IMPORTANT: When operating on A/C power, the backlight, projection and USB charging port will turn off
while the Projection Alarm searches for the WWVB signal, to avoid interference. The backlight and
projection will return after the 2-10 minute search (which occurs during the late night or early morning
hours). The USB charging port will then resume working.
Temperature Trend Icons
The indoor and outdoor temperature trend indicators are updated every 30 minutes. These trends
represent temperature changes over the past three hours.
Temperature rose more than 2°F /1°C in the past three hours
Temperature has not changed more than 2°F /1°C in the past three hours
Temperature fell more than 2°F /1°C in the past three hours
The temperature trend indicators are shown next to the indoor temperature and outdoor temperature
readings.
Outdoor Temperature Flashing
• Low battery icon
present: Change batteries in the transmitter, and then hold the CH button until
the station beeps to search for the outdoor transmitter again.
• End of Transmission Range: Move the transmitter closer to the display. Avoid obstructions in the
signal path. Keep transmitter and display away from electronics.
Low Battery Icon
• When this icon appears in the indoor (IN) data reading section, replace the batteries in the
Projection Alarm.
• When this icon appears in the outdoor (OUT) data readings section, replace the batteries in the
outdoor transmitter.
Position the Outdoor Transmitter
Once the Projection Alarm shows the outdoor temperature, place the Projection Alarm and the transmitter
in the desired locations and wait approximately 1 hour before permanently mounting the transmitter to
ensure that there is proper reception. The transmitter should be mounted vertically, in a shaded,