Function buttons, Program menu, Set calendar – La Crosse Technology K84322 User Manual
Page 4: 12/24 hour time format, Set time
La Crosse Technology
Page 4
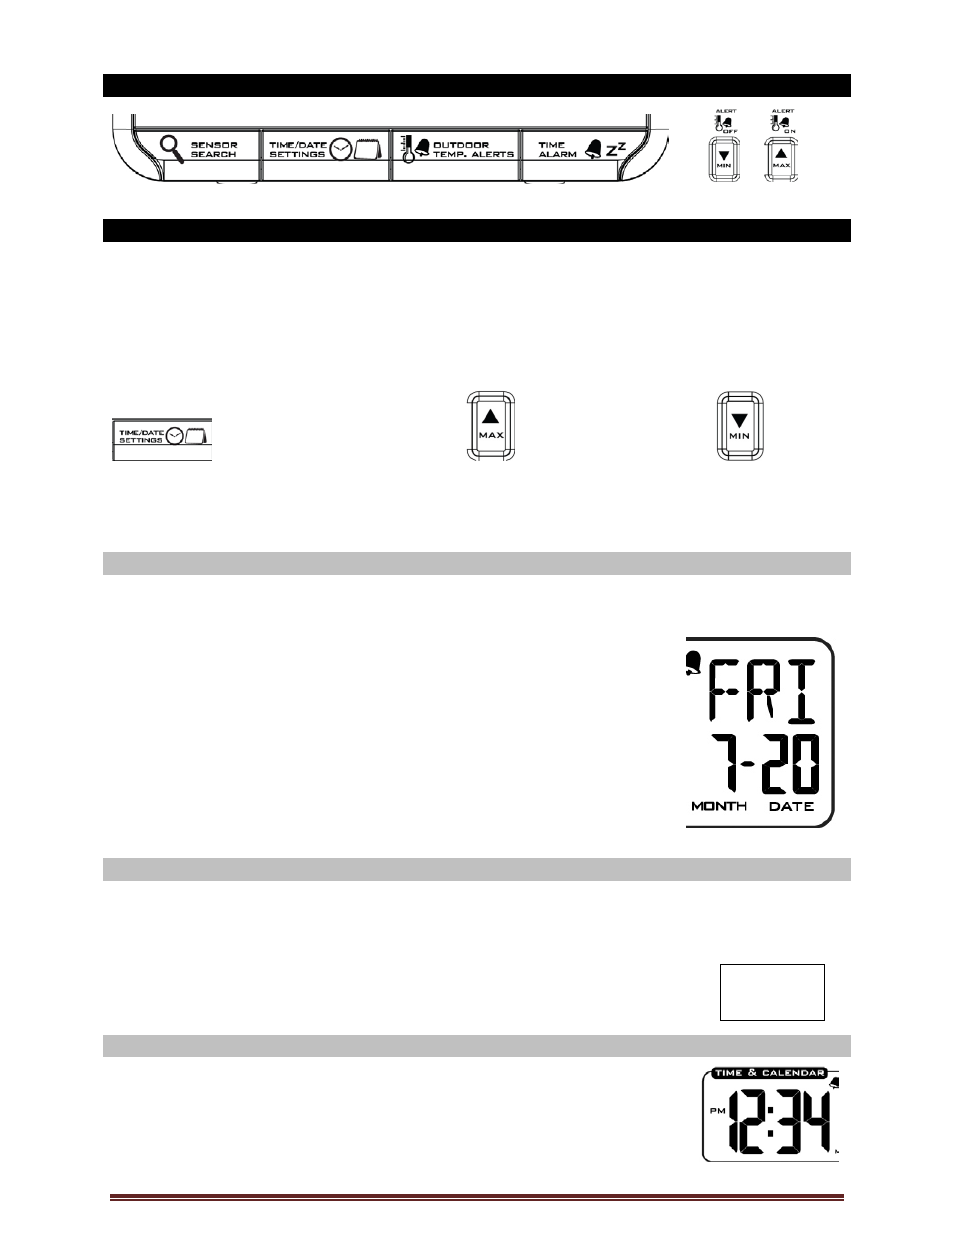
Function Buttons
Front Back
Program Menu
The program menu allows you to select your preferences:
Year
Month
Date
12/24-Hour Time Format
Hour
Minutes
Fahrenheit/Celsius
The SETTINGS button moves
The MAX button will
The MIN button will
through the program menu,
increase a value
decrease a value
and confirm selections.
Set Calendar
To set the calendar:
1. Hold the SETTINGS button until the station beeps.
2. The Year will flash.
3. Use the MAX or MIN buttons to choose the year.
4. Press the SETTINGS button to confirm and move to the month.
5. The Month will flash.
6. Use the MAX or MIN buttons to choose the month.
7. Press the SETTINGS button to confirm and move to the date.
8. The Date will flash.
9. Use the MAX or MIN buttons to choose the date.
10. Press the SETTINGS button to confirm and move to Fahrenheit/Celsius.
Note: The day of the week will set automatically once the year, month and date
are set.
12-hour or 24-hour Time Format
The Time may be displayed in 12-hour or 24-hour format. Default is 12-hour time.
Note: When in 12-hour format AM or PM will show in front of the hour.
1. Hold the SETTINGS button for three seconds to enter time set mode.
2. 12H will flash.
3. Use the MAX or MIN buttons to choose 12-hour or 24-hour time format.
4. Press the SETTINGS button to confirm and move to hour.
Set Time
To set the time manually:
1. The Hour digit will flash.
2. Use the MAX or MIN buttons to choose the hour.
3. Press the SETTINGS button to confirm and move to minutes.
4. The Minutes will flash.
12H