Installation procedure, 6 installation procedure – Lynx Studio LT-ADAT User Manual
Page 5
Advertising
6 Installation
Procedure
1.
Remove the AC power cord. Take the top off of the Aurora 16 or Aurora 8. There are seven large screws
plus one small screw near the center of the front faceplate.
2.
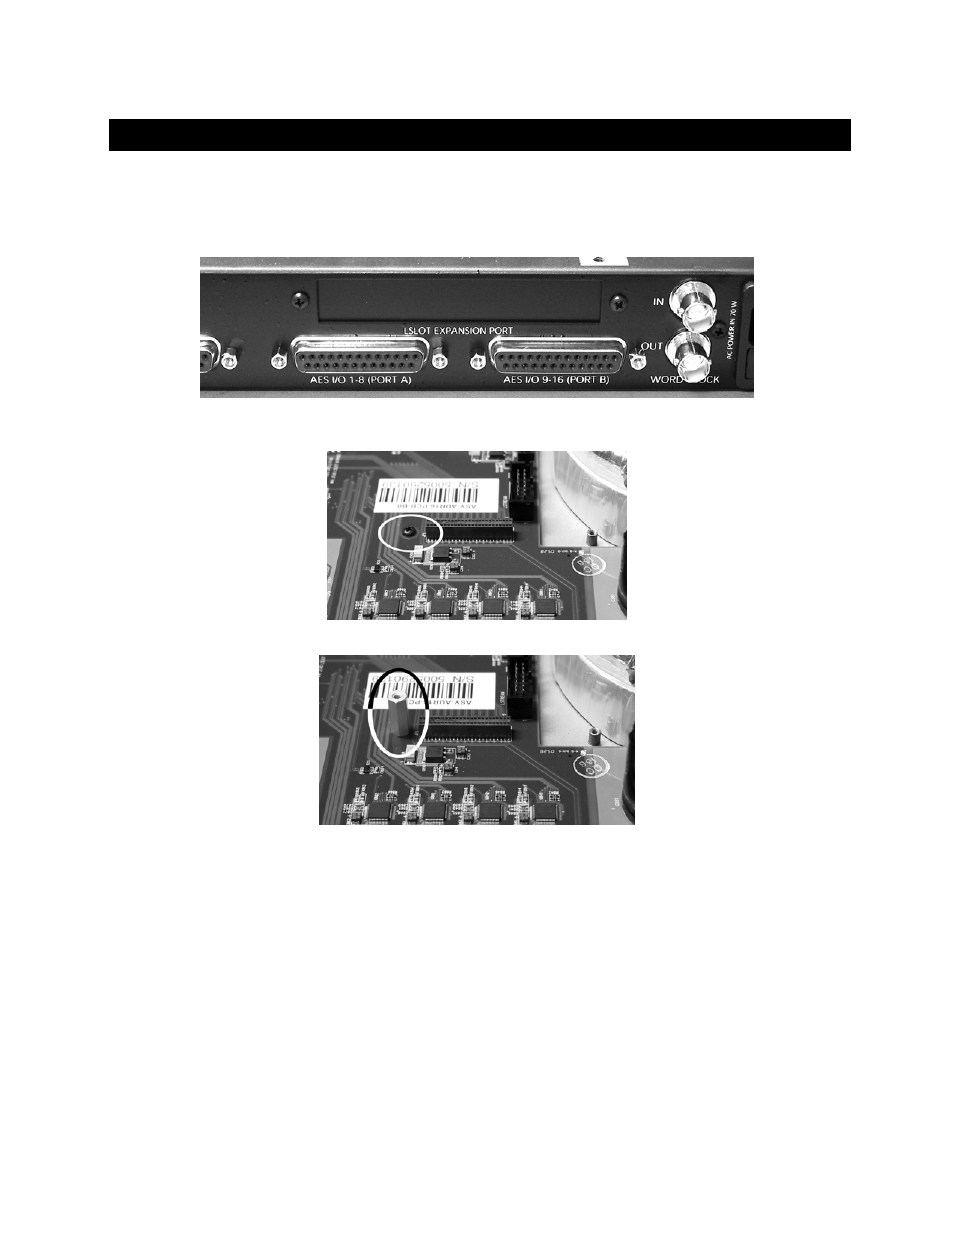
Remove the LSlot Expansion Port cover above the AES I/O Ports by removing the two mounting screws.
Set these two screws aside, as they will be used to install the LT-ADAT.
3.
Remove the screw from the Aurora circuit board that is adjacent to the JP1 connector and the white serial
number/barcode label. Set the screw aside for reuse.
4.
Install the standoff post (included with the LT-ADAT) in this same hole.
5.
Grounding yourself to the earth ground, remove the LT-ADAT from its protective static bag.
Page 3
Advertising